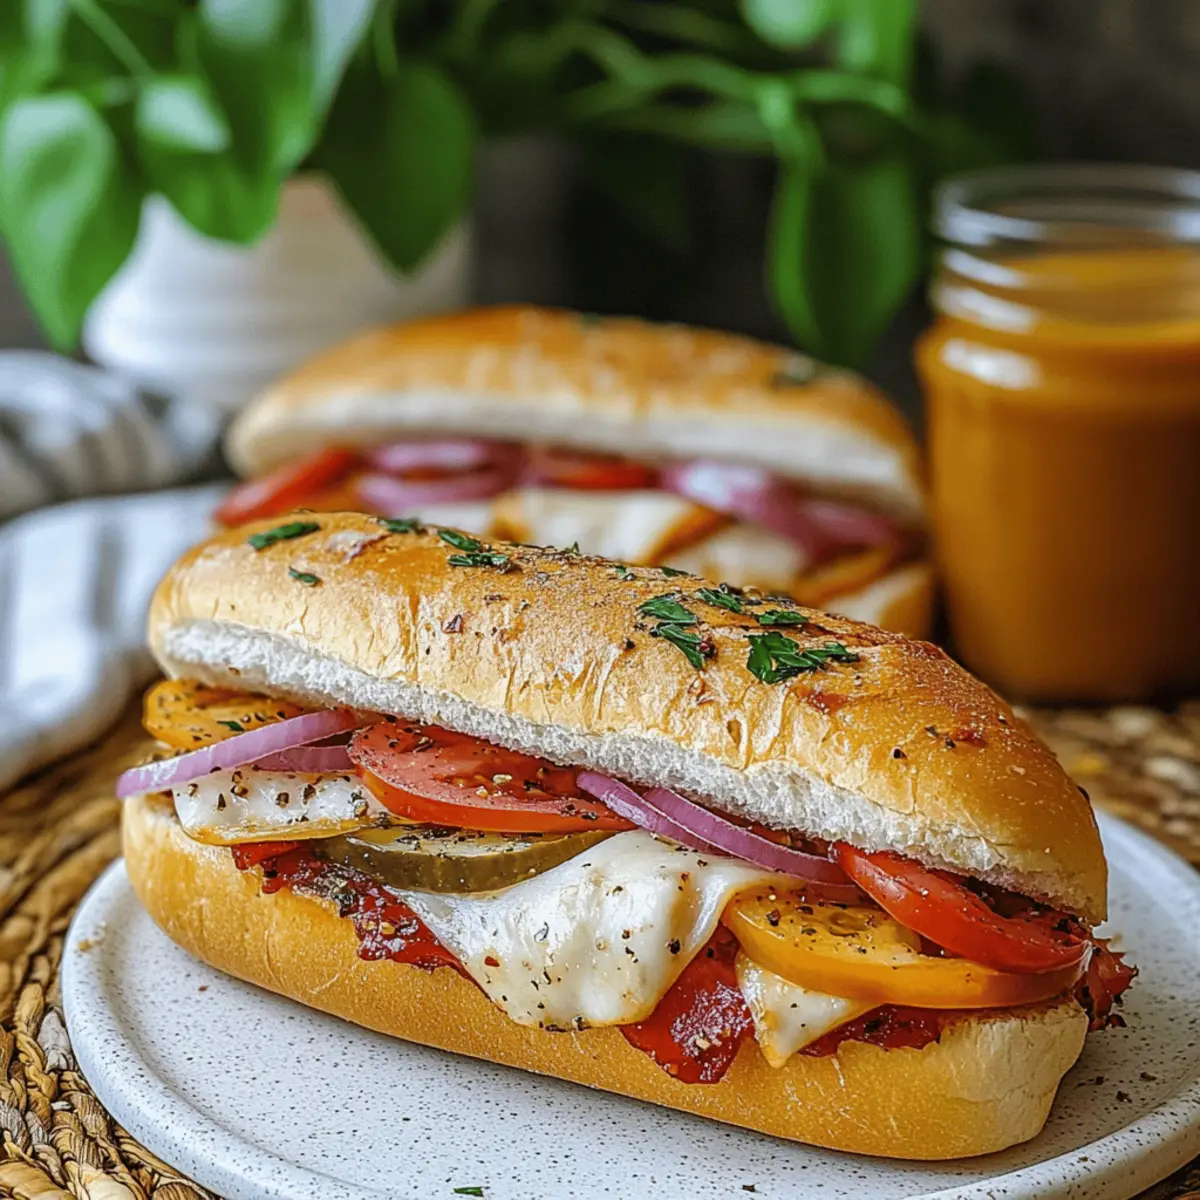
The aroma wafting from the oven as a batch of Baked Italian Subs cooks is simply irresistible. With layers of savory meats, melty provolone cheese, and a drizzle of tangy Italian dressing, this recipe has quickly become a staple for cozy family meals and casual get-togethers. What I love most is how effortlessly these subs come together, making them a major crowd-pleaser without a kitchen marathon. Plus, they’re incredibly customizable—swap out ingredients based on what you have on hand and create your own delicious variation! Isn’t it thrilling to know you can whip up something soul-soothing and hearty with minimal fuss? Ready to bring the warmth of Italy right into your home? Let’s dive into this recipe and have some fun!
Why Are Baked Italian Subs a Must-Try?
Crowd-Pleasing Comfort: These Baked Italian Subs are perfect for any gathering, guaranteed to satisfy even the pickiest eaters.
Effortless Preparation: With simple steps to follow, you'll be done in no time, making this recipe a go-to for busy weeknights.
Versatile Flavors: Customize your subs with your favorite ingredients—whether it's grilled veggies, different cheeses, or various meats, the options are endless!
Mouthwatering Melts: Imagine biting into a crispy roll with warm, gooey cheese and savory fillings—pure bliss!
Quick Cleanup: No need for complicated assembly; this recipe minimizes mess, leaving you free to enjoy the company of others.
Elevate your meal experience by pairing with a crisp green salad or crispy fries for a complete feast!
Baked Italian Subs Ingredients
For the Subs
• Hoagie Rolls – Choose fresh rolls for the best texture; French baguettes or ciabatta can be great alternatives.
• Italian Dressing – Adds moisture and zesty flavor; mix olive oil, vinegar, and Italian herbs as a substitute if needed.
• Pepperoni – Offers a deliciously spicy kick; thin slices layer easily for even coverage.
• Turkey – Lean protein that folds nicely in the subs; feel free to switch it with ham or roast beef for variety.
• Provolone Cheese – Melts beautifully to create that gooey finish; mozzarella is a good substitute if preferred.
• Red Onion – Adds a crunchy bite and mild sharpness; green onions can be used for a sweeter flavor.
• Sweet and Hot Salad Peppers – Infuse your subs with sweetness and heat; adjust to taste or opt for pickled jalapeños for an extra kick.
For Seasoning
• Salt, Pepper, and Oregano – Essential for bringing out the flavors; modify quantities based on your preference.
For the Topping
• Butter – Brushing melted butter on the rolls creates a golden, crispy crust; ensure it’s monitored while melting to prevent burning.
• Garlic Salt – Adds a savory touch; mix it with melted butter for the perfect finish.
Step‑by‑Step Instructions for Baked Italian Subs
Step 1: Prepare the Hoagie Rolls
Begin by slicing your fresh hoagie rolls halfway through, creating a hinge without separating the sides. This prepares the base for your Baked Italian Subs, allowing you to fill them easily later. Leave some extra space for the fillings, ensuring they don’t overflow during baking.
Step 2: Brush with Italian Dressing
With the rolls prepped, take a spoon and coat the insides generously with Italian dressing. This adds a zesty layer of flavor and moisture to your Baked Italian Subs. Ensure you cover every inch for a rich taste that melds seamlessly with the savory ingredients to come.
Step 3: Layer the Meats
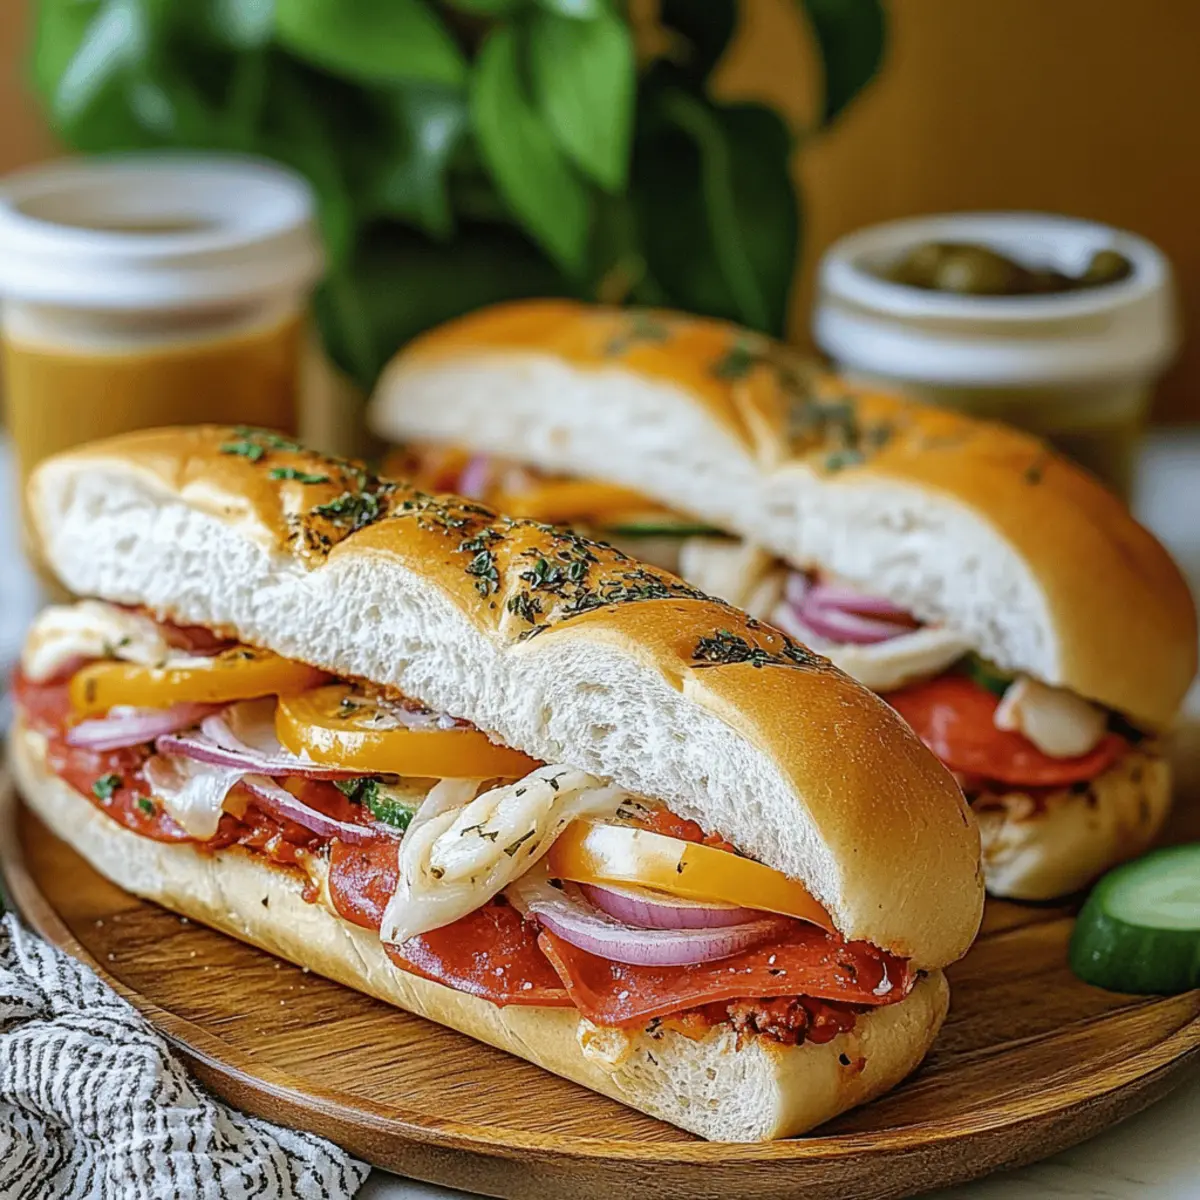
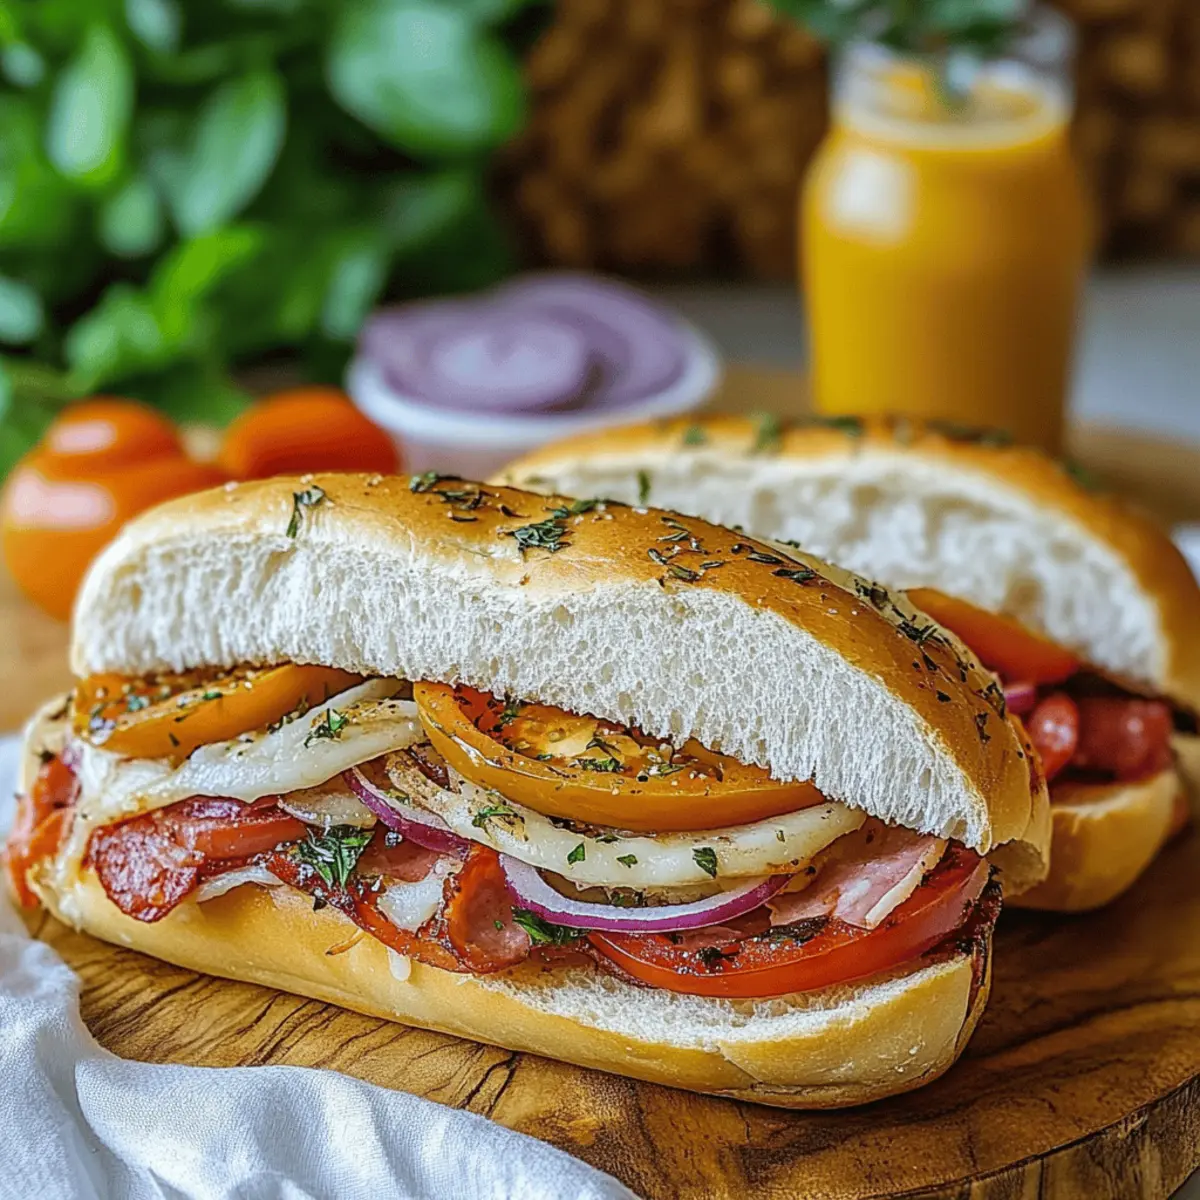
Start stacking your subs by layering the bottom with thinly sliced pepperoni, distributing it evenly across the rolls for a consistent flavor. Next, follow with folded turkey slices, arranging them snugly. Choose any other favorite deli meats if you like, but keep the proportions manageable to avoid overflow.
Step 4: Add the Cheese and Veggies
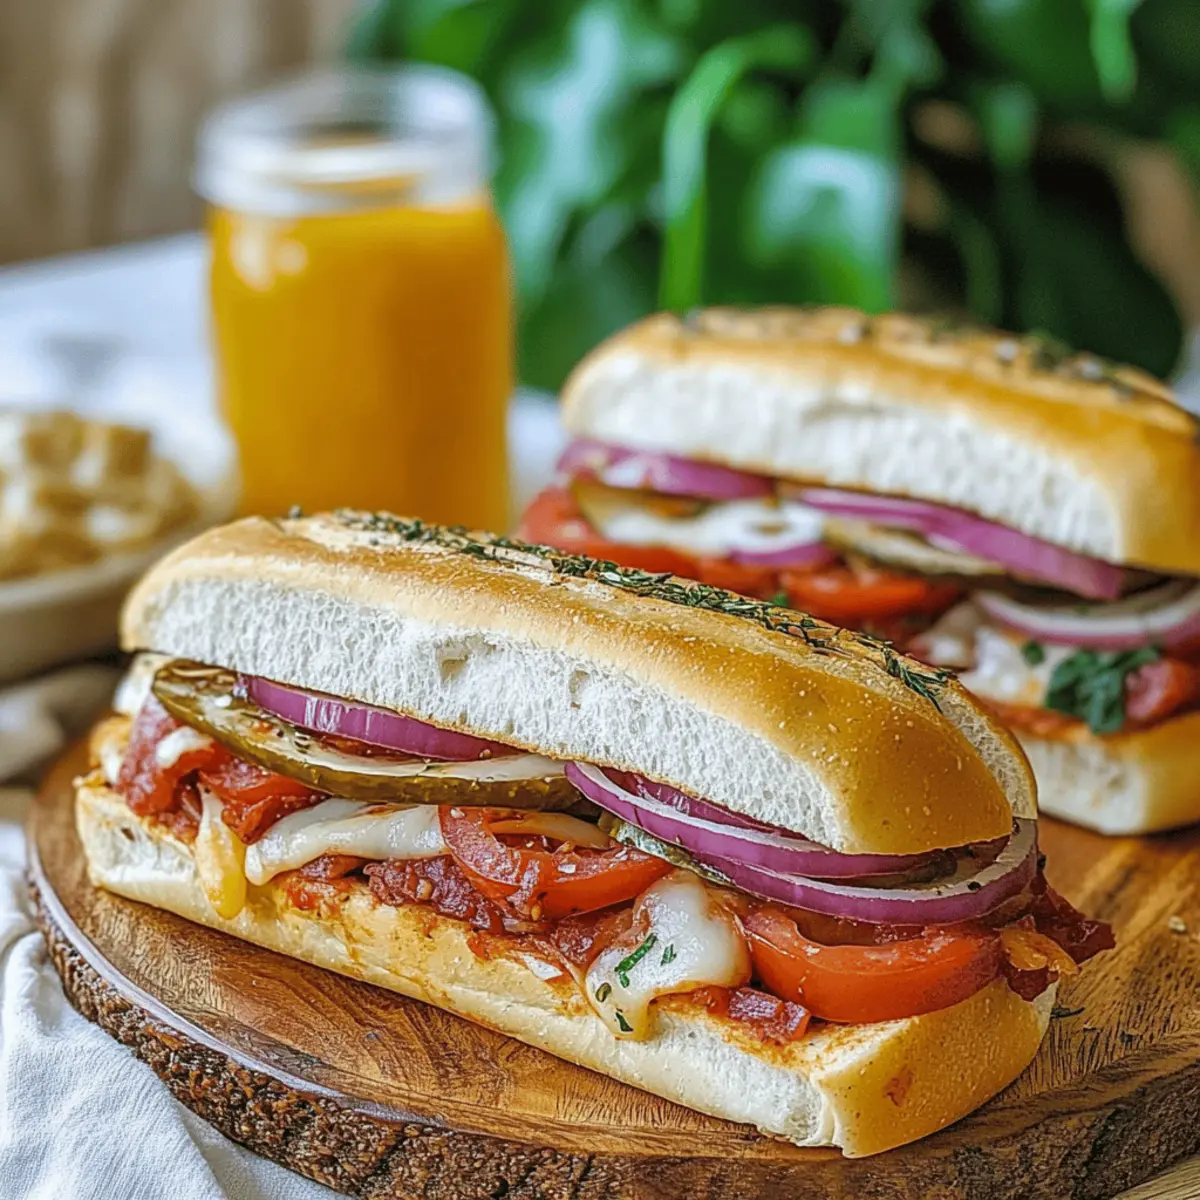
Now, it’s time for the provolone cheese! Layer it generously over the meats, ensuring each sub is well-covered for that melty goodness. Then, add a handful of thinly sliced red onions and sweet and hot salad peppers on top. These ingredients will add crunch and spice to your mouthwatering Baked Italian Subs.
Step 5: Season the Filling
Sprinkle your loaded fillings with a pinch of salt, pepper, and a dash of oregano to enhance the flavors further. Make sure the seasonings are evenly distributed for a balanced taste throughout your Baked Italian Subs, ensuring that every bite is as delicious as the last.
Step 6: Secure the Rolls
Carefully fold the hoagie rolls back, closing them slightly to secure all those delightful ingredients inside. Press down gently to ensure everything holds together but be cautious not to overstuff. This will also help keep the sandwich intact while baking.
Step 7: Prepare the Garlic Butter Topping
In a microwave-safe bowl, melt butter and whisk in garlic salt until well combined. This mixture will create a golden, crispy crust on your Baked Italian Subs. Brush the butter generously over the top of the rolls, making sure to coat them evenly for that irresistible crunch.
Step 8: Bake the Subs
Position the assembled subs in a baking dish, ensuring they fit snugly but aren't overcrowded. Preheat your oven to 350°F (175°C) and bake the subs for about 20 minutes. Keep an eye on them—you're looking for a deliciously melted cheese layer and crispy, golden edges on the rolls.
Step 9: Garnish and Serve
Once baked, remove the Baked Italian Subs from the oven and let them cool slightly. You can garnish them with pickles, fresh basil, or a drizzle of balsamic glaze for an extra touch. Slice them in half, serve warm, and enjoy the delightful flavors with family and friends!
Baked Italian Subs: Endless Ways to Customize
Feel free to put your own spin on these delicious Baked Italian Subs; it’s all about what makes your palate sing!
-
Veggie Delight: Swap out deli meats for grilled vegetables like zucchini, bell peppers, and mushrooms for a colorful, hearty option. These earthy flavors can elevate your subs to a comforting plant-based meal.
-
Cheese Galore: Use different types of cheese such as mozzarella, gouda, or even spicy pepper jack for a flavor twist. Each cheese will create a unique melt experience, keeping things exciting in every bite!
-
Spicy Zing: Add jalapeños or banana peppers for an extra kick. Adjust the amount based on your heat preference, ensuring that every flavor harmonizes beautifully in your subs.
-
Fresh Herbs: Toss in fresh basil or spinach for an aromatic touch. The brightness of fresh herbs complements the savory layers, making your subs feel even more indulgent and vibrant.
-
Sliders for Parties: Slice the hoagies into smaller pieces to create delightful sliders perfect for gatherings. They’re just the right size for sampling, allowing everyone to enjoy a taste of Italy.
-
Mediterranean Twist: Incorporate olives, feta cheese, and roasted red peppers for a Mediterranean-style sub. The briny flavors of the olives and the creaminess of feta will transport you straight to the sunny coast of Italy!
-
Sweetness Factor: Try adding a layer of caramelized onions or roasted garlic for a sweet and savory balance. This sweetness melds perfectly with the other flavors and adds a beautiful depth to your subs.
-
Homemade Bread: If you’re up for a little challenge, craft your own hoagie rolls! Freshly baked bread takes the subs to another level, offering that homemade warmth and flavor that store-bought just can’t match.
By considering these variations, you’ll surely impress anyone who sits down to enjoy your Baked Italian Subs! Pair them with a refreshing green salad or some crispy fries for a complete meal that’s sure to satisfy.
Make Ahead Options
These Baked Italian Subs are a wonderful choice for meal prep enthusiasts looking to save time on busy weeknights! You can assemble the subs up to 24 hours in advance, simply preparing them all the way through Step 6, then wrap them tightly in plastic wrap or foil to prevent drying out. If you prefer, you can also freeze them for up to 3 months—just make sure they are well-wrapped to maintain quality. When you're ready to serve, remove any wrapping and brush with the melted butter mixture before baking at 350°F for about 25-30 minutes, allowing a few extra minutes if baking from frozen. This way, you’ll achieve that delightful melty goodness with minimal effort!
What to Serve with Baked Italian Subs?
To elevate your dining experience, consider these delightful sides and accompaniments that promise to complement your Baked Italian Subs beautifully.
-
Crispy French Fries:
Golden, seasoned fries provide the perfect contrast to the melty, savory subs, making each bite a satisfying crunch. -
Garlic Green Beans:
Freshly sautéed green beans with garlic are a light and vibrant side that balances the richness of the subs beautifully. -
Caesar Salad:
Crisp romaine, creamy dressing, and crunchy croutons expand your meal with texture and freshness, enhancing the overall experience. -
Sweet Potato Chips:
These offer a slightly sweet, crispy alternative that adds a delicious twist alongside the savory flavors of your subs. -
Bruschetta with Tomato and Basil:
A fresh and zesty starter that resonates with Italian flavors, providing a lovely contrast to the hearty subs. -
Pasta Salad:
A cold pasta salad, loaded with veggies and Italian dressing, is a refreshing counterpart that pairs harmoniously with the warm subs. -
Wine or Sparkling Water:
A crisp white wine or bubbly sparkling water cleanses the palate, enhancing the flavors of your meal and adding a festive touch. -
Chocolate Chip Cookies:
End your meal on a sweet note! Warm cookies filled with gooey chocolate are the perfect comforting dessert after savoring your Baked Italian Subs.
No matter what you choose, these options will enhance your gatherings and create a cozy dining atmosphere that whispers ‘home.’
How to Store and Freeze Baked Italian Subs
Fridge: Wrap leftover Baked Italian Subs tightly in plastic wrap or foil to keep them fresh; they can be stored in the refrigerator for up to 24 hours.
Freezer: For longer storage, freeze assembled but unbaked subs. Wrap each sub tightly in plastic wrap and then in aluminum foil. They can be frozen for up to 3 months.
Reheating: When ready to enjoy, bake from frozen at 350°F (175°C) for about 25-30 minutes, or until heated through and the cheese is melty.
Tips for Best Taste: To avoid drying out, brush the tops with a little butter before reheating, ensuring a golden, crispy finish.
Expert Tips for Baked Italian Subs
- Avoid Overstuffing: Keep fillings within the edges of the hoagie rolls to prevent spills during baking. A little restraint goes a long way!
- Watch the Butter: When melting butter for brushing, monitor closely to avoid burning—overcooked garlic butter can ruin the final taste.
- Experiment Freely: Don’t hesitate to swap meats or cheeses! Exploring different ingredients can lead to a new favorite version of these Baked Italian Subs.
- Prevent Drying Out: If you're not serving immediately, wrap leftover subs in plastic wrap to keep the bread fresh and moist.
- Adjust Seasoning: Taste and adjust seasonings like salt and pepper to suit your preference; every family has its flavor profiles!
Baked Italian Subs Recipe FAQs
How do I choose the right hoagie rolls?
Absolutely! Fresh hoagie rolls are ideal for texture and taste. Look for rolls that are soft yet sturdy; they should feel slightly springy to the touch. If you can't find hoagie rolls, French baguettes or ciabatta make great substitutes, providing a delightful crunch!
How long can I store leftover Baked Italian Subs?
Leftovers can be wrapped tightly in plastic wrap or aluminum foil and stored in the refrigerator for up to 24 hours. This method keeps them from drying out. For longer storage, try freezing them as outlined below.
Can I freeze Baked Italian Subs?
Yes, you can! To freeze, assemble the unbaked subs, wrap each one tightly in plastic wrap, then in aluminum foil. This double wrapping helps prevent freezer burn and they can stay fresh for up to 3 months. When ready to cook, simply place them in a preheated oven at 350°F (175°C) for about 25-30 minutes until heated thoroughly.
What if my cheese isn't melting properly?
Very! If your cheese isn't melting as desired, try a few simple tricks. Make sure you're using a good melting cheese like provolone or mozzarella—if you’ve substituted, that could be the issue. Always monitor your baking time and temperature; if needed, cover the subs loosely with aluminum foil for the first 10-15 minutes. This will prevent over-browning while allowing the cheese a chance to melt beautifully.
Are Baked Italian Subs suitable for various dietary preferences?
The more the merrier! This recipe is highly adaptable. If you're looking for vegetarian options, consider replacing the meats with grilled vegetables or hearty mushrooms. Be sure to check for any dietary restrictions—like allergies to ingredients such as dairy or gluten—so you can adjust as necessary. There’s plenty of room for creativity while still keeping the spirit of the classic Baked Italian Subs alive!
How can I ensure my subs don’t get soggy?
For crispy, satisfying subs, the key lies in both assembly and storage. First, avoid overloading the rolls—layer ingredients without spilling over the edges. When storing, wrap them tightly but don’t compress them too much. If you’re preparing ahead, brush the insides of the rolls lightly with butter before filling to create a barrier against moisture.
Deliciously Easy Baked Italian Subs for Cozy Nights
Ingredients
Equipment
Method
- Prepare the Hoagie Rolls by slicing them halfway through, creating a hinge.
- Brush the insides of the rolls with Italian dressing for moisture and flavor.
- Layer the subs by stacking pepperoni and turkey slices in the rolls.
- Add provolone cheese, red onions, and salad peppers on top.
- Season the filling with salt, pepper, and oregano for enhanced flavor.
- Close the rolls gently to secure the ingredients inside.
- Prepare garlic butter topping by melting butter and whisking in garlic salt.
- Bake the assembled subs in a preheated oven at 350°F for about 20 minutes.
- Remove from the oven, garnish, slice in half, and serve warm.


Leave a Reply