As I stood in my kitchen, the sweet scent of baking cake enveloped me like a warm hug, filling my heart with joy. There’s something special about creating homemade treats, especially these delightful Heart-Shaped Red Velvet Cake Pops. Perfect for Valentine’s Day, anniversaries, or simply to share a little love, these festive bites combine the familiar comfort of rich red velvet with the whimsical charm of cake pops. One of the best parts? They’re incredibly easy to prepare, making them a great option for both seasoned bakers and those just starting out. Plus, they’re freezer-friendly, so you can whip up a batch and have them ready for any occasion! Who wouldn’t want to surprise someone special with these sweet creations? Let’s dive into this delicious recipe together!

Why are these cake pops irresistible?
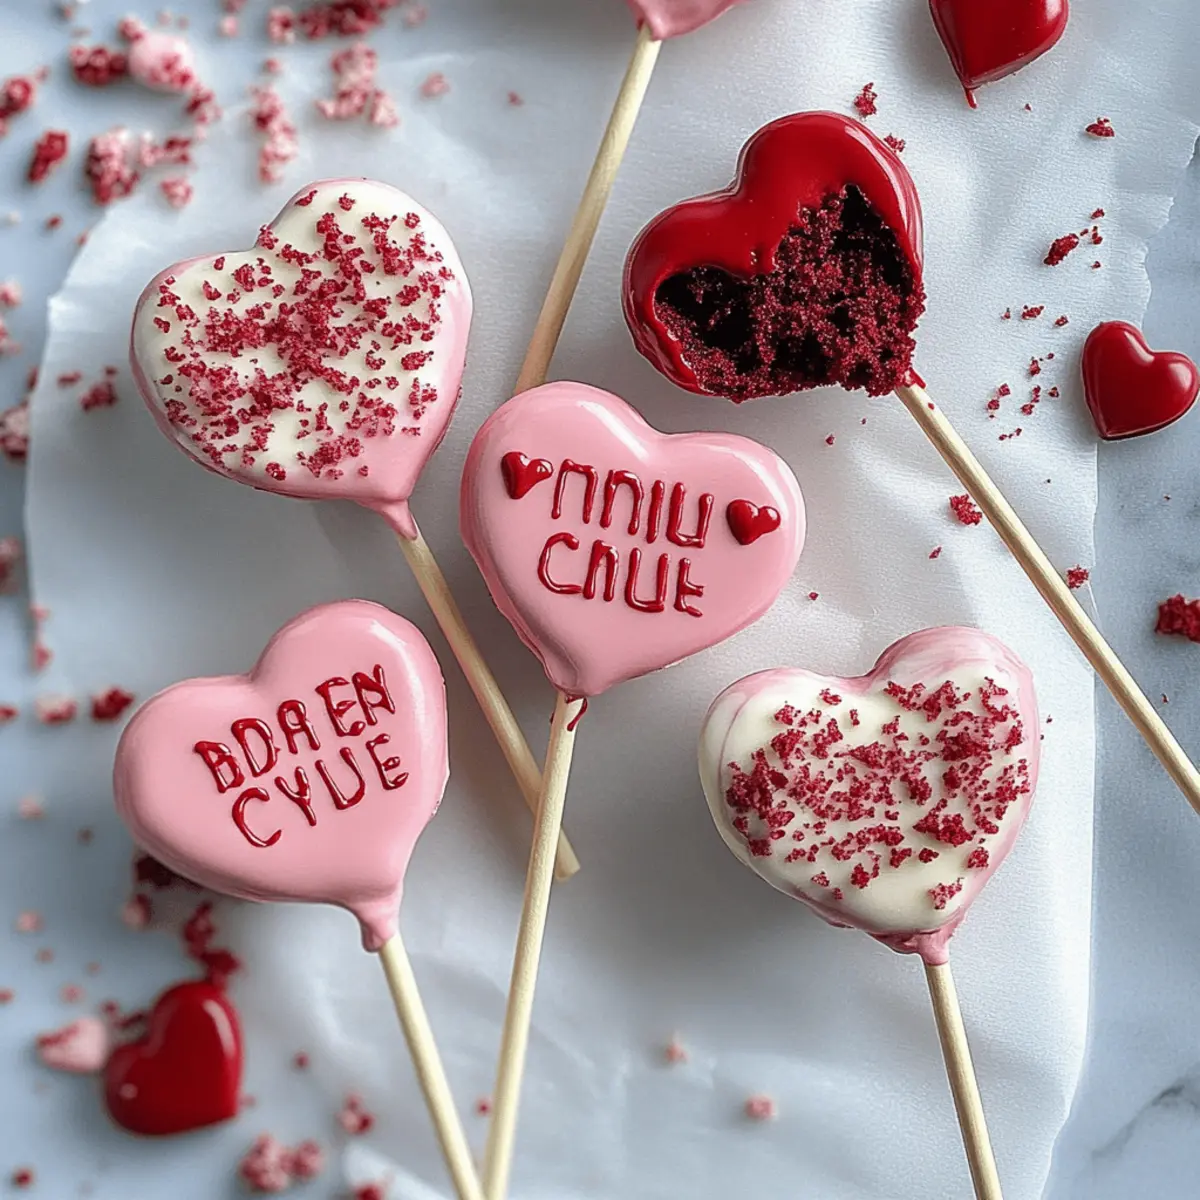
Adorable Presentation: Heart-shaped cake pops are the perfect way to showcase your creativity while bringing smiles to everyone’s faces.
Rich Velvet Flavor: Each bite bursts with the classic taste of red velvet, enveloped in a sweet candy coating that’s simply delightful.
Easy to Make: With just a few essential ingredients and simple steps, even novice bakers can create these showstoppers at home.
Versatile Treats: Ideal for any occasion, from Valentine's Day to birthday parties, these pops are sure to be the highlight of the dessert table.
Make Ahead: Prepare a batch in advance, and keep them in the freezer—perfect for last-minute celebrations or those unexpected sweet cravings!
With flavors and nostalgia in every bite, you'll want to explore more fun ideas like chocolate cake pops or infuse unique flavors into your treats for a twist!
Heart-Shaped Red Velvet Cake Pop Ingredients
Gather your supplies for a delightful treat!
-
For the Cake:
-
Red Velvet Cake Mix – Provides the primary flavor and structure for the cake pops; you can opt for homemade red velvet cake for a more personalized touch.
-
Milk – Adds moisture and aids in mixing the batter; feel free to use any milk type based on your preference.
-
Eggs – Binds the mixture and helps create a fluffy texture; for a vegan option, consider substituting with a flax egg.
-
For the Filling:
-
Cream Cheese – Adds richness and the signature tang characteristic of red velvet; Neufchâtel cheese can be a lower-fat alternative.
-
Butter – Enhances flavor and moisture; ensure it’s softened for better blending.
-
Marshmallow Creme – Contributes a soft, chewy texture to the pops; canned cream cheese frosting can be a convenient substitute.
-
For the Coating:
-
Pink Candy Melts – Used for coating, giving the pops a festive appearance and sweetness; explore other colors or flavored candy melts for variety.
Preparation is simple, and with these ingredients, your Heart-Shaped Red Velvet Cake Pops will surely be a hit!
Step‑by‑Step Instructions for Heart-Shaped Red Velvet Cake Pops
Step 1: Preheat Oven
Begin by preheating your oven to 350°F (180°C) and preparing your cake pan by greasing it lightly with butter or cooking spray. This ensures an easy release once your cake is baked. Gather your ingredients, and set up your mixing bowl and whisk for the next step.
Step 2: Mix Batter
In a mixing bowl, combine the red velvet cake mix, milk, and eggs. Use a whisk or an electric mixer on medium speed to mix until you achieve a smooth and well-blended batter. This should take about 2-3 minutes. The batter should be slightly thick yet pourable, with no lumps remaining.
Step 3: Bake
Pour the prepared batter into your greased cake pan, spreading it evenly. Bake in the preheated oven for 30 to 45 minutes, or until a toothpick inserted in the center comes out clean. Once baked, let the cake cool in the pan for about 10 minutes before transferring it to a wire rack to cool completely.
Step 4: Cool
After the cake has cooled slightly, crumble it into a large mixing bowl using your hands or a fork. Aim for fine crumbs to ensure a smooth texture in your Heart-Shaped Red Velvet Cake Pops. Allow the crumbled cake to cool completely before mixing with the other ingredients.
Step 5: Prepare Mixture
Add softened butter, cream cheese, and marshmallow crème to the bowl with the crumbled cake. Mix well until all ingredients are combined, forming a cohesive dough-like mixture. This should take about 2-3 minutes of mixing. The texture should be moist and easy to shape into hearts.
Step 6: Shape Cake Pops
Using a heart-shaped silicone mold, press the mixture into the hearts firmly to create well-defined shapes. Insert cake pop sticks into the center of each heart, ensuring they’re secure. Place the mold in the freezer for about 30 minutes to allow the pops to firm up.
Step 7: Melt Coating
In a microwave-safe bowl, melt the pink candy melts in 15-second intervals, stirring in between until smooth and fully melted. Be careful not to overheat the melts; they should be glossy and pourable. Prepare your workspace with parchment paper for easy coating.
Step 8: Dip Pops
Once chilled, carefully remove the cake pops from the mold. Dip each heart-shaped cake pop into the melted candy, ensuring it’s well-coated. Allow excess coating to drip off before placing the pops on the parchment paper, creating a clean look. Repeat until all pops are coated.
Step 9: Decorate
While the coating is still wet, add sprinkles or drizzle additional melted candy on top for a festive touch. Let the Heart-Shaped Red Velvet Cake Pops sit at room temperature until the candy coating hardens completely, which usually takes about 30 minutes.

Heart-Shaped Red Velvet Cake Pops Customization
Feel free to get creative with these delightful treats and make them your own!
- Gluten-Free: Substitute the cake mix with a gluten-free red velvet blend for a deliciously inclusive option.
- Dairy-Free: Use almond or coconut milk and a dairy-free cream cheese alternative to accommodate those with lactose intolerance.
- Nutty Flavor: Add a tablespoon of finely chopped nuts like pecans or walnuts to the cake mixture for an added crunch.
- Choco-Swirls: Mix in mini chocolate chips to the cake batter for bursts of chocolate in each bite!
- Reduced Sugar: Opt for sugar-free candy melts or a natural sweetener in the cake mix for a lighter version.
- Spiced Up: Introduce a hint of cinnamon or cayenne pepper to the cake mixture for a warm, spicy surprise.
- Flavor Infusion: Experiment with flavored extracts like mint or orange for a unique twist on the classic cake pops.
- Smooth Topping: Coat the pops in a layer of white chocolate before drizzling colored melts for an elegant finish.
Let your imagination run wild, and consider garnishing these adorable pops with easy ideas like colorful sprinkles or a drizzle of dark chocolate for tempting variations!
Storage Tips for Heart-Shaped Red Velvet Cake Pops
-
Room Temperature: Store in an airtight container at room temperature for up to 1 day. This keeps the pops fresh if you plan to enjoy them soon after making.
-
Fridge: If you're not consuming them right away, these Heart-Shaped Red Velvet Cake Pops can be kept in the refrigerator for up to 1 week. Ensure they are in a sealed container to maintain moisture.
-
Freezer: For longer storage, freeze the cake pops in a single layer on a baking sheet until firm, then transfer to an airtight container or freeze bag, where they can last up to 3 months.
-
Reheating: To enjoy frozen cake pops, thaw them in the fridge overnight. Avoid microwaving, as this can melt the coating and affect texture; let them reach room temperature for best results.
What to Serve with Heart-Shaped Red Velvet Cake Pops
These charming treats can be the star of any gathering, but pairing them with the right accompaniments can elevate your dessert experience.
-
Fresh Berries: The tartness of strawberries or raspberries beautifully complements the rich sweetness of the cake pops, balancing flavors perfectly.
-
Creamy Vanilla Ice Cream: A scoop of vanilla ice cream creates a delightful contrast that enhances the velvety texture and brings a refreshing chill.
-
Sparkling Cider: For non-alcoholic options, a bubbly sparkling cider adds a festive touch, bringing a celebration vibe and cleansing the palate between bites.
-
Homemade Whipped Cream: Light and airy whipped cream drizzled over or served alongside the cake pops adds a lovely touch of sweetness and creaminess that feels indulgent.
-
Chocolate Dipping Sauce: Create an extra layer of deliciousness by providing a warm chocolate dipping sauce; the rich chocolate melds beautifully with the flavors of red velvet.
-
Coffee or Tea: A warm cup of coffee or a floral tea offers a comforting companion to your cake pops, making them perfect for an afternoon treat.
-
Mint Leaves Garnish: For a refreshing touch, serve cake pops with a few mint leaves. The aromatic herb adds a fresh burst and brightens the dessert table visually.
Make Ahead Options
These Heart-Shaped Red Velvet Cake Pops are perfect for meal prep enthusiasts! You can make the cake pops up to 24 hours in advance by preparing the mixture and shaping them into hearts, then refrigerating them in an airtight container. This not only saves time but also allows the flavors to meld beautifully. When you’re ready to serve, simply melt your candy melts and dip the chilled cake pops in, letting any excess coating drip off. To maintain quality, ensure that you refrigerate them; they can stay fresh for up to a week. With this make-ahead option, you’ll have delightful treats ready for any occasion with minimal last-minute effort!
Expert Tips for Heart-Shaped Red Velvet Cake Pops
-
Secure Sticks: Dip the tips of the cake pop sticks in melted candy melts before inserting them into the mixture. This provides extra stability and prevents the sticks from falling out.
-
Chill Before Dipping: Make sure the shaped cake pops are fully chilled before dipping in the candy coating. This helps them hold their shape and prevents melting during the coating process.
-
Avoid Overheating: When melting the pink candy melts, heat in short intervals. Overheating can cause the melts to seize and become unusable for coating your Heart-Shaped Red Velvet Cake Pops.
-
Uniform Coating: To achieve a smooth finish, thoroughly tap off excess candy coating after dipping. This ensures a clean look and helps avoid a thick, clumpy layer that can detract from the treats’ appearance.
-
Creative Decorations: Get creative with sprinkles or edible glitter while the coating is still wet. This adds a festive touch and enhances the presentation of your cake pops for any celebration.
Keep these tips in mind to create stunning Heart-Shaped Red Velvet Cake Pops that will impress your loved ones!
Heart-Shaped Red Velvet Cake Pops Recipe FAQs
How do I choose the right red velvet cake mix?
Absolutely! When selecting a red velvet cake mix, look for one with high-quality ingredients. Check for a mix that has a rich red color and includes cocoa powder, as this enhances the signature flavor. If you prefer a scratch recipe, opt for homemade where you can control the sweetness and flavor nuances.
How should I store leftover Heart-Shaped Red Velvet Cake Pops?
Very! To keep your pops fresh, store them in an airtight container at room temperature for 1 day. If you need to keep them longer, refrigerate them for up to a week in a sealed container. Just be sure the pops are fully cooled to avoid condensation.
Can I freeze my Heart-Shaped Red Velvet Cake Pops?
Absolutely! To freeze, place the cake pops in a single layer on a baking sheet until firm, then transfer them to an airtight container or freezer bag. They can last up to 3 months. When ready to enjoy, let them thaw in the fridge overnight and then bring them to room temperature before serving.
What if my cake pops are falling apart or too wet?
No worries! If your cake pops are crumbling, it may be due to not enough binding from the cream cheese or butter. Try adding a little more marshmallow crème or cream cheese to your mixture for better cohesion. If they’re too wet, incorporate more crumbled cake into the mixture until you achieve a firmer consistency.
Are there any dietary considerations for these cake pops?
Very! To make vegan Heart-Shaped Red Velvet Cake Pops, substitute the eggs with a flax egg (1 tablespoon ground flaxseed mixed with 2.5 tablespoons water, let sit for 5 minutes). Use dairy-free butter and vegan cream cheese to accommodate dietary restrictions. Always check your specific candy melts for allergens if you have allergies or if they’re for children.
Can I use different flavors or colors for the cake pops?
Definitely! You can switch the red velvet cake mix with other flavors, such as chocolate or vanilla, to create unique variations. When it comes to the coating, feel free to use any color or flavored candy melts to match your event or mood. Have fun experimenting!

Indulge in Heart-Shaped Red Velvet Cake Pops Today
Ingredients
Equipment
Method
- Preheat your oven to 350°F (180°C) and prepare your cake pan by greasing it.
- In a mixing bowl, combine the red velvet cake mix, milk, and eggs with a whisk until smooth.
- Pour the batter into the greased cake pan, spreading it evenly, and bake for 30-45 minutes.
- Once baked, let the cake cool for about 10 minutes before transferring it to a wire rack.
- Crumble the cooled cake into a large mixing bowl.
- Add the softened butter, cream cheese, and marshmallow crème to the crumbled cake and mix until combined.
- Using a heart-shaped silicone mold, press the mixture into the shapes and insert cake pop sticks.
- Melt the pink candy melts in short intervals in a microwave-safe bowl until smooth.
- Dip each heart-shaped cake pop into the melted candy, allowing excess coating to drip off.
- Add sprinkles or drizzle extra melted candy for decoration while the coating is still wet.


Leave a Reply