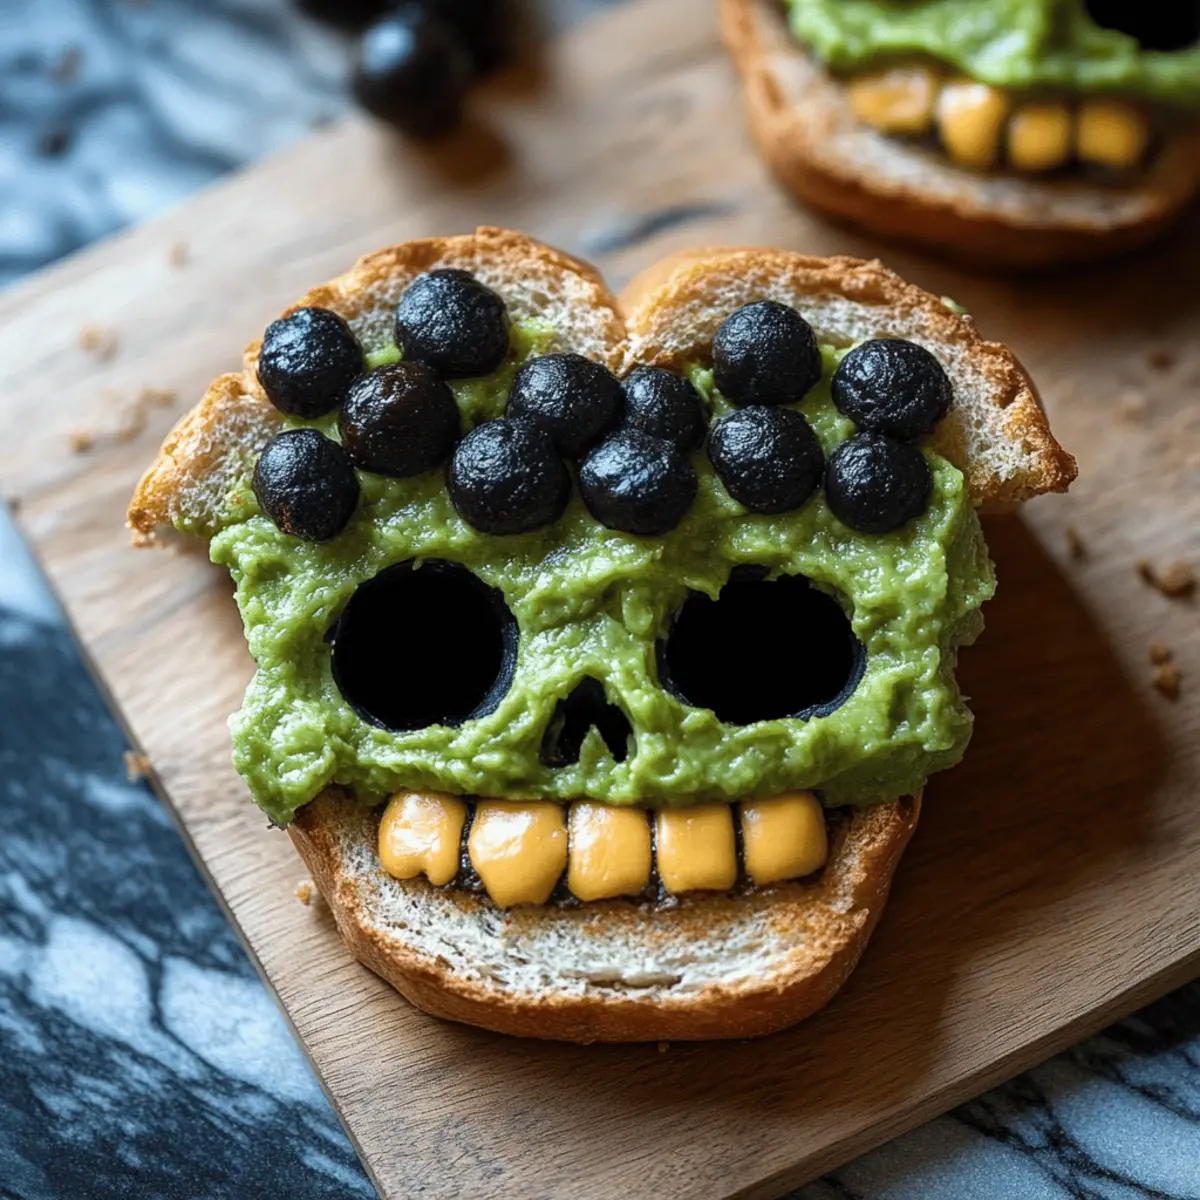
As I flipped through my favorite cookbook, a playful idea caught my eye, turning an ordinary dinner into a haunting delight: Cheeseburger Skulls with Bone-In Buns. Just the thought of skull-shaped buns stuffed with juicy patties and gooey cheese makes my heart race with excitement! This recipe not only sparks creativity and fun but also ensures a quick prep time, perfect for when entertaining guests or celebrating Halloween. Whether it's a themed gathering or simply a quirky twist on classic comfort food, these burgers will leave everyone raving and satisfied. Intrigued by how these spine-chilling bites could elevate your burger night? Let’s dive into the delicious details!
Why Try Cheeseburger Skulls?
Fun and Festive: These Cheeseburger Skulls transform an ordinary meal into a playful celebration, perfect for Halloween or any themed event.
Quick and Easy: With straightforward steps, you can whip up these spooky delights in no time, ensuring your guests are entertained without stressing in the kitchen.
Crowd-Pleasing Appeal: Ideal for family gatherings or parties, these quirky burgers are sure to impress both kids and adults alike, making them a hit at any table.
Versatile Toppings: Customize with your favorite toppings, like fresh veggies or inventive condiments, ensuring every burger is uniquely delicious.
Memorable Presentation: Serving up these visually striking skull-shaped buns adds a layer of excitement that makes your meal unforgettable—nobody will forget this creative twist on a classic!
Don’t forget to pair them with a crispy side salad or some crispy fries to balance the meal and enhance this fun experience!
Cheeseburger Skulls Ingredients
• Get ready to make a spooky feast!
For the Buns
- All-Purpose Flour – Provides the structure to shape your playful skulls; bread flour can add chewiness!
- Granulated Sugar – Adds sweetness to create a delicious crust; no need for substitutions.
- Salt – Enhances flavor and develops gluten; essential for taste.
- Instant Yeast – Leavens the dough for a light texture; you can use active dry yeast if you proof it first.
- Unsalted Butter – Infuses richness into the buns; margarine or dairy-free alternatives work well too.
- Lukewarm Water – Activates the yeast; avoid water that's too hot to protect the yeast's magic.
- Egg – Adds moisture and binds the ingredients; use a flax egg for a vegan twist.
For the Patties
- Ground Beef – The heart of your burger; feel free to swap with ground turkey or vegetarian options!
- Cheese Slices – Create that gooey goodness; go for American, Cheddar, or Provolone depending on your mood.
For Toppings
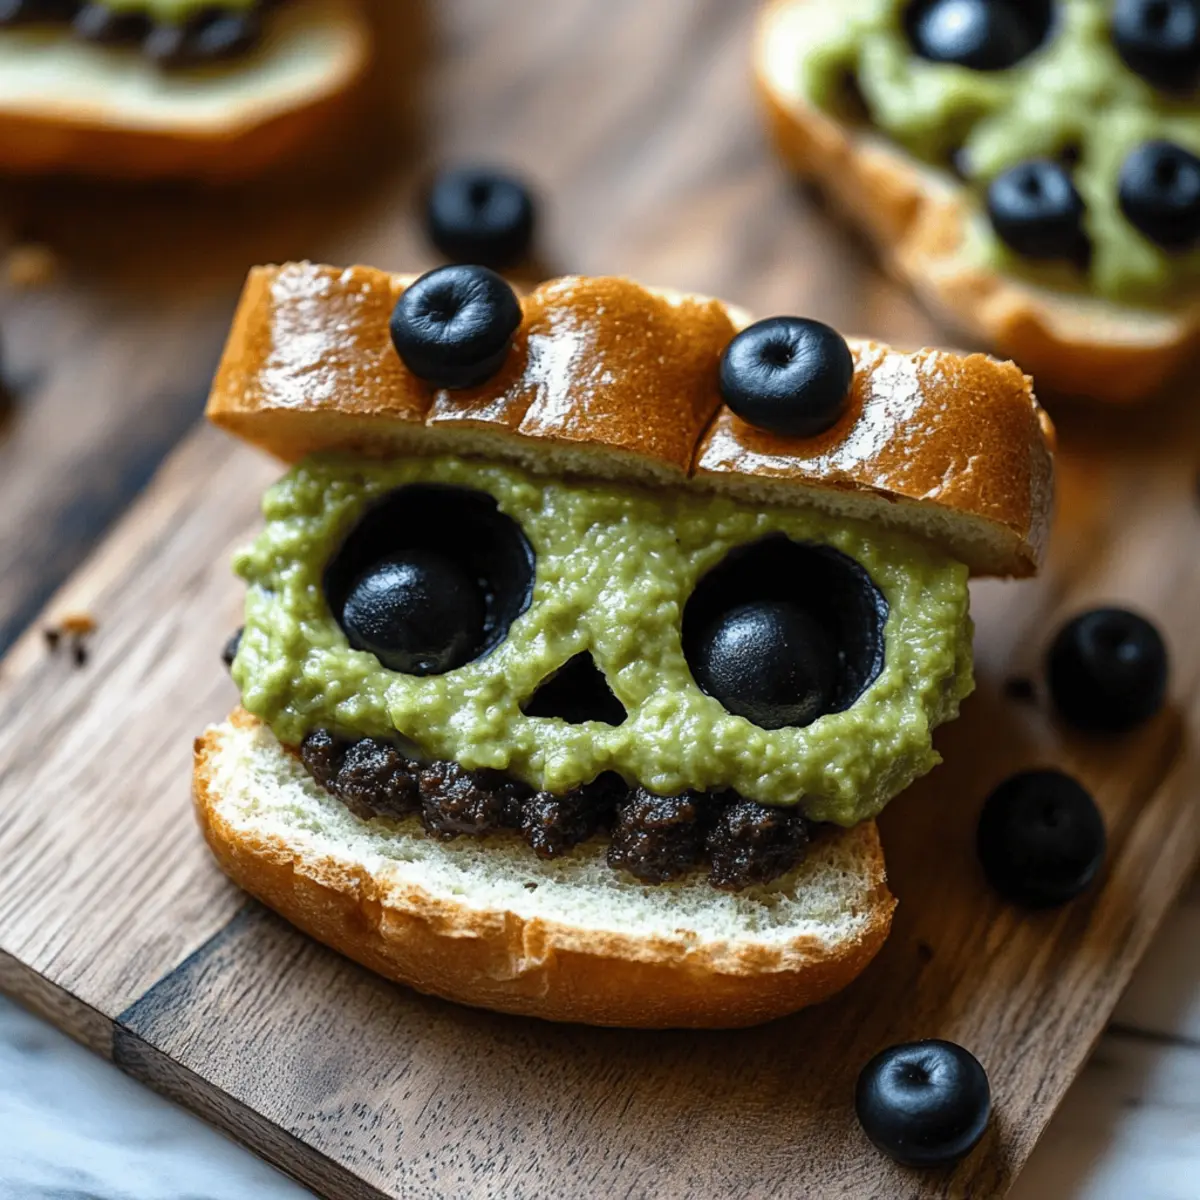
- Lettuce, Tomato, Pickles – Fresh and crunchy; these toppings add flavor and balance to your Cheeseburger Skulls!
Enjoy crafting these whimsical Cheeseburger Skulls with Bone-In Buns that both taste amazing and look delightfully spooky!
Step‑by‑Step Instructions for Cheeseburger Skulls with Bone-In Buns
Step 1: Prepare the Skull Molds
Begin by generously greasing eight skull cavities in your baking pan with softened butter. Make sure to coat each cavity well to prevent the buns from sticking. This will help release the adorable Cheeseburger Skulls effortlessly after baking, allowing their spooky shapes to shine.
Step 2: Make the Dough
In a large mixing bowl, combine all-purpose flour, granulated sugar, salt, instant yeast, and cubed unsalted butter. Mix these dry ingredients well before adding lukewarm water and an egg. Stir until a rough dough forms, ensuring even distribution of the ingredients.
Step 3: Knead Dough
Transfer the rough dough onto a lightly floured surface. Knead the dough by hand or with a stand mixer fitted with a dough hook for about 5-7 minutes. You'll know it's ready when the dough is smooth, elastic, and springs back gently when poked. This step is vital for achieving the perfect texture in your Cheeseburger Skulls.
Step 4: First Rise
Place the kneaded dough in a greased bowl, cover it with a clean towel or plastic wrap, and let it rise in a warm spot for 1-2 hours. This is where the magic happens, as the dough will double in size, becoming light and fluffy. Keep an eye on it and be ready for some delicious dynamics!
Step 5: Shape the Buns
Once the dough has risen, gently deflate it and divide it into eight equal pieces. Take each piece and press it firmly into the prepared skull molds, ensuring the dough fills every nook and cranny. This ensures your Cheeseburger Skulls will have the right spooky shape!
Step 6: Second Rise
Cover the filled molds lightly and let them rest for another hour while your oven preheats to 375°F (190°C). During this time, the dough will rise again, puffing up in the molds and preparing to become golden, delicious buns.
Step 7: Bake Buns
Carefully place the molds in the preheated oven and bake for 14-18 minutes. Rotate the pans halfway through baking to ensure even cooking. The buns should be golden brown and look wonderfully crusty when done, adding an enticing aroma to your kitchen.
Step 8: Cool Buns
Once baked, remove the pans from the oven and let them cool for a few minutes. Then, invert the molds onto a cooling rack and gently tap them to release the Cheeseburger Skulls. Brush the warm buns with a bit of melted butter for added richness and a glossy finish!
Step 9: Prepare Patties
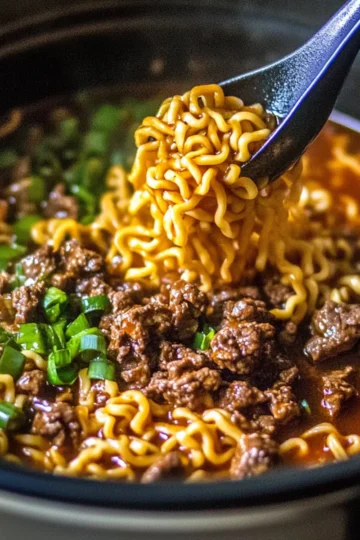
While the buns cool, shape the ground beef into skull-shaped patties, seasoning them generously. In a hot skillet, cook the patties over medium heat for about 3 minutes per side. Just before they finish cooking, place a slice of cheese on top to melt perfectly, ensuring a delicious surprise with each bite.
Step 10: Assemble Burgers
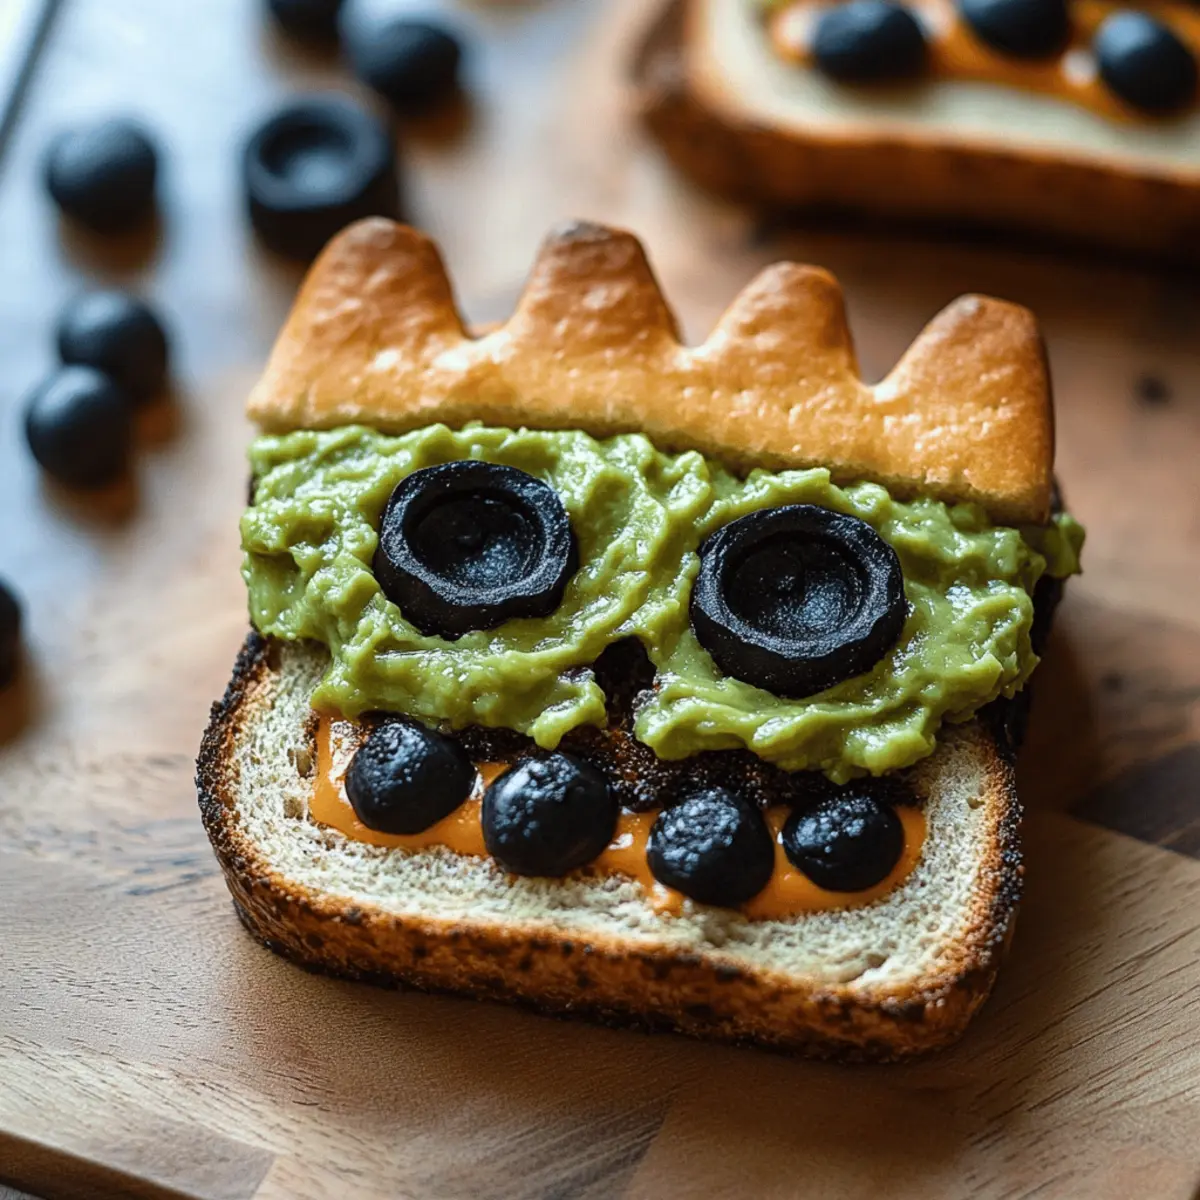
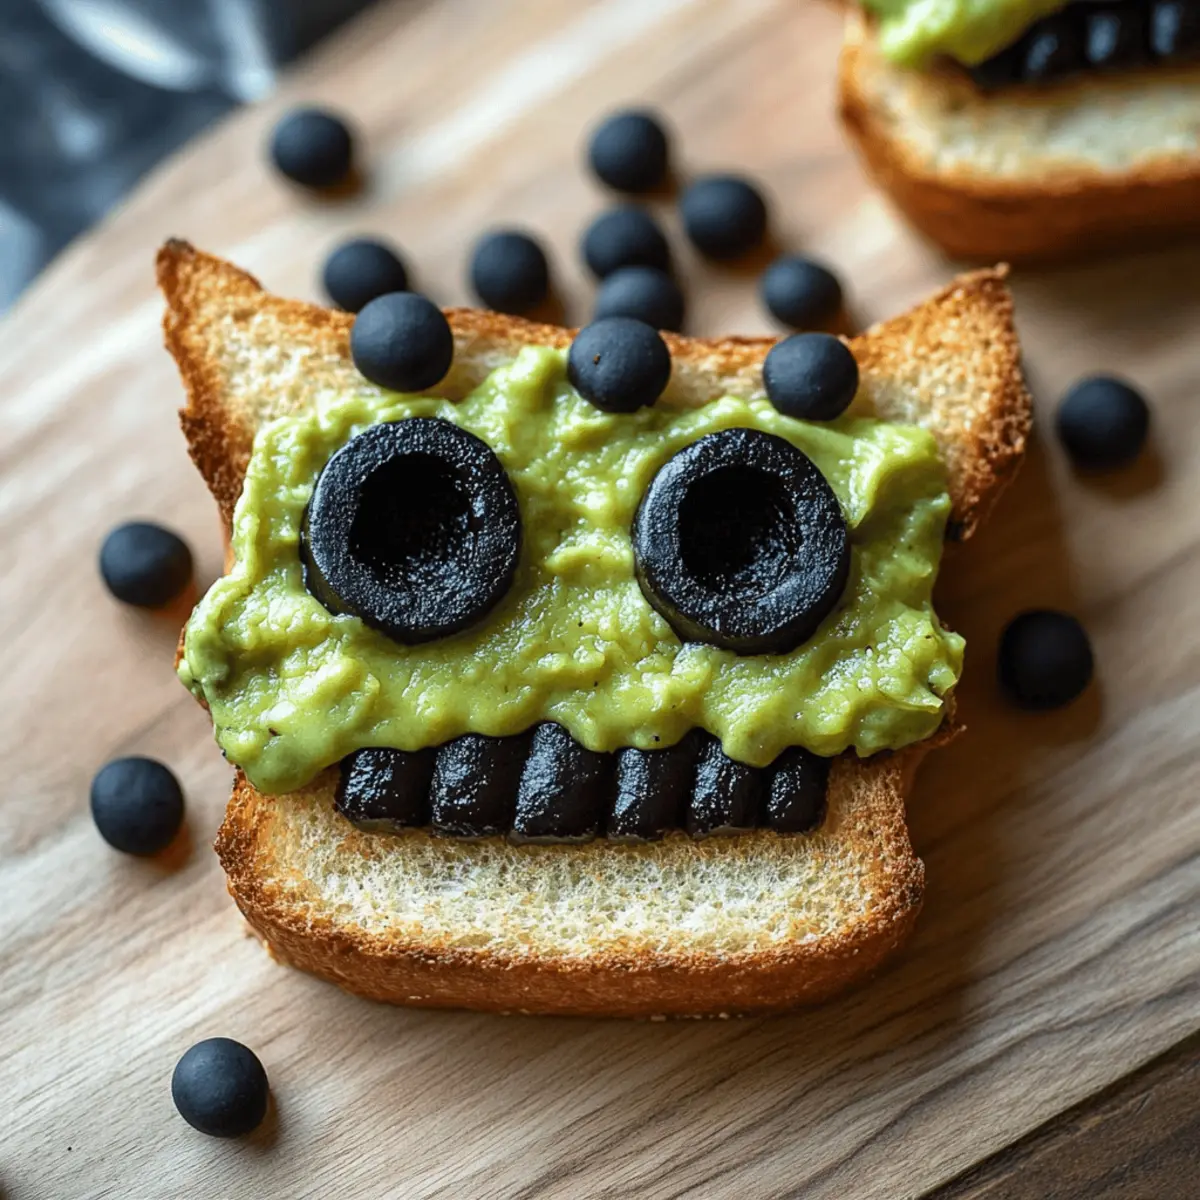
Slice the cooled skull buns and lay down the burger patties inside. Layer with fresh lettuce, tomato slices, and pickles to add crunch and flavor. For the finishing touch, drizzle your favorite condiments over the top, making your Cheeseburger Skulls an irresistible spooky treat!
Storage Tips for Cheeseburger Skulls
-
Room Temperature: Keep baked Cheeseburger Skulls in an airtight container for up to 3 days. This preserves their freshness and prevents them from drying out.
-
Fridge: Store assembled burgers in the refrigerator for up to 1 day. Place them in an airtight container and keep toppings separately to maintain texture.
-
Freezer: For longer storage, freeze individually wrapped buns for up to 2 months. Ensure they're tightly wrapped to avoid freezer burn.
-
Reheating: Reheat frozen buns in a foil-wrapped oven at 350°F (175°C) for about 10-15 minutes, ensuring they remain soft and warm before assembling your spooky cheeseburgers again.
Make Ahead Options
These Cheeseburger Skulls with Bone-In Buns are perfect for busy home cooks looking to save time during hectic weeks! You can prepare the skull-shaped buns up to 24 hours in advance by following the initial steps—make the dough, shape it in the molds, and let it rise. After shaping, cover the molds and refrigerate them. When you’re ready to bake, simply let them sit at room temperature for about 30 minutes to an hour before preheating the oven. You can also cook the beef patties a day prior and reheat them on the stovetop; just be sure to cover them to keep them juicy. By prepping ahead, you’ll have delicious, eye-catching burgers ready to impress your guests with minimal effort!
Tips for the Best Cheeseburger Skulls
-
Softened Butter: Ensure the butter is perfectly softened for greasing the molds; this prevents your Cheeseburger Skulls from sticking and losing their spooky shape.
-
Kneading Technique: Knead the dough until smooth and elastic; proper kneading helps develop gluten, resulting in fluffy buns that aren’t dense.
-
Rise Time: Allow the dough to fully double during the first rise; this is crucial for achieving that light, airy texture in your buns.
-
Temperature Check: Always preheat your oven, and be sure you rotate baking pans halfway through for even browning, ensuring beautiful, golden buns.
-
Cool Before Slicing: Let your baked buns cool completely before slicing them; this maintains their shape and prevents any mishaps during assembly.
What to Serve with Cheeseburger Skulls with Bone-In Buns?
Elevate your spooky feast with delightful sides and drinks that perfectly complement the fun and flavors of your cheeseburger creation.
-
Crispy French Fries: Nothing beats the classic pairing of crispy fries with juicy burgers. The crunch and salty flavor of fries contrast beautifully with the soft cheeseburger buns.
-
Sweet Potato Wedges: These offer a slightly sweet, hearty flavor that beautifully balances the savory decadence of the cheeseburger. Their natural sweetness enhances the overall taste experience.
-
Coleslaw: A refreshing, crunchy side that adds a zesty, tangy element, cutting through the richness of the cheeseburger. The creamy texture pairs wonderfully with the playful theme.
-
Pickled Vegetables: Serve a colorful assortment of pickles or pickled onions for a delightful tartness. They add an unexpected pop of flavor that complements the burgers' juicy fillings.
-
Garden Salad: A crisp, fresh salad with mixed greens, cucumbers, and cherry tomatoes lightens the meal. Toss it with a tangy vinaigrette to brighten the flavors on your plate.
-
Pumpkin Ale: Lean into the Halloween spirit with a seasonal pumpkin ale. Its subtle spices and sweetness pair well with beef, creating a festive beverage option for your dinner.
-
Chocolate Mousse: For dessert, indulge in a rich chocolate mousse that offers the perfect finish to your spooky meal. Its velvety texture will leave everyone enchanted!
Embrace the excitement of your themed dinner with these complementary dishes and drinks, making every bite an unforgettable celebration!
Cheeseburger Skulls with Bone-In Buns
There's no limit to your creativity here—let your imagination run wild as you make this spooky treat.
- Cheese Variations: Try different cheeses for a flavor twist! Gouda or Pepper Jack add a smoky or spicy kick to each bite—perfect for adventurous eaters.
- Meat Substitutions: Swap ground beef for ground turkey or plant-based options for a lighter, healthier twist. These alternatives can be equally satisfying!
- Spice It Up: Mix in your favorite spices like garlic powder or chili flakes into the beef for added flavor. Just a pinch can elevate the deliciousness to a whole new level.
- Sweet Potato Buns: For a gluten-free version, replace the skull buns with sweet potato slices. Grilled until tender, they add an interesting sweetness to the meal!
- Veggie Fillings: Load up the burgers with sautéed mushrooms or grilled onions for an extra flavor boost. These toppings add delightful texture and richness.
- Amazing Add-Ons: Try slathering the buns with a bit of garlic butter or herb-infused olive oil before assembling. It will enhance their flavor and make them irresistible!
- Fun Shapes: If you don’t have skull molds, consider using cookie cutters for shaped buns. Hearts or stars fit right in for any festive occasion!
- Creative Condiments: Experiment with different toppings and sauces—think spicy mustard, BBQ sauce, or even avocado for a creamy contrast! Adding a personal touch never goes out of style.
These Cheeseburger Skulls are all about bringing joy and creativity to your table, so don’t hesitate to play around! Pair them with a fresh side salad or maybe some crispy fries, like my delightful Potato Patties Lentils for balance. Enjoy the process as much as the delicious end result!
Cheeseburger Skulls with Bone-In Buns Recipe FAQs
What type of flour is best for the buns?
All-purpose flour is perfect for these buns as it provides the right structure. However, if you want a chewier texture, I recommend using bread flour instead!
How should I store the baked Cheeseburger Skulls?
Store your baked Cheeseburger Skulls in an airtight container at room temperature for up to 3 days to keep them fresh. If you want them to last longer, you can freeze them individually wrapped for up to 2 months.
Can I freeze the assembled cheeseburgers?
Absolutely! I suggest freezing the patties separately from the buns and toppings. Wrap each assembled burger tightly in plastic wrap and foil, then store in the freezer for up to 2 months. To reheat, unwrap and bake in a preheated oven at 350°F for about 15-20 minutes until warmed through.
What if my dough doesn’t rise?
If your dough doesn’t rise, it could be due to the yeast not being activated. Make sure the water is warm (but not hot) when mixing with the yeast and that it’s fresh. If using instant yeast, check its expiration date. Giving the dough a warm environment to rise—like a slightly warmed oven—can also help!
Can I make these burgers vegetarian?
Yes! Simply swap the ground beef for a plant-based alternative like lentils or chickpeas, or use a store-bought veggie burger. For the cheese, opt for vegan cheese slices to keep the recipe fully plant-based. Enjoy crafting these spooky treats for everyone!
Cheeseburger Skulls with Bone-In Buns: A Spooky Delight
Ingredients
Equipment
Method
- Prepare the skull molds by greasing them with softened butter.
- Make the dough by mixing flour, sugar, salt, and yeast, then adding butter, water, and egg.
- Knead the dough for about 5-7 minutes until smooth and elastic.
- Let the dough rise in a greased bowl for 1-2 hours until doubled in size.
- Shape the dough into eight pieces and fill the greased skull molds.
- Let the filled molds rise again for one hour while preheating the oven.
- Bake the buns in a preheated oven for 14-18 minutes until golden brown.
- Cool the buns before releasing them from the molds and optionally brush with melted butter.
- Prepare skull-shaped patties and cook over medium heat until done, adding cheese to melt just before finishing.
- Assemble the burgers in cooled buns with toppings and your favorite condiments.


Leave a Reply