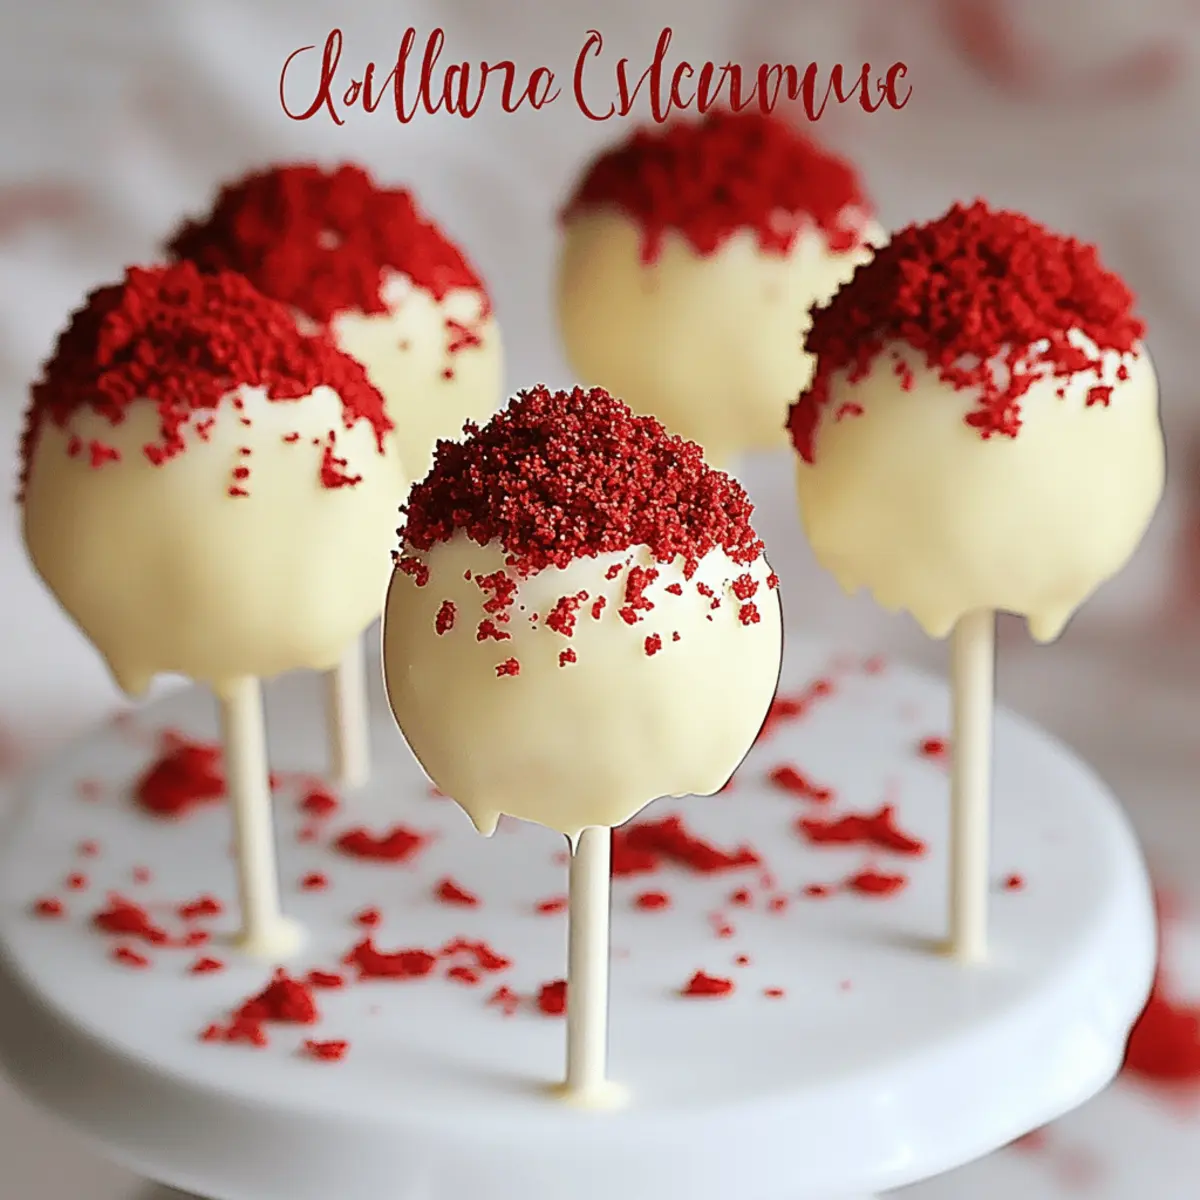
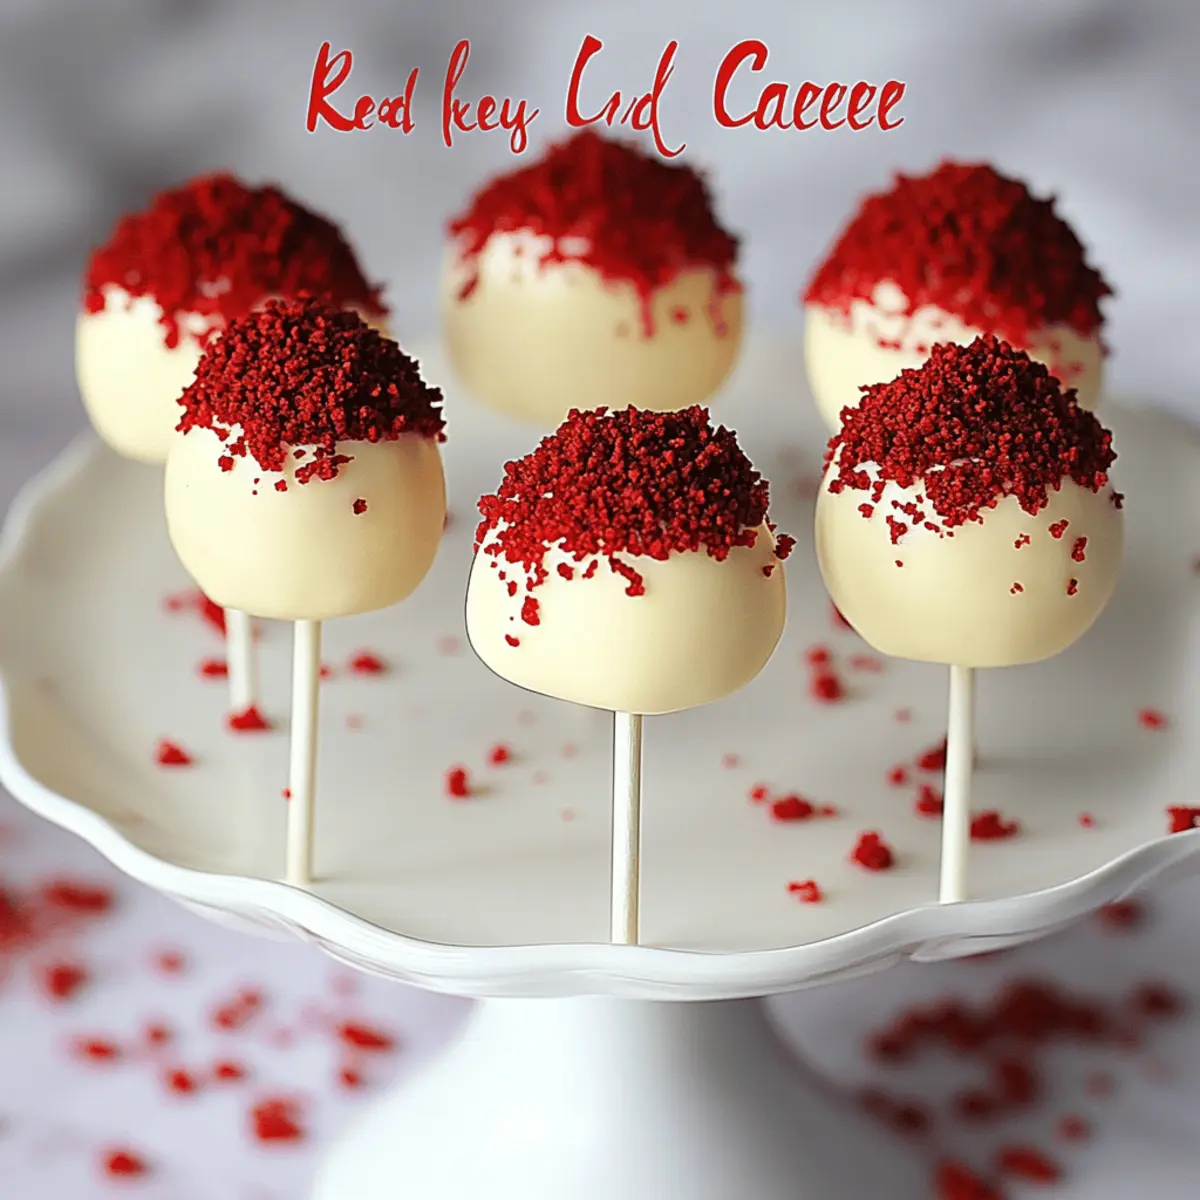
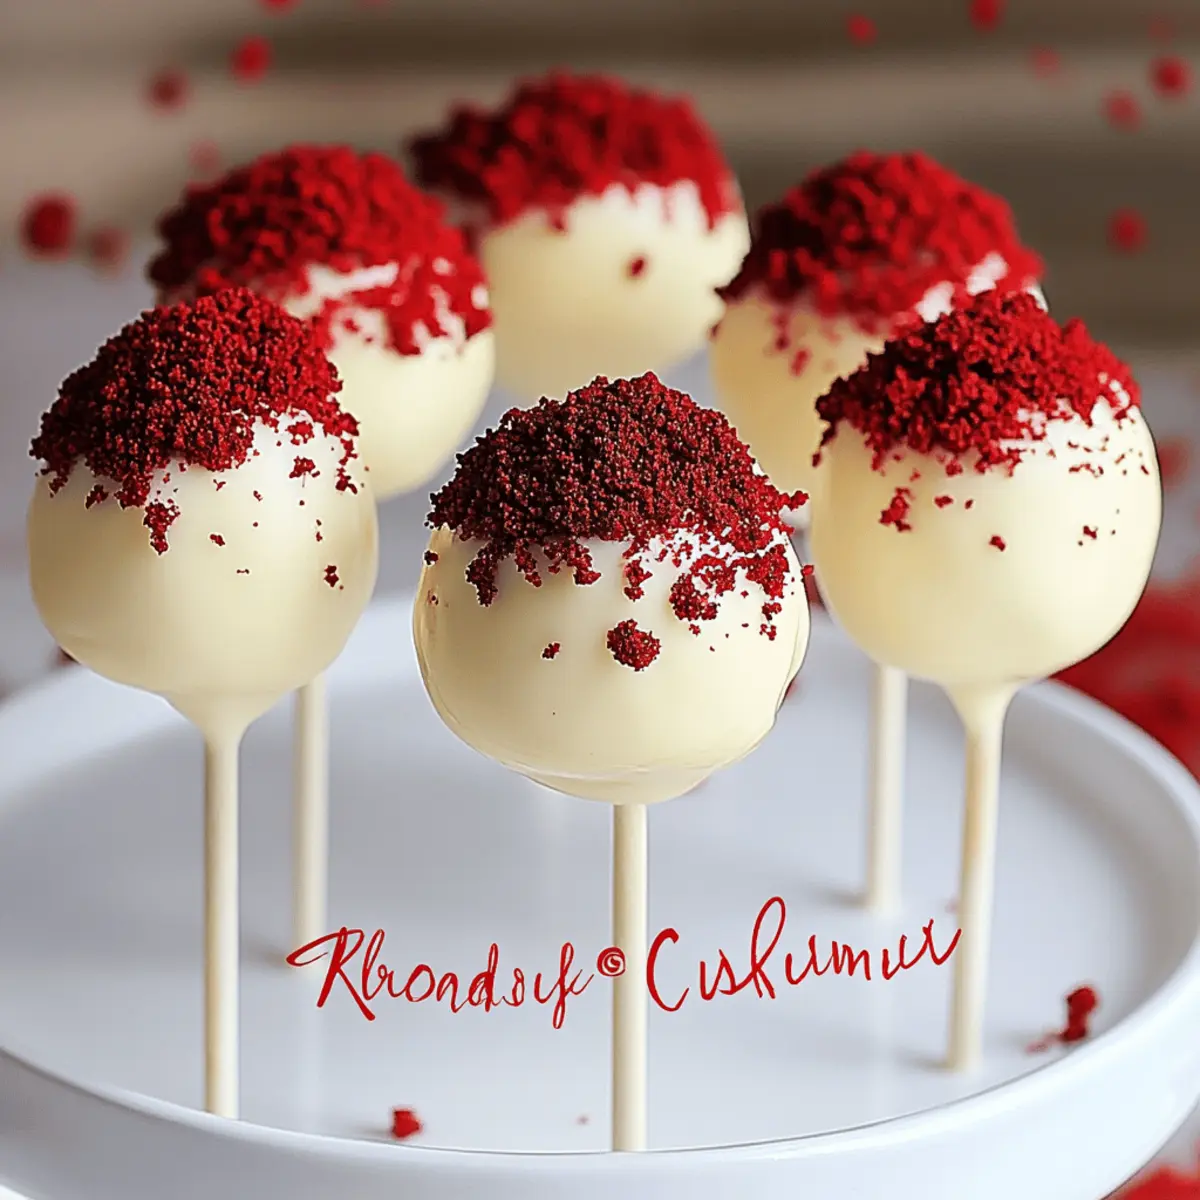
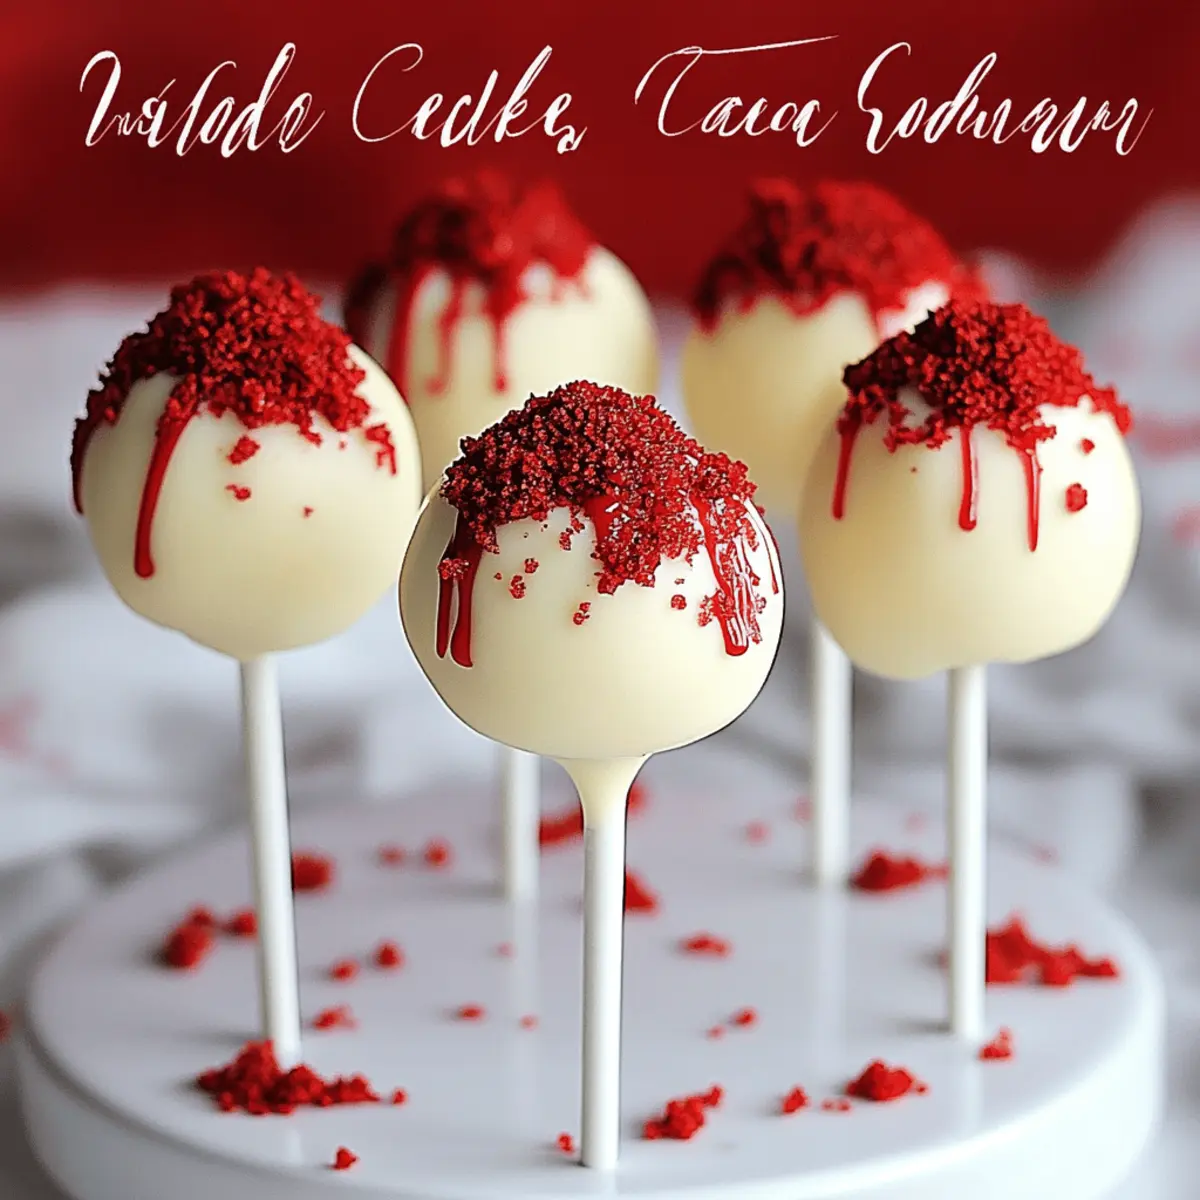
As the sun streams through the kitchen window, I can’t help but recall the smiles on my friends’ faces when they took their first bites of my Red Velvet Cheesecake Pops. These delightful treats are a no-bake wonder that marries the richness of creamy cheesecake with the moist allure of red velvet cake, all elegantly presented on a stick. Not only are they a showstopper for any gathering, but they also offer the added benefit of being completely customizable—swap out toppings or coatings to match your theme! Perfect for parties or simply satisfying a sweet craving without the hassle of oven time, these pops are sure to bring joy with each indulgent bite. So, are you ready to brighten up your dessert table with a playful twist? Let's dive into this scrumptious recipe together!
Why are Red Velvet Cheesecake Pops a Must-Try?
Simplicity: These pops are a no-bake delight, requiring minimal time and effort—perfect for busy home cooks!
Customizable: With endless options for coatings and toppings, you can easily tailor them to any occasion or personal taste preferences.
Delightful Presentation: The elegant stick presentation makes them a crowd-pleaser at parties and gatherings, adding an exciting visual element to your dessert table.
Decadent Flavor: Each bite offers a luscious combination of rich creaminess and the classic red velvet taste, ensuring satisfaction for all dessert lovers.
Make-Ahead Friendly: Whip up a batch ahead of time and store them in the fridge—ideal for stress-free celebrations or when the sweet tooth strikes!
Elevate your dessert game by pairing them with tips from our storage or make-ahead tips section, and watch how they disappear in no time!
Red Velvet Cheesecake Pops Ingredients
For the Cake Base
- Red Velvet Cake – Core structure and flavor base; using half a cake helps prevent oversized pops.
For the Cheesecake Mixture
- Cream Cheese – Provides the creamy cheesecake texture; ensure it's softened for easier mixing.
- Icing (Frosting) – Binds cake crumbs together without making them overly sticky; adjust the amount for the right consistency.
For the Coating
- White Chocolate Melts – Adds sweetness and a smooth finish; high-quality melts are recommended for best results.
- Sprinkles/Decorative Toppings – Enhance visual appeal and add fun textures; consider using crushed freeze-dried raspberries or edible glitter for a twist.
Enjoy making these delightful Red Velvet Cheesecake Pops that are a hit at any gathering!
Step‑by‑Step Instructions for Red Velvet Cheesecake Pops
Step 1: Prepare Red Velvet Cake
Begin by crumbling half a batch of your cooled red velvet cake into fine crumbs, using your hands or a fork. Aim for a sandy texture that will combine with the icing seamlessly. This base will provide the flavorful core for your Red Velvet Cheesecake Pops, so take your time to ensure the crumbs are consistent.
Step 2: Mix with Icing
In a large mixing bowl, combine the red velvet cake crumbs with your chosen icing until the mixture holds together but isn’t overly sticky. This should take about 2-3 minutes of gentle folding. You want a consistency that allows you to shape the mixture into firm balls without crumbling, ensuring that the flavors meld beautifully.
Step 3: Shape Cake Balls
Using your hands, roll small portions of the mixture into firm balls, about 1 inch in diameter. Place the formed cake balls on a baking sheet lined with parchment paper. Chill them in the refrigerator for 15-20 minutes until they are firm and set, which will make wrapping them with cheesecake much easier.
Step 4: Make Cheesecake Patties
While the cake balls chill, scoop out portions of softened cream cheese and icing mixture to form flat patties. Each patty should be large enough to completely enclose a cake ball. Smooth the edges as you go, which will create a nice, seamless finish on your Red Velvet Cheesecake Pops for that elegant presentation.
Step 5: Wrap Cake Balls
Once the cake balls are firm, take each one and carefully encase it within a cheesecake patty, molding the cream cheese mixture around the ball. Press gently to seal it completely. This step ensures that the pops are both decadent and creamy, with a delightful surprise of red velvet inside.
Step 6: Insert Sticks
To secure the cake pops, melt a small amount of white chocolate in a microwave-safe bowl until smooth. Dip one end of your cake pop sticks in the melted chocolate, then gently insert the stick into the center of each cheesecake ball halfway through. This acts as a glue to hold the stick in place while adding a sweet touch.
Step 7: Chill Pops
Now, place the pops upright in a foam block or a parchment-lined container. Chill them in the refrigerator for about 30 minutes, allowing the cheesecake layer to firm up further, which will help during the coating process and enhance the overall texture of the Red Velvet Cheesecake Pops.
Step 8: Coat in Chocolate
Finally, melt the remaining white chocolate until smooth. Dip each chilled pop into the melted chocolate, ensuring it’s completely covered. Allow the excess chocolate to drip off before placing the pops back onto parchment paper or a cooling rack. Let them sit at room temperature to harden up, or if you’re in a hurry, chill in the fridge for about 10-15 minutes.
Make Ahead Options
These Red Velvet Cheesecake Pops are perfect for meal prep enthusiasts! You can prepare the cake balls and cheesecake patties up to 24 hours in advance, storing them in the refrigerator on a parchment-lined tray. To maintain their delectable texture, ensure they’re tightly wrapped to prevent drying out. When you're ready to finish them, simply wrap the chilled cheesecake patties around the cake balls, insert the sticks, and allow them to chill again for about 30 minutes before coating in melted white chocolate. This make-ahead strategy not only saves valuable time but also ensures your pops are just as delicious, ready to delight your guests with minimal effort!
What to Serve with Red Velvet Cheesecake Pops?
Enhance your gathering with delightful accompaniments that elevate the charm of your Red Velvet Cheesecake Pops.
- Fresh Berries: A medley of strawberries, raspberries, and blueberries provides a refreshing contrast that lightens the richness of the pops.
- Fruit Salad: A vibrant fruit salad adds a splash of color and flavor, harmonizing beautifully with the sweet creaminess of the pops.
- Vanilla Ice Cream: The creamy, cool texture of vanilla ice cream pairs perfectly with the cake pops for an indulgent dessert experience.
- Chocolate Dipping Sauce: A warm chocolate sauce invites guests to dip and enjoy, intensifying the decadent flavor experience of each pop.
- Sparkling Wine: A bubbly glass of sparkling wine complements the sweetness of the pops, making every bite feel like a celebration.
- Coffee or Espresso: The rich, bold flavors of coffee or espresso create a delightful balance, enhancing the dessert's overall flavor profile.
These pairings not only enrich your dessert spread but create memorable experiences that linger with your guests long after the last pop is devoured!
Red Velvet Cheesecake Pops Variations
Feel free to let your creativity shine and customize your Red Velvet Cheesecake Pops with these delightful ideas!
-
Dark Chocolate Coating: Swap the white chocolate for dark chocolate melts for a richer, more intense flavor. The boldness of dark chocolate pairs beautifully with the sweetness of the cake.
-
Nutty Twist: Sprinkle crushed nuts like almonds or pecans on your melted chocolate coating. This adds a delightful crunch, elevating the texture and flavor profile of your pops.
-
Creamy Cheesecake Flavors: Substitute a portion of the cream cheese with flavored cream cheese spreads like strawberry or raspberry. This twist will give your pops a fruity surprise in every decadent bite.
-
Spicy Kick: Add a dash of cayenne pepper or chili powder to the cheesecake mix for a surprising heat that contrasts beautifully with the sweetness. This flavor contrast is sure to intrigue your guests!
-
Colorful Candy Melts: Get festive by using colorful candy melts for coating. Choose colors that match your theme, creating pops that are not only delicious but visually stunning as well.
-
Festive Sprinkles: Instead of traditional sprinkles, try using themed toppings for specific occasions—think red and green for Christmas or pastel colors for Easter. Customize each batch for the perfect celebratory touch!
-
Cheesecake Swirl: For a marbled effect, mix a little melted chocolate into the cheesecake mixture before wrapping the cake balls. This will create a beautiful pattern that’s as pleasing to the eye as it is to the palate.
-
Boozy Pops: For an adult twist, incorporate a splash of your favorite liqueur, such as Baileys or Frangelico, into the cheesecake mixture. This adds a sophisticated touch that’s perfect for parties.
Explore these variations and make each batch uniquely yours! And if you're looking for more ideas on how to present these pops, check out our creative serving suggestions to elevate that dessert table even further!
Expert Tips for Red Velvet Cheesecake Pops
-
Stay Cool: Work quickly when wrapping the cheesecake around the cake balls to prevent it from warming up and becoming difficult to shape.
-
Prevent Sticking: Keep a bowl of cold water nearby to dip your hands in while forming cheesecake patties—this will help prevent sticking.
-
Chill Firmly: Always chill the cake balls before wrapping them in cheesecake. A firm ball makes it easier to encase and shapes the final Red Velvet Cheesecake Pops beautifully.
-
Quality Ingredients Matter: Use high-quality white chocolate melts for coating, as they yield a smoother finish and richer flavor that enhances the final dessert.
-
Creative Toppings: Don’t hesitate to experiment with different coatings, such as dark chocolate or colorful candy melts, and toppings like crushed freeze-dried fruits for a delightful twist!
How to Store and Freeze Red Velvet Cheesecake Pops
Room Temperature: Store your pops at room temperature for up to 2 hours if serving at a party; beyond that, it's best to move them to the fridge.
Fridge: Keep Red Velvet Cheesecake Pops in an airtight container in the fridge for up to 4 days. This helps maintain their creamy texture and delicious flavor.
Freezer: For longer storage, freeze individual pops in a single layer on a baking sheet, then transfer to an airtight container for up to 1 month. Thaw in the fridge before serving.
Reheating: These delightful pops are best served chilled; do not attempt to reheat them, as it may compromise their creamy cheesecake texture and enjoyment.
Red Velvet Cheesecake Pops Recipe FAQs
How do I choose the right ripeness for my cream cheese?
Absolutely! For the best results, use cream cheese that is softened to room temperature, which makes it easier to blend smoothly with the other ingredients. Just take it out of the fridge about 30-60 minutes before you start and allow it to sit on the counter. If it’s too firm, you might end up with clumps in your delicious Red Velvet Cheesecake Pops!
What is the best way to store Red Velvet Cheesecake Pops?
You can keep your Red Velvet Cheesecake Pops in an airtight container in the fridge for up to 4 days. This keeps them fresh and maintains their delicious creamy texture. If you plan to enjoy them later, storing them in the freezer is a great option too!
Can I freeze Red Velvet Cheesecake Pops?
Certainly! To freeze, first arrange your pops in a single layer on a baking sheet and freeze for about 1 hour until solid. Once they're firm, transfer them to an airtight container or freezer bag for up to 1 month. When you're ready to indulge, just thaw them in the fridge for a few hours before serving.
What should I do if the cheesecake mixture is too sticky?
Very! If you find that your cheesecake mixture is too sticky to handle, try chilling it in the refrigerator for about 15 minutes before rolling it into patties. If the issue persists, you can mix in a little extra icing or a dusting of powdered sugar to adjust the consistency without losing that yummy flavor.
Are Red Velvet Cheesecake Pops safe for kids and pets?
While these pops are perfect for kids, keep in mind that the cream cheese and white chocolate are not suitable for pets. Always check for allergies, particularly to dairy, when serving dessert to family and friends—especially the little ones who might be extra sensitive!
Can I customize the toppings for the Red Velvet Cheesecake Pops?
Absolutely! The more the merrier! You can get creative with your pops by using various toppings like crushed freeze-dried fruits, sprinkles, or even a drizzle of caramel sauce. These variations add both fun and flavor, making each pop uniquely yours.
Irresistible Red Velvet Cheesecake Pops for Your Sweet Cravings
Ingredients
Equipment
Method
- Crumble half a batch of cooled red velvet cake into fine crumbs.
- Combine cake crumbs with icing until mixture holds together.
- Roll small portions into 1 inch balls and chill for 15-20 minutes.
- Scoop out portions of cream cheese and icing to form flat patties.
- Encapsulate cake balls in cheesecake patties, sealing them effectively.
- Dip cake pop sticks in melted white chocolate and insert into each pop.
- Chill pops upright for about 30 minutes.
- Coat each chilled pop in melted white chocolate and let them harden.


Leave a Reply