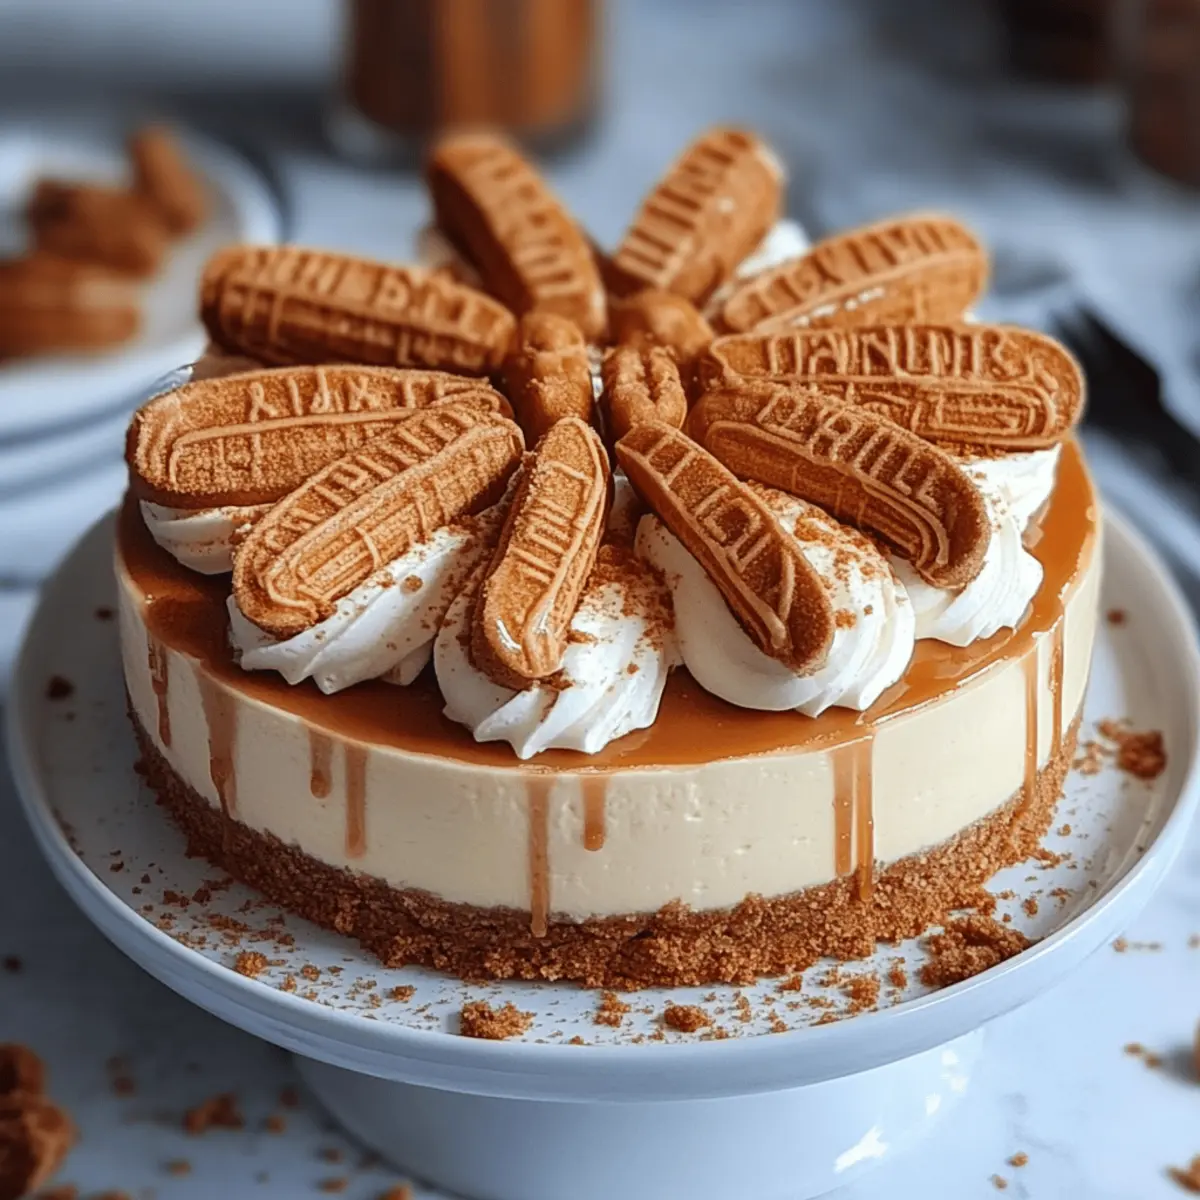
As I stood in the kitchen one sunny afternoon, the smell of warm caramelized sugar from Biscoff cookies wafted through the air, kindling memories of cozy gatherings and sweet indulgences. That's when I decided to whip up a No-Bake Biscoff Cheesecake, a dessert that promises delicious elegance without the fuss of baking. This luxurious treat features a rich, creamy filling enveloped in a delightfully crunchy biscuit base—perfect for impressing guests or treating yourself after a long day. Its simple preparation means you can spend less time in the kitchen and more time enjoying life, making it an ideal choice for warm days or festive occasions. Ready to dive into this creamy paradise? Let’s make some cheesecake magic together!
Why is this cheesecake a must-try?
Simplicity at its finest: This No-Bake Biscoff Cheesecake requires no oven time, making it effortlessly easy to prepare.
Irresistible flavor: The delightful fusion of Biscoff cookies creates a deep, caramelized taste that will leave your taste buds dancing.
Creamy texture: Indulge in the velvety sweetness from the cream cheese and whipped double cream, delivering a rich experience with every bite.
Crowd-pleaser: This dessert is sure to impress friends and family at your next gathering, becoming an instant favorite!
Versatility: Feel free to customize it by adding fresh berries or trying it with different cookie bases. Discover more ideas in our variation section!
Quick prep: You can whip it up in just a few minutes; chill it, and it’s ready to serve whenever needed!
No-Bake Biscoff Cheesecake Ingredients
For the Biscuit Base
• Lotus Biscuits – Provide structure and crunch for the base; feel free to substitute with digestive biscuits or graham crackers.
• Unsalted Butter – Binds the biscuit crumbs for the crust; ensure it’s melted for proper mixing.
For the Cheesecake Filling
• Full-Fat Cream Cheese – Delivers a rich and creamy filling; avoid low-fat alternatives for best texture.
• Icing Sugar – Adds sweetness and smoothness to the filling; can swap with powdered erythritol for a low-sugar version.
• Biscoff Spread – Infuses the cheesecake with caramelized flavor; can be substituted with cookie butter or similar spreads.
• Double Cream – Whipped to create a fluffy, thick texture in the filling; use thickened cream or heavy cream if unavailable.
This No-Bake Biscoff Cheesecake is a dream come true for dessert lovers!
Step‑by‑Step Instructions for No-Bake Biscoff Cheesecake
Step 1: Prepare the Biscuit Base
Start by placing 250g of Lotus biscuits into a food processor. Blitz them until they become fine crumbs, resembling sand. Melt 125g of unsalted butter in a microwave or on the stove until fully liquid. In a mixing bowl, combine the biscuit crumbs with the melted butter, ensuring an even coating, then press the mixture firmly into the bottom of an 8-inch springform tin to form a solid base.
Step 2: Make the Creamy Filling
In a large mixing bowl, add 400g of full-fat cream cheese, 100g of icing sugar, and 200g of Biscoff spread. Use a hand mixer on low speed to blend the ingredients until smooth and creamy. Take your time to ensure there are no lumps, creating a luscious filling for your No-Bake Biscoff Cheesecake. Meanwhile, whip 300ml of double cream in another bowl until it achieves soft peaks; this will add lightness to your filling.
Step 3: Combine the Mixtures
Gently fold the whipped double cream into the cream cheese mixture using a spatula. Be careful to maintain the airy texture of the cream as you combine these two mixtures. Continue folding until fully incorporated, ensuring a uniform and fluffy filling. This step is crucial for achieving the cheesecake's luxurious, creamy consistency.
Step 4: Assemble the Cheesecake
Once your filling is ready, pour it evenly over the chilled biscuit base in the springform tin. Using a spatula, smooth out the top to create an even surface. Take a moment to make sure there are no air pockets in the filling. This ensures the No-Bake Biscoff Cheesecake will have a beautiful presentation once set.
Step 5: Chill to Set
Cover the springform tin with cling film and place it in the refrigerator. Allow the cheesecake to chill for at least 5-6 hours, or ideally overnight, until it has firmed up completely. This waiting time is essential for the flavors to meld beautifully and gives the cheesecake its signature velvety texture.
Step 6: Garnish and Serve
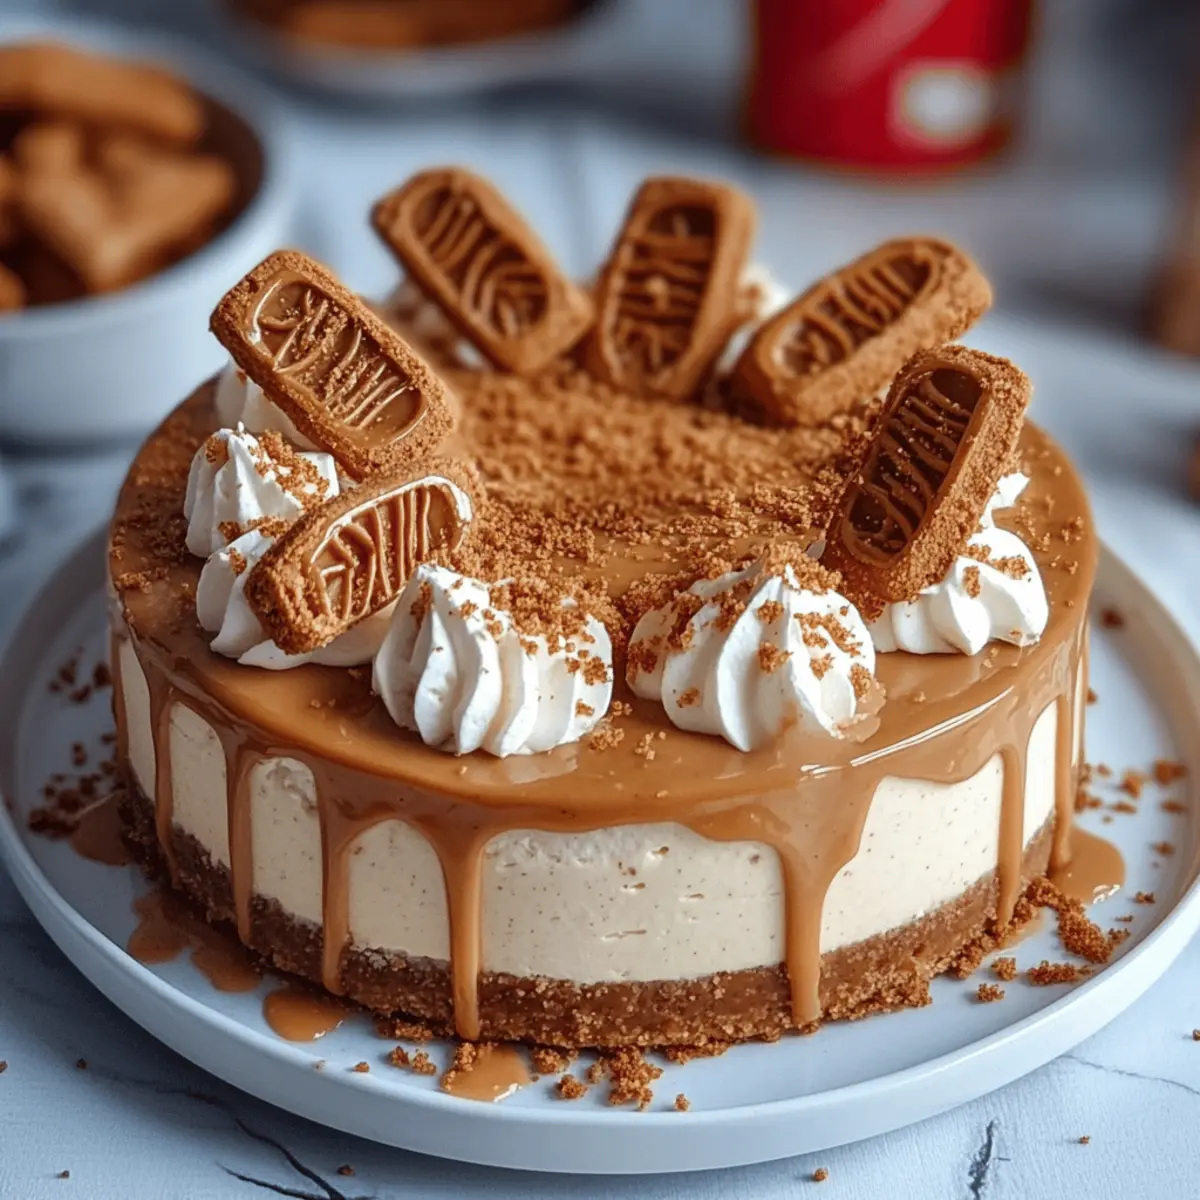
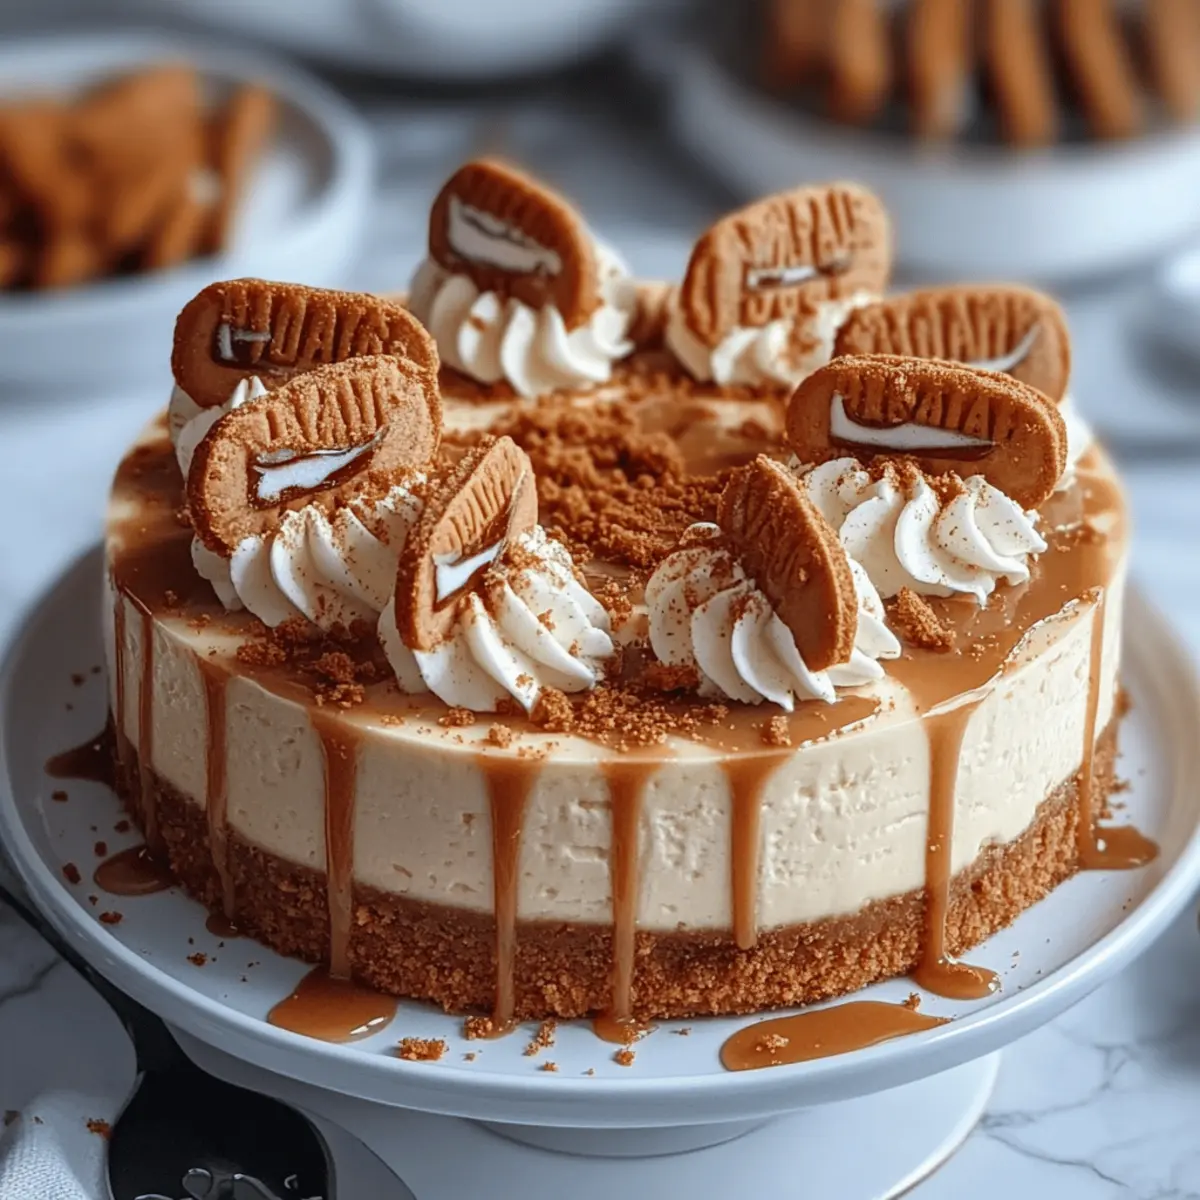
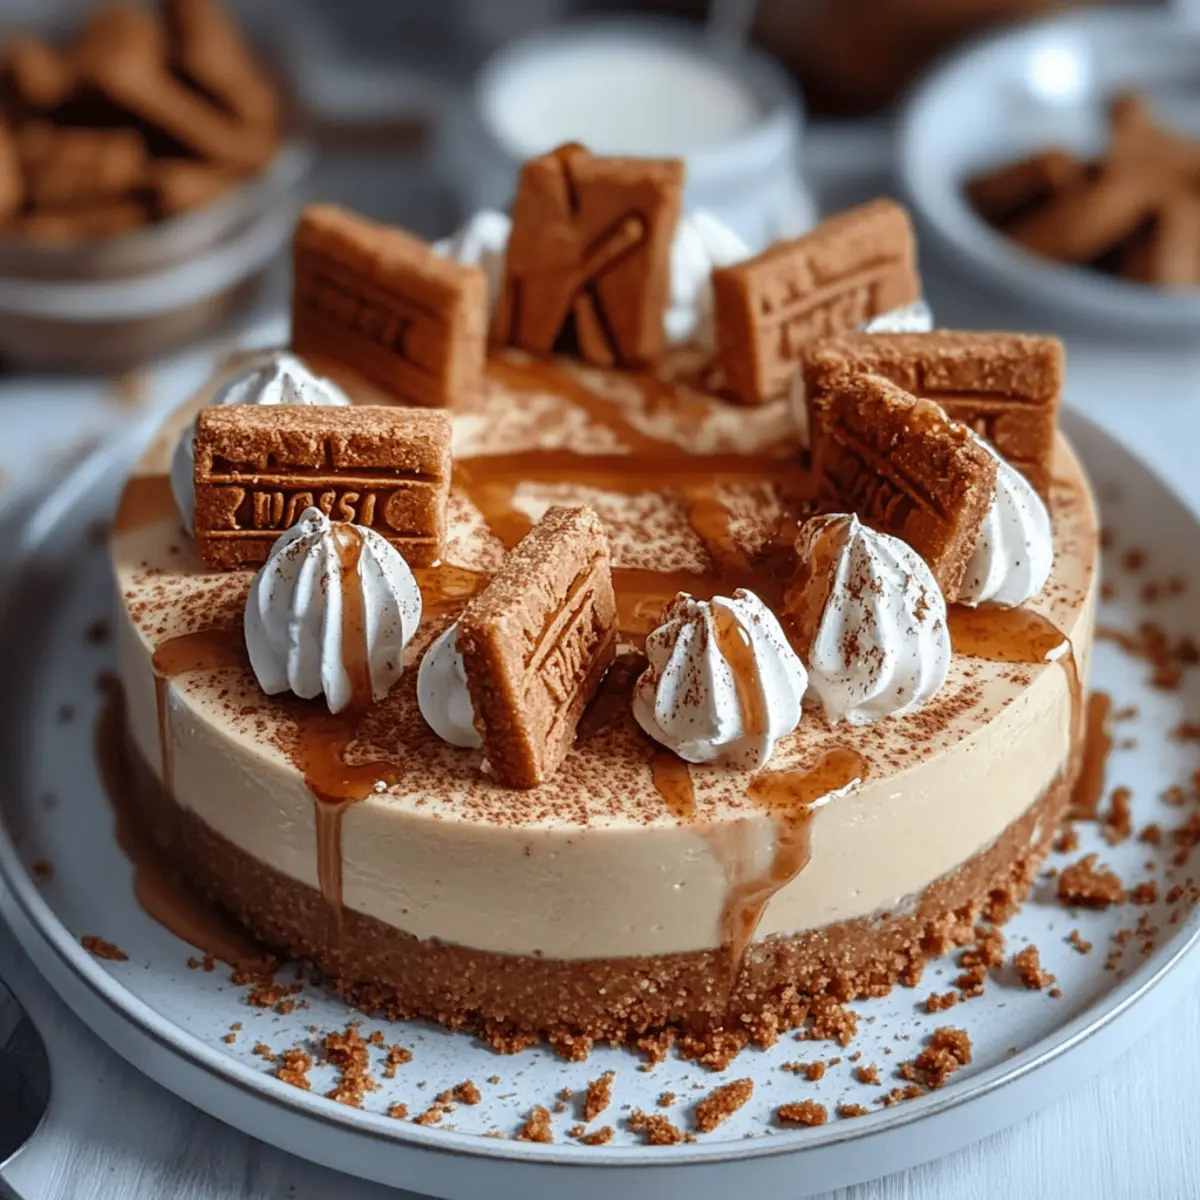
When ready to serve, carefully remove the cheesecake from the springform tin. Take a moment to admire your creation! Optionally, decorate the top with dollops of whipped cream, crushed Biscoff biscuits, and a drizzle of melted Biscoff spread for an indulgent touch. Slice, serve, and enjoy the bliss of your homemade No-Bake Biscoff Cheesecake!
Helpful Tricks for No-Bake Biscoff Cheesecake
-
Room Temperature Ingredients: Ensure cream cheese and double cream are at room temperature for a smooth, lump-free filling that blends easily.
-
Proper Whipping: Whip the double cream slowly to avoid overwhipping; you want soft peaks that fold into the cheesecake for a light texture.
-
Pack Firmly: When preparing the biscuit base, pack the crumbs tightly into the springform tin to avoid crumbling when serving the No-Bake Biscoff Cheesecake.
-
Chill Time: Allow ample chilling time—preferably overnight—to set properly and enhance the creamy flavors of the cheesecake.
-
Easy Release: Use a springform tin for easier removal. Run a knife around the edges to ensure a clean release for a beautiful presentation.
Make Ahead Options
These No-Bake Biscoff Cheesecake delights are perfect for meal prep, allowing busy cooks to enjoy a stress-free dessert experience! You can easily prepare the biscuit base up to 24 hours in advance; simply press the mixture into the springform tin and refrigerate. Additionally, the creamy filling can be made up to 3 days ahead, just store it in an airtight container in the fridge to maintain its luxurious texture. When you’re ready to serve, gently mix the filling to smooth it out before pouring it over the base. Finish the cheesecake as directed with garnishes; it will be just as delicious and waiting for you when you need it!
What to Serve with No-Bake Biscoff Cheesecake
Pairing your dessert with complementary delights elevates it to a true feast for the senses.
- Fresh Berries: Juicy strawberries or raspberries add a pop of tartness that perfectly cuts through the creaminess of the cheesecake.
- Chocolate Sauce: A drizzle of rich chocolate sauce adds a decadent touch, creating a beautiful contrast with the caramel flavors.
- Coffee: A warm cup of freshly brewed coffee or espresso enhances the sweet, spiced notes of Biscoff, making for a delightful afternoon treat.
- Vanilla Ice Cream: Creamy vanilla scoops bring a cold, velvety texture alongside the cheesecake, inspiring sweet dreams with every bite.
- Fruit Coulis: A vibrant raspberry or passion fruit coulis not only brightens the plate but also adds a tangy freshness that pairs beautifully.
- Whipped Cream: Soft peaks of freshly whipped cream provide an airy pillow to the dessert, making each slice feel lighter yet indulgent.
- Mint Leaves: Garnishing with fresh mint not only looks stunning but offers a refreshing finish to this rich cheesecake experience.
- Honey Drizzle: A subtle drizzle of honey enhances the sweetness while adding a floral complexity to your dessert plate.
- Sparkling Water: Serve this cheesecake with a refreshing glass of sparkling water or a light spritzer for a bubbly, celebratory feel.
Each pairing enhances the luxurious experience of your No-Bake Biscoff Cheesecake, turning a lovely dessert into an unforgettable gathering centerpiece.
Storage Tips for No-Bake Biscoff Cheesecake
Fridge: Store any leftovers covered in an airtight container in the refrigerator for up to 3 days to maintain its freshness and creamy texture.
Freezer: For longer storage, wrap the cheesecake tightly in plastic wrap and then aluminum foil. It can be frozen for up to 2 months; thaw overnight in the refrigerator before serving.
Serving: To enjoy the best taste, serve slices chilled. Add a fresh garnish just before serving to enhance its appeal.
Reheating: There’s no need to heat this dessert; enjoy it cold for the full luxurious experience of your No-Bake Biscoff Cheesecake!
No-Bake Biscoff Cheesecake Variations
Feel free to personalize this delightful dessert to match your tastes and dietary preferences. The possibilities are as delicious as they are exciting!
-
Ginger Snap Twist: Substitute Lotus biscuits with ginger snaps for a spiced kick that pairs perfectly with the creamy filling.
-
Yogurt Alternative: For a lighter version, use Greek yogurt in place of cream cheese. This adds a lovely tang while keeping the cheesecake luscious.
-
Fresh Berry Layer: Layer in some fruit compote or fresh berries before adding the filling for a burst of tartness that beautifully contrasts the sweetness.
-
Nutty Delight: Sprinkle chopped nuts, like pecans or hazelnuts, on the biscuit base for an added crunch that brings a delightful texture contrast.
-
Chocolate Lover's Version: Swirl in melted dark chocolate into the cream mixture for a rich chocolate-infused cheesecake that's heavenly.
-
Low-Sugar Option: Replace icing sugar with powdered erythritol to create a low-sugar version that doesn't compromise on taste or texture.
-
Extra Creamy: For an ultra-creamy filling, fold in some mascarpone cheese along with the cream cheese for that extra touch of luxury.
Try these variations to create a No-Bake Biscoff Cheesecake that’s uniquely yours!
No-Bake Biscoff Cheesecake Recipe FAQs
What should I look for when selecting Lotus biscuits?
When choosing Lotus biscuits, aim for ones that are fresh and crispy, without any dark spots or signs of staleness. Ideally, the packaging should be intact, and the expiration date should be far enough out to ensure optimal flavor. If you can find them at your local store, sometimes purchasing online can guarantee you a fresher batch!
How should I store leftover cheesecake?
Absolutely! To keep your No-Bake Biscoff Cheesecake fresh, store it in an airtight container in the fridge for up to 3 days. This helps maintain its creamy texture and flavors. For best results, make sure it's completely chillier before sealing to prevent condensation.
Can I freeze the No-Bake Biscoff Cheesecake, and if so, how?
Yes, you can definitely freeze this cheesecake! To do so, first ensure it has completely set in the refrigerator. Then, wrap it tightly in plastic wrap, followed by aluminum foil for extra protection. It can be stored in the freezer for up to 2 months. When you’re ready to enjoy it, simply thaw it overnight in the refrigerator, ensuring its texture remains smooth and creamy.
What should I do if my cheesecake doesn't set properly?
Very! If your cheesecake hasn’t set properly, it’s likely because it didn’t chill long enough. I recommend giving it some extra time in the refrigerator—at least a few more hours or even overnight. If it still seems too soft, check that you whipped the double cream to the right consistency, as under-whipped cream can impact the texture.
Can I make this cheesecake nut-free?
Definitely! The No-Bake Biscoff Cheesecake is naturally nut-free since Lotus biscuits do not contain nuts. Just ensure that any substitutes used, like other cookie bases or creamy spreads, are also nut-free if you’re accommodating allergies. Always check labels if you're unsure!
Is this cheesecake safe for pets?
No, this cheesecake contains ingredients like sugar and cream cheese that are not suitable for pets, especially cats and dogs. If you’re looking to share a treat with your furry friends, I recommend sticking to pet-friendly snacks instead.
Indulgent No-Bake Biscoff Cheesecake That's a Dream Come True
Ingredients
Equipment
Method
- Prepare the Biscuit Base: Blitz 250g Lotus biscuits in a food processor until fine crumbs. Melt 125g unsalted butter and mix with biscuit crumbs. Press into an 8-inch springform tin.
- Make the Creamy Filling: In a bowl, combine 400g cream cheese, 100g icing sugar, and 200g Biscoff spread. Blend until smooth. Whip 300ml double cream until soft peaks form.
- Combine the Mixtures: Fold whipped double cream into cream cheese mixture until fully combined and fluffy.
- Assemble the Cheesecake: Pour filling over the biscuit base, smooth the top, and ensure no air pockets.
- Chill to Set: Cover with cling film and refrigerate for at least 5-6 hours or overnight until firm.
- Garnish and Serve: Remove from tin, optionally decorate and serve chilled.

Leave a Reply