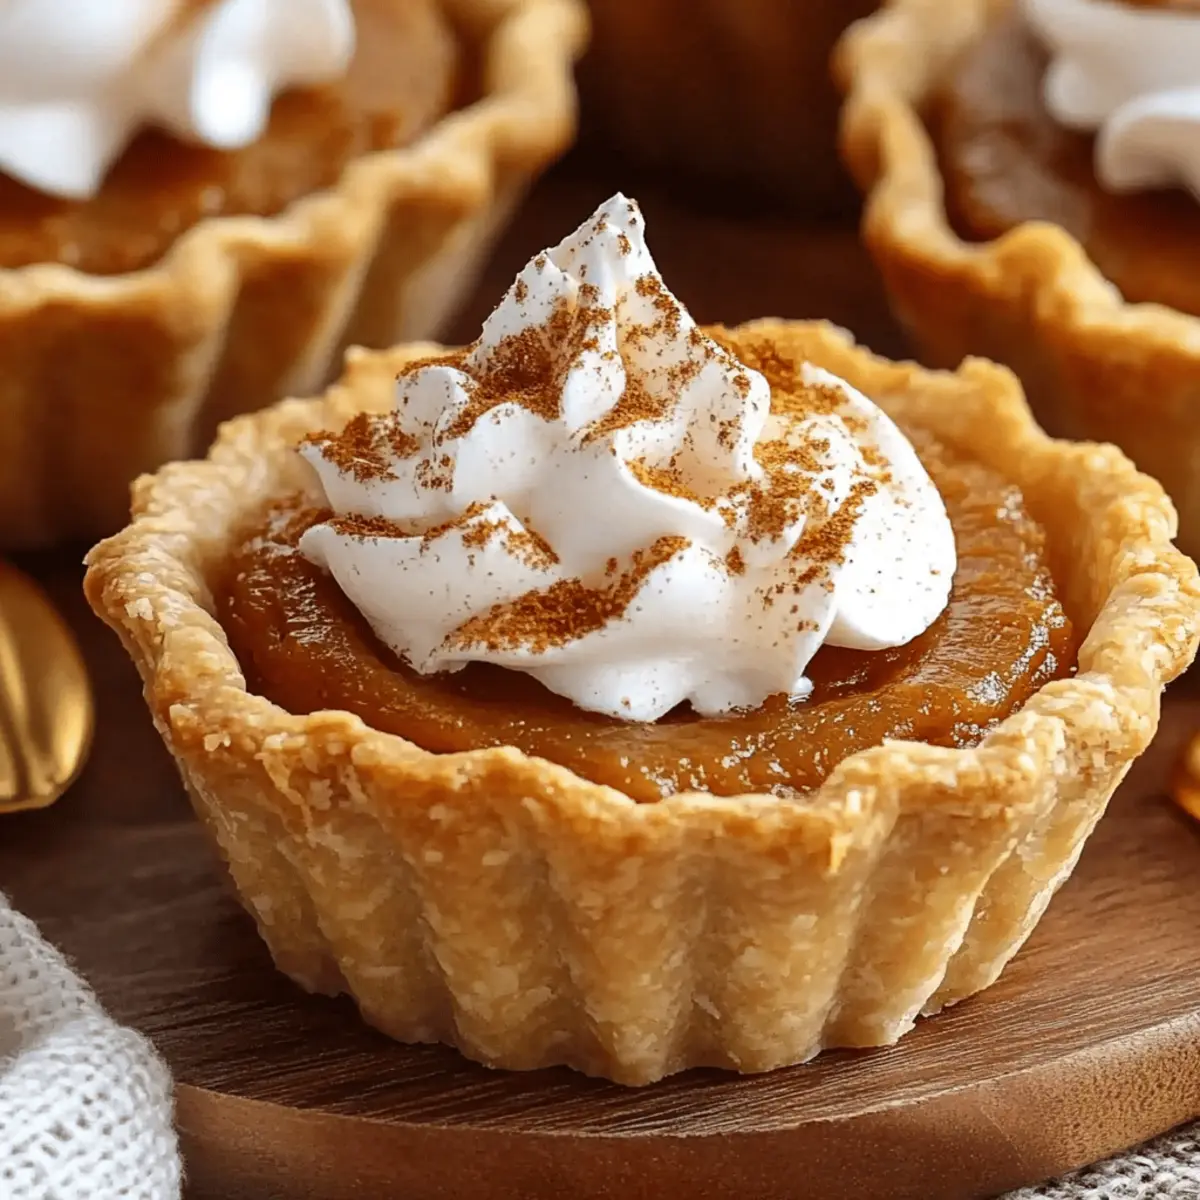
As the cool autumn breeze rustles the vibrant leaves outside, I find myself gravitating toward the comforting warmth of the kitchen, eagerly awaiting the sweet aroma of mini pumpkin pies wafting through the air. These delightful little desserts are more than just a fall treat; they're a nostalgic reminder of cozy gatherings and laughter shared over the dinner table. My easy pumpkin pie recipe gives you the chance to whip up these charming bites with minimal fuss—perfect for busy days or unexpected guests. Plus, they’re freezer-friendly, allowing you to savor the flavors of fall anytime you wish. So, are you ready to make your kitchen the coziest place this season? Let’s dive in!
Why Are Mini Pumpkin Pies So Irresistible?
Bite-sized Bliss: These mini pumpkin pies are perfectly portioned, creating a delightful treat without the guilt.
Effortless Preparation: With an easy pumpkin pie recipe, you can have these colorful cupcakes-ready in no time, making them ideal for those busy fall days.
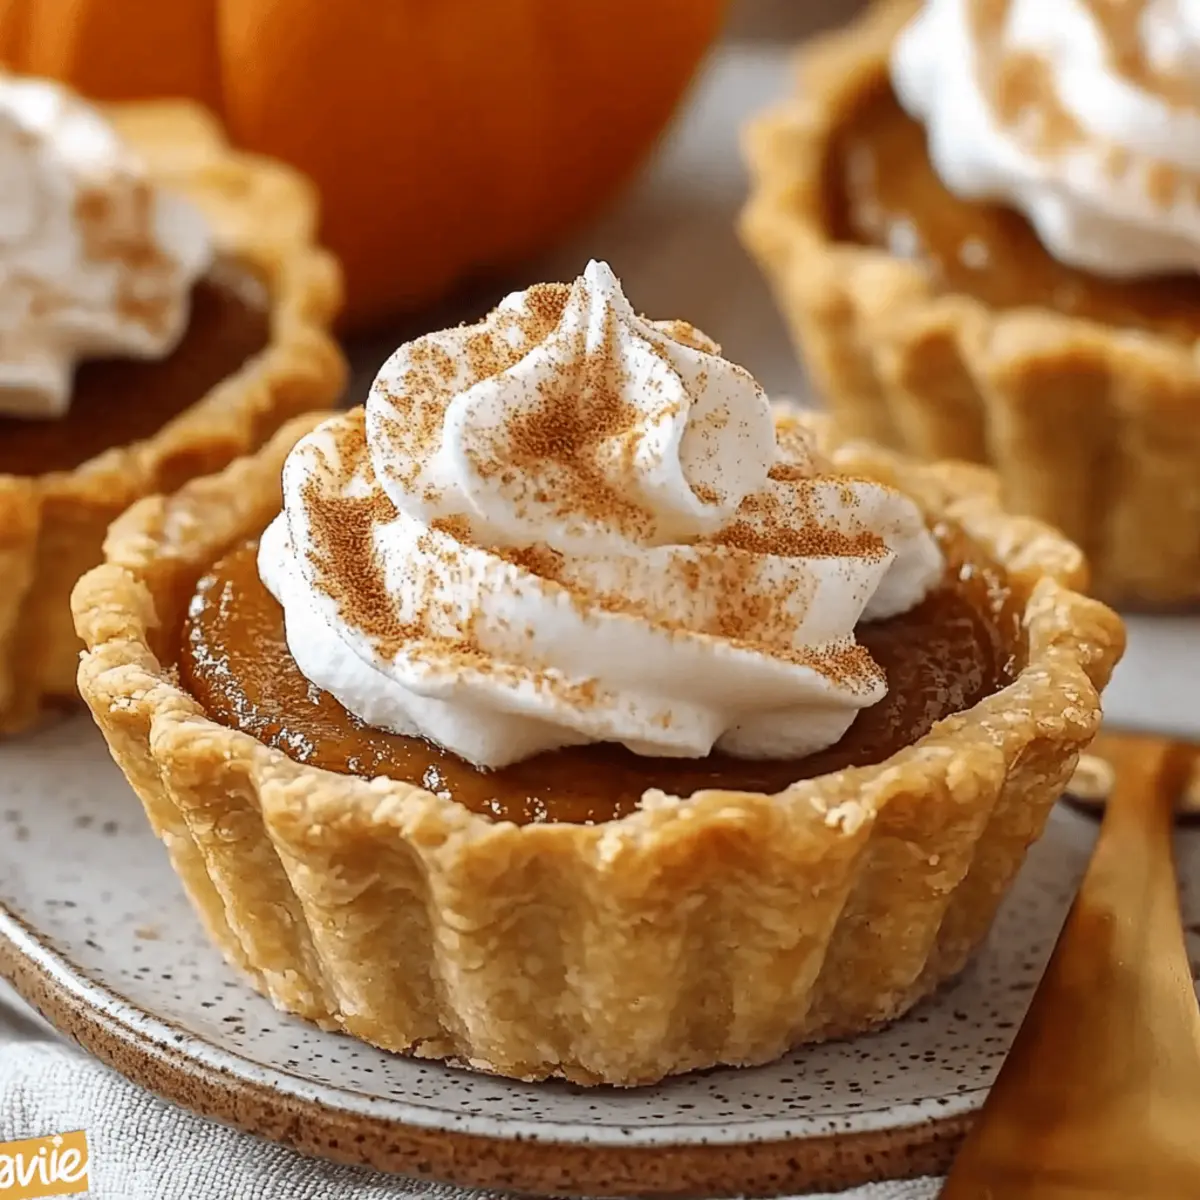
Fall Flavor Explosion: Rich spices and creamy pumpkin filling deliver an autumnal taste that warms the heart and brightens gatherings.
Make-ahead Magic: They’re freezer-friendly, allowing you to prepare treats in advance and enjoy them at your convenience!
Crowd Favorite: Share them at parties, and watch everyone return for seconds—these little desserts bring smiles to all ages! Serve with a dollop of whipped cream or check out our serving suggestions for extra tips!
Mini Pumpkin Pies Ingredients
• Perfect for your fall gatherings!
For the Crust
- Pie Crust – Store-bought saves time, while homemade offers a fresher taste.
For the Filling
- Brown Sugar – Adds rich sweetness and depth to your filling; consider coconut sugar for a unique twist.
- Granulated Sugar – Balances flavors beautifully; substitute it with a sugar alternative if desired.
- Pumpkin Pie Spice – Brings traditional fall flavors into play; a homemade blend works well too!
- Salt – A pinch enhances all the delicious flavors; opt for sea salt for a gourmet touch.
- Pumpkin Puree – The star flavor of these mini pumpkin pies; fresh pumpkin, when roasted and pureed, gives an extra kick.
- Evaporated Milk – Adds a creamy texture; coconut milk is a fantastic dairy-free substitute.
- Egg – Helps to bind the filling; if vegan, aquafaba is a wonderful alternative.
- Vanilla Extract – Infuses depth and sweetness; pure extract is the gold standard, but imitation works in a pinch.
Step‑by‑Step Instructions for Easy Mini Pumpkin Pies
Step 1: Preheat the Oven
Begin by preheating your oven to 400°F (200°C) to ensure the perfect baking environment for your mini pumpkin pies. This crucial step helps create that golden-brown crust and sets the filling just right. While the oven warms up, gather all your ingredients and equipment to streamline your prep process.
Step 2: Prepare the Pie Crust
Roll out your pie crust on a lightly floured surface to about ⅛-inch thickness. Using a 3 ½-inch cookie cutter, cut circles from the dough. Carefully place each dough circle into the wells of a muffin pan, gently pressing them in to fit. Once all the crusts are ready, chill them in the refrigerator while you prepare the filling.
Step 3: Mix the Dry Ingredients
In a large mixing bowl, whisk together ½ cup of brown sugar, ¼ cup of granulated sugar, 1 teaspoon of pumpkin pie spice, and a pinch of salt. Ensure the ingredients are well combined, as this will help distribute the flavors evenly in your mini pumpkin pies. The mixture should appear light and slightly fluffy, offering a wonderful base for your filling.
Step 4: Combine the Filling Ingredients
Gradually stir in 1 cup of pumpkin puree, ½ cup of evaporated milk, 1 beaten egg, and 1 teaspoon of vanilla extract to the sugar mixture. Whisk until the filling is completely smooth, with no lumps remaining. You’re looking for a creamy consistency that promises rich flavor, perfect for filling the pie crusts.
Step 5: Fill the Crusts
Remove the chilled pie crusts from the refrigerator and carefully ladle 2 tablespoons of the pumpkin filling into each crust. Be mindful not to overfill, as the mixture will expand while baking. Ensuring each filling is leveled off will help your mini pumpkin pies bake evenly and maintain a neat appearance.
Step 6: Bake the Mini Pies
Place the muffin pan in your preheated oven and bake for 16-20 minutes. You’ll know they’re done when the tops are set, and the crusts have turned a lovely golden color. Keep an eye on them to prevent over-baking, as you want that perfect balance of flaky crust and creamy filling in your mini pumpkin pies.
Step 7: Cool and Chill
Once baked, remove the muffin pan from the oven and allow the mini pumpkin pies to cool on a wire rack for about 30 minutes. This cooling period helps them set further. After that, refrigerate them for at least 3 hours, or ideally overnight, to allow the flavors to meld beautifully, resulting in a delicious dessert for your fall gatherings.
Make Ahead Options
These easy mini pumpkin pies are perfect for busy home cooks looking to save time! You can prepare the pie crusts up to 24 hours in advance. Simply roll out and cut the circles, place them in the muffin pan, and refrigerate until you're ready to fill them. Additionally, the pumpkin filling can be made up to 3 days ahead; just store it in an airtight container in the fridge. To maintain the creamy texture, stir it well before filling the crusts. When you're ready to bake, simply fill the chilled crusts and bake as instructed—this way, you’ll have delicious, homemade mini pumpkin pies ready to impress without any last-minute stress!
What to Serve with Easy Mini Pumpkin Pies
As you embrace the flavors of fall, pairing these delightful mini pumpkin pies with complementary dishes creates a warm, inviting meal experience.
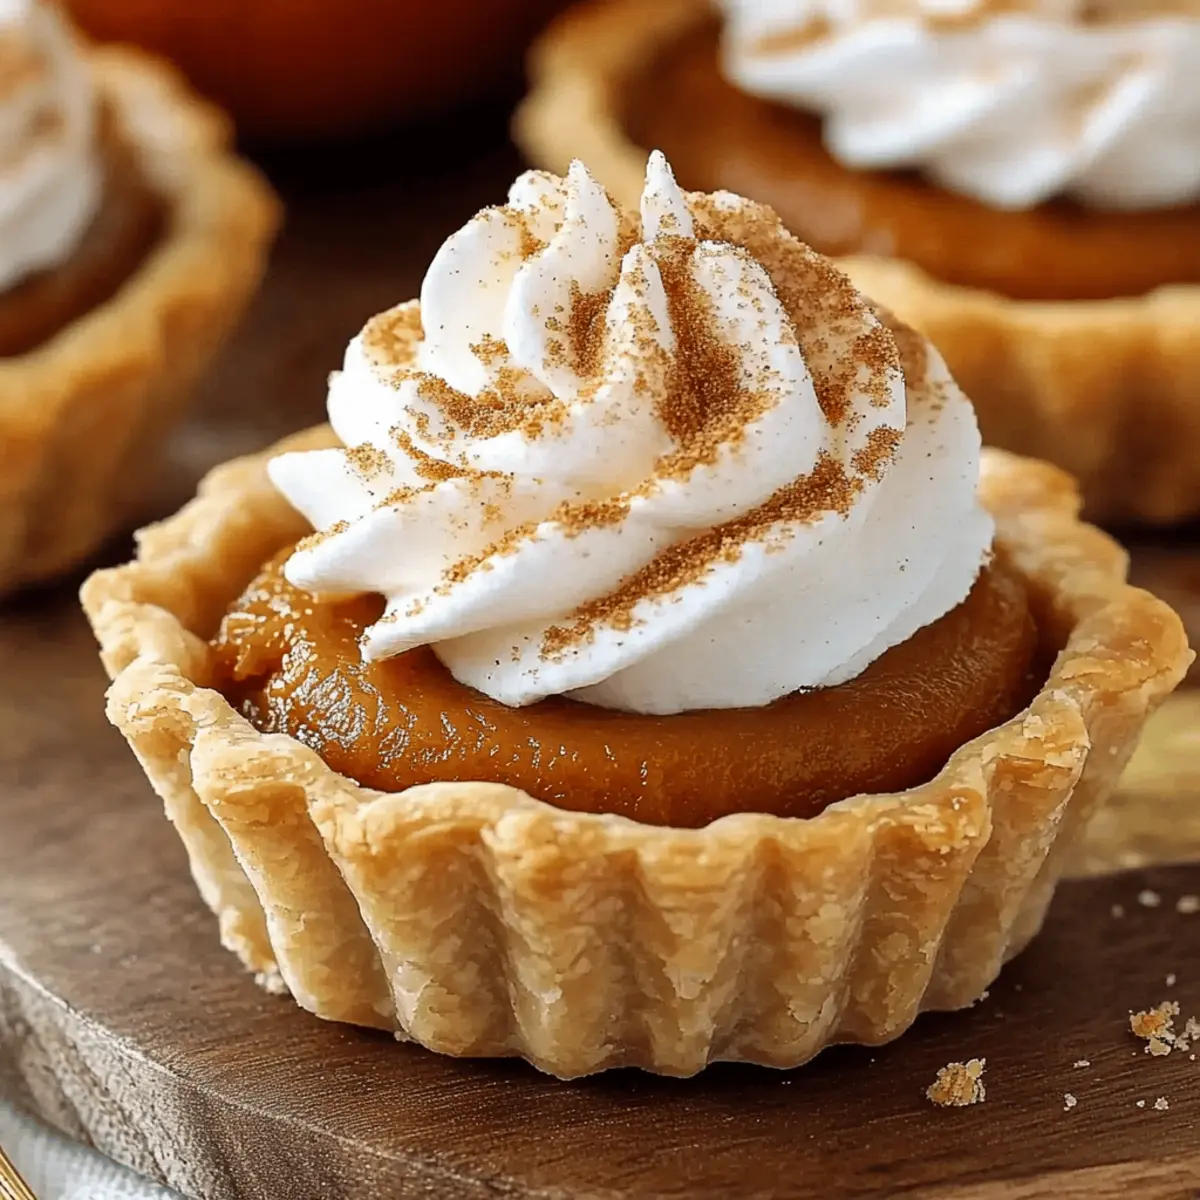
- Whipped Cream: The classic topping for pumpkin desserts, a dollop adds creaminess while balancing the spices perfectly.
- Spiced Apple Cider: Warm spiced apple cider brings cozy autumn vibes, enhancing the festive atmosphere at any gathering.
- Maple Pecan Salad: A fresh salad with roasted pecans and a maple vinaigrette provides a crunchy contrast to the creamy filling.
Your guests will appreciate a variety of textures and flavors.
- Gingerbread Cookies: These spiced cookies offer a chewy counterpart to silky pumpkin goodness, perfect for dunking alongside your mini pies.
- Chai Latte: Pair with this aromatic tea that complements the spiced notes of the mini pumpkin pies, creating a soothing drink option.
- Cream Cheese Frosting: Drizzle a light layer over the pies for a tangy-sweet element, elevating each bite to new heights.
Mini Pumpkin Pies Variations & Substitutions
Feel free to personalize these mini pumpkin pies, adding your own unique twist to each delightful bite!
-
Dairy-Free: Substitute evaporated milk with coconut milk for a creamy, vegan-friendly filling. The hint of coconut pairs beautifully with pumpkin.
-
Sweet Twist: Add chocolate chips to the filling for a luscious upgrade. Just fold in a handful before pouring the mixture into the crusts, creating a rich contrast to the spicy pumpkin.
-
Graham Cracker Crust: Use crushed graham crackers mixed with butter instead of pie crust for a unique, crunchy texture. This crust adds a delightful sweet note that complements the filling.
-
Nutty Crunch: Incorporate chopped pecans or walnuts into the filling for an extra crunch. Their earthy tones add depth to the pumpkin spice blend, making each bite memorable.
-
Spicy Kick: Mix in a pinch of cayenne pepper for a spicy twist that balances the sweetness of the filling. Just a hint elevates the flavor profile and adds warmth.
-
Pumpkin Spice Upgrade: Create your custom pumpkin pie spice blend using equal parts cinnamon, nutmeg, and ginger for a richer flavor. A unique blend can elevate your mini pies from ordinary to extraordinary.
-
Frozen Fruit Addition: Fold in a handful of fresh or frozen blueberries or cranberries for a burst of tartness. These fruits lend a fresh contrast to the creamy filling and make the pies pop!
-
Zesty Citrus: Add the zest of an orange or lemon to the filling for a bright flavor enhancement. The citrus notes create a refreshing balance that's especially lovely during fall gatherings.
Don’t forget—however you choose to make them, these mini pumpkin pies are perfect for sharing at your fall celebrations! For serving suggestions, try a dollop of whipped cream or a sprinkle of cinnamon on top to elevate your dessert experience. Happy baking!
Storage Tips for Mini Pumpkin Pies
Fridge: Store leftover mini pumpkin pies in an airtight container in the refrigerator for up to 3 days, ensuring they stay fresh and delicious.
Freezer: For longer storage, freeze cooled mini pumpkin pies wrapped tightly in plastic wrap and aluminum foil for up to 2 months. When ready to enjoy, thaw in the fridge overnight.
Reheating: To reheat, place thawed mini pumpkin pies in a preheated oven at 350°F (175°C) for 10–15 minutes. This will restore the flaky crust and creamy filling's wonderful texture, making them just as tasty as when they were freshly baked.
Expert Tips for Mini Pumpkin Pies
- Preheat Properly: A well-preheated oven is essential for ensuring a golden crust and perfectly set filling in your mini pumpkin pies.
- Avoid Overfilling: Keep the filling to about 2 tablespoons to prevent messy overflow during baking; a neat serving will impress!
- Moisture Management: If using fresh pumpkin, always blot it with a paper towel to remove excess moisture for a better pie texture.
- Chill for Flavor: Allow your mini pumpkin pies to chill overnight for the best flavor. It’s worth the wait to let those spices mingle!
- Adaptable Ingredients: Don't hesitate to customize; swap in alternatives like coconut cream or sugar substitutes to suit your dietary needs while keeping the essence of your easy pumpkin pie recipe.
Mini Pumpkin Pies Recipe FAQs
What type of pumpkin puree should I use?
Absolutely! For the best flavor, you can use either canned pumpkin puree or make your own by roasting and pureeing fresh pumpkins. If using fresh, make sure to remove excess moisture using a paper towel to avoid a soggy filling.
How can I store leftover mini pumpkin pies?
Store any leftover mini pumpkin pies in an airtight container in the refrigerator for up to 3 days. This way, you can enjoy these delightful treats without compromising on taste or texture!
Can I freeze mini pumpkin pies?
Yes, you can! Once your mini pumpkin pies have cooled completely, wrap each pie tightly in plastic wrap, then in aluminum foil. They will last in the freezer for up to 2 months. When you're ready to indulge, thaw them in the refrigerator overnight before reheating.
What should I do if my pies overflow during baking?
If your mini pumpkin pies overflow, it’s likely due to overfilling. In the future, make sure to only fill each crust with about 2 tablespoons of the pumpkin filling. If it happens, simply use a spatula to clean up any spills and enjoy the rustic look of your desserts!
Are mini pumpkin pies suitable for vegan diets?
Certainly! To make these mini pumpkin pies vegan, replace the egg with 3 tablespoons of aquafaba (the liquid from canned chickpeas). Also, swap evaporated milk with coconut milk or another dairy-free alternative. You'll still get the delicious creaminess in your filling!
How long can I let the pumpkin pies chill for optimum flavor?
For the best flavor, it's recommended to chill the mini pumpkin pies for at least 3 hours, but letting them sit overnight in the refrigerator allows the spices to meld beautifully, creating an even richer taste experience!

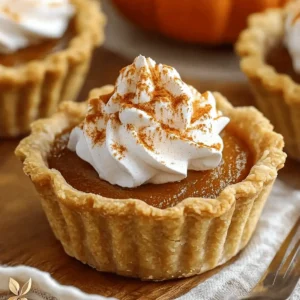
Irresistibly Easy Mini Pumpkin Pies for Fall Festivities
Ingredients
Equipment
Method
- Preheat the oven to 400°F (200°C).
- Roll out the pie crust on a lightly floured surface and cut circles with a 3 ½-inch cookie cutter.
- Place the dough circles in a muffin pan and chill in the refrigerator.
- In a large bowl, whisk together brown sugar, granulated sugar, pumpkin pie spice, and salt.
- Stir in pumpkin puree, evaporated milk, beaten egg, and vanilla extract until smooth.
- Ladle 2 tablespoons of filling into each crust.
- Bake for 16-20 minutes until crust is golden and filling is set.
- Cool for 30 minutes, then chill for at least 3 hours.


Leave a Reply