As I rummaged through my pantry one rainy afternoon, the thought of creating some fun Halloween treats sparked my imagination. Enter these Spooky Vegan Spider Cookies—adorable, nutty delights that are perfect for any festive gathering! Not only are they a fantastic alternative to store-bought sweets, but they're also entirely egg-free and dairy-free, making them a crowd-pleaser for both vegans and non-vegans alike. The best part? They come together quickly, allowing you to whip up a batch even on the busiest days. Join me as I guide you through crafting these charming cookies that are sure to impress everyone, making your Halloween even more special. What kind of spooky surprises will you add to your cookies?

What makes these cookies a Halloween hit?
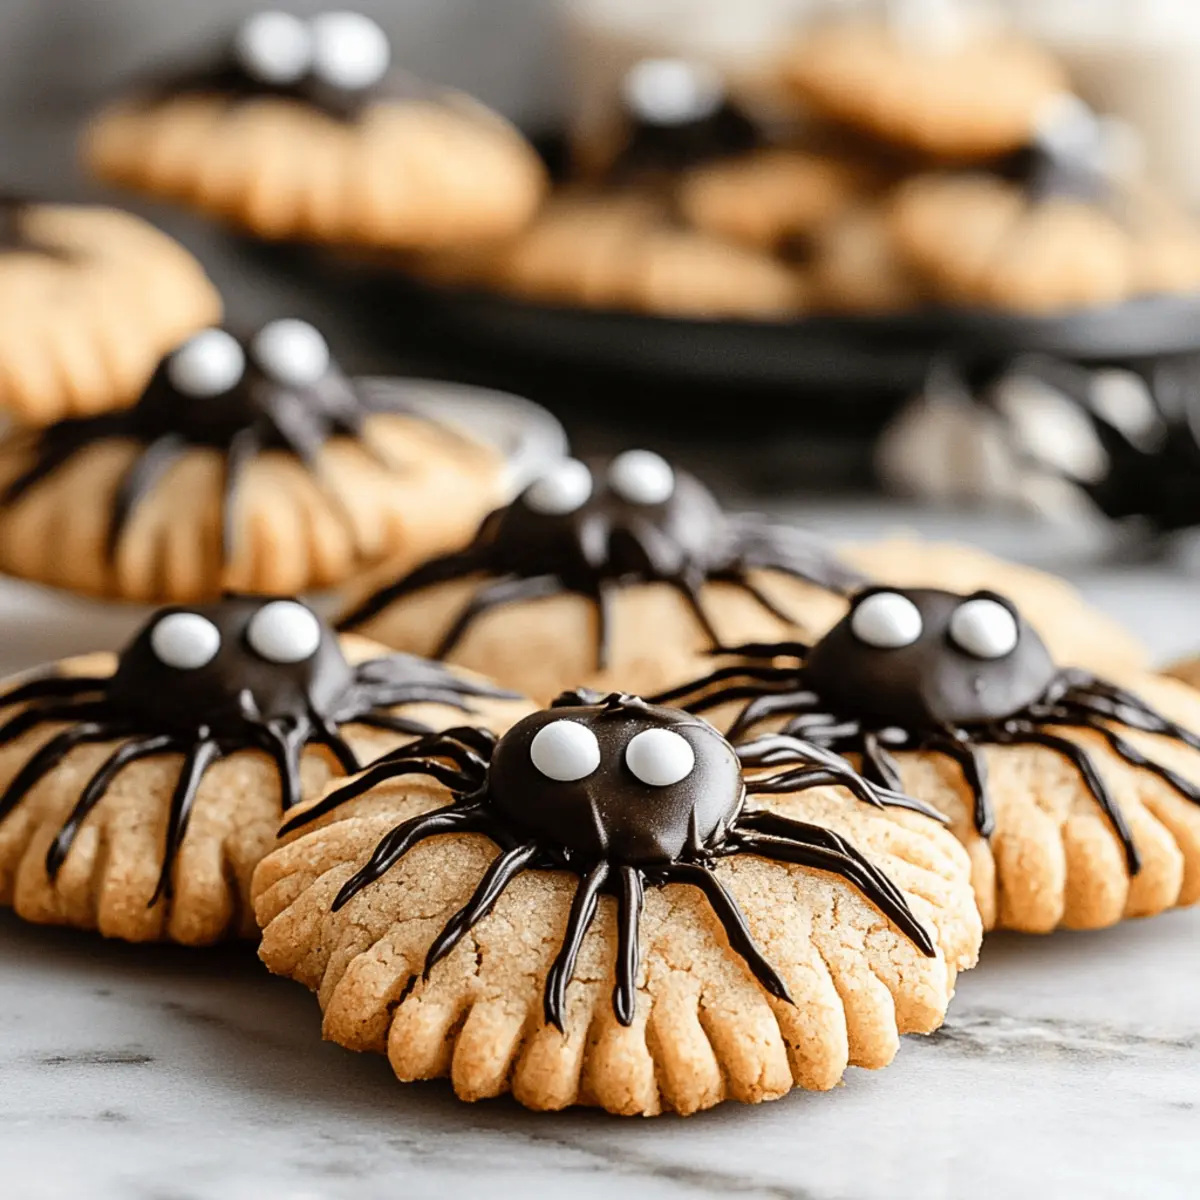
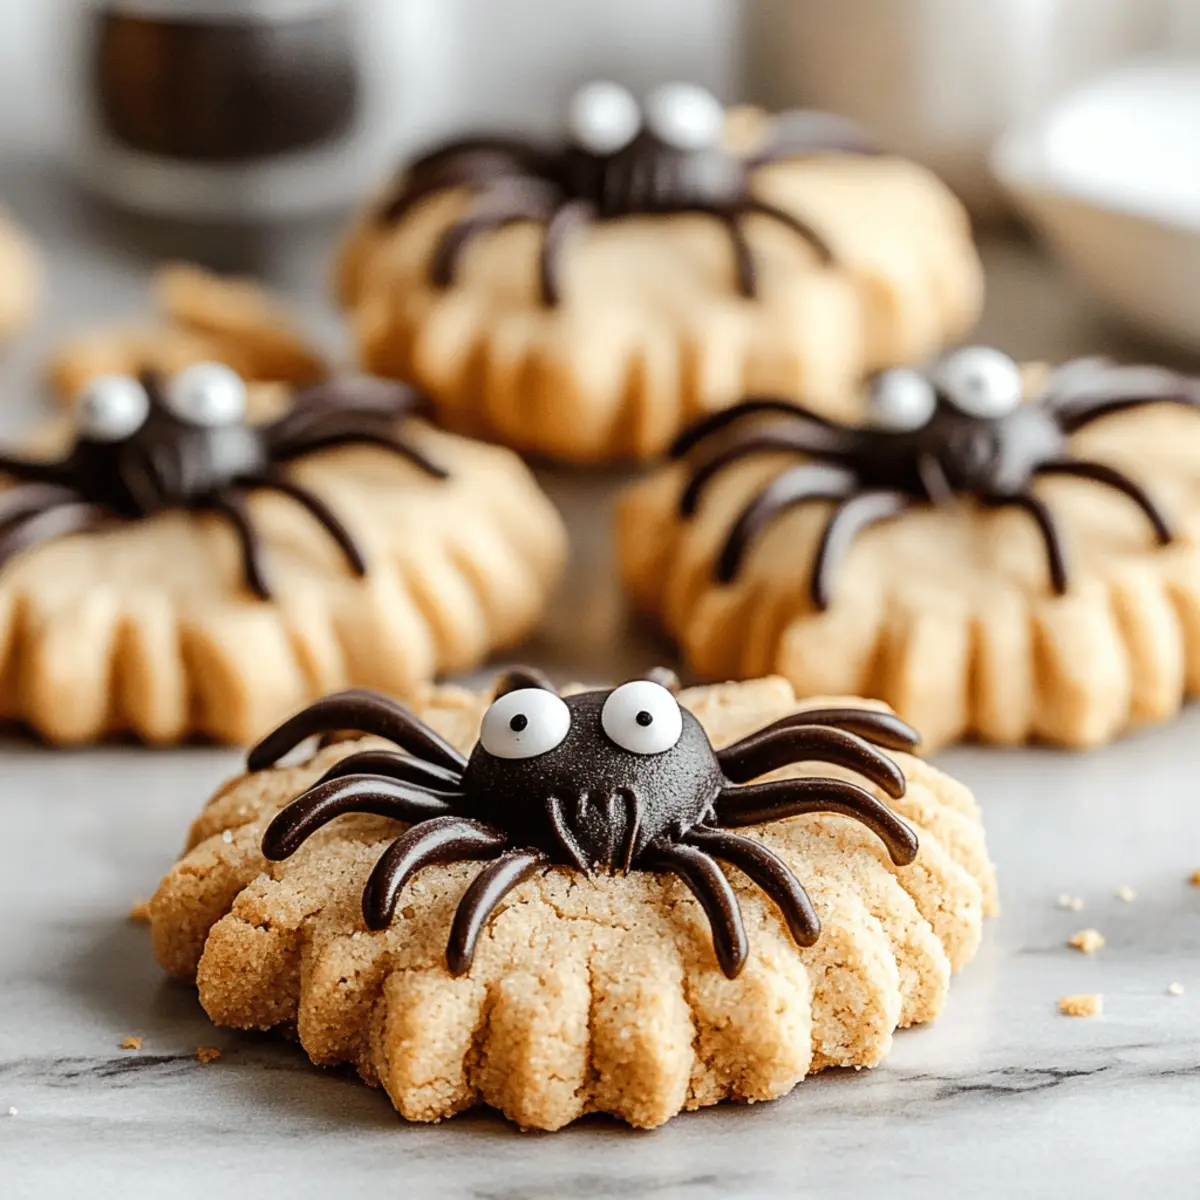
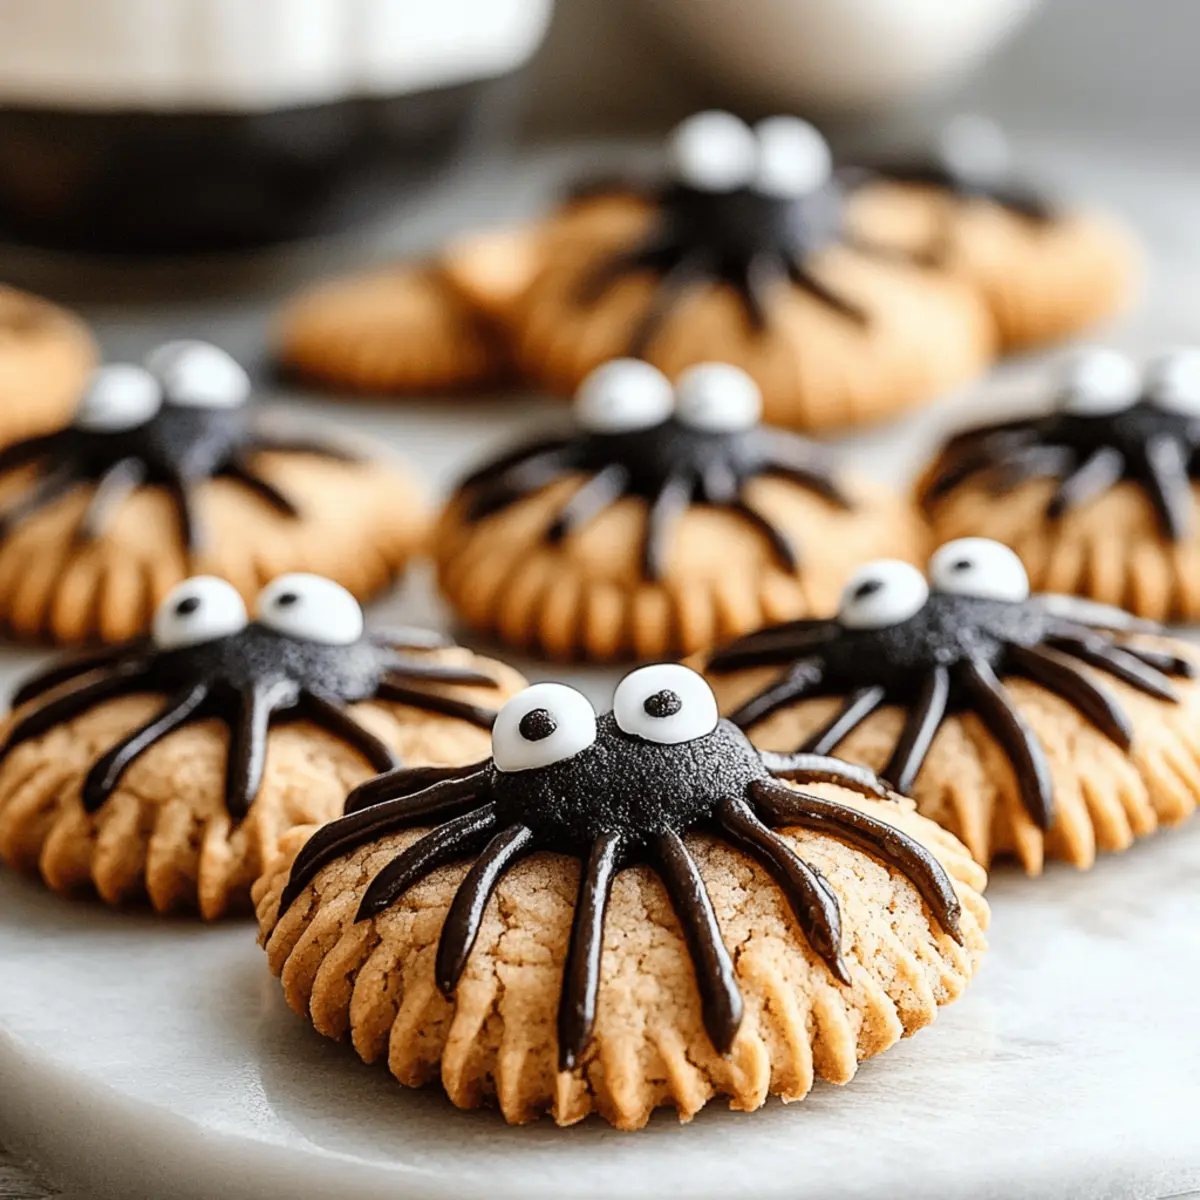
Delightful design: These Spooky Vegan Spider Cookies not only taste amazing but also look like playful creatures that everyone will love!
Easily customizable: With simple ingredient swaps, you can tailor them to fit your dietary needs or simply mix things up.
Quick to prepare: This recipe is perfect for those busy days when you want to bake something special without spending hours in the kitchen.
Fun for everyone: Involve the kids in decorating these cookies for a memorable family activity that adds to the Halloween spirit!
Perfectly soft and chewy: Each bite delivers an irresistible nutty flavor and a delightful texture that will have your guests coming back for more.
Pair them with a glass of apple cider for the perfect festive treat!
Spooky Vegan Spider Cookies Ingredients
For the Cookie Base
• SunButter – Provides nuttiness and moisture; substitutable with smooth peanut butter for a different flavor.
• Organic Brown Sugar – Adds sweetness and depth, though you may use coconut sugar as a healthier alternative.
• Granulated Sugar – Enhances sweetness and texture; can be substituted with a low-calorie sweetener if desired.
• Bob’s Red Mill Egg Replacer – Acts as a binding agent; alternatively, use a flax egg or chia seed mixture for a similar effect.
• Dairy-Free Milk – Adds moisture; any plant-based milk like almond, soy, or oat can be used based on your preference.
• Vanilla Extract – Enhances the overall flavor; optional, yet recommended for a delicious aroma.
• All-Purpose Flour – Provides structure; can be swapped for a 1:1 gluten-free baking blend for gluten-free options.
• Baking Soda – Serves as a leavening agent to help cookies rise; no direct substitute available for this essential component.
• Salt – Balances flavors; consider using either sea salt or kosher salt for the best taste.
For the Topping
• Sanding Sugar – Coating before baking adds sparkle and crunch; regular sugar can be used, though the effect may vary.
• Mini Sun Cups – Used for the spider body; feel free to substitute with any vegan chocolate cups that you love.
• Vegan Chocolate Chips – Perfect for spider legs and attaching candy eyes; regular chocolate chips work if vegan isn’t a concern.
• Candy Eyes – A fun decorative touch; optional, but can easily be swapped with chocolate dots for a different look.
Get ready to unleash your creativity in the kitchen with these Spooky Vegan Spider Cookies that are not only delicious but also playful!
Step‑by‑Step Instructions for Spooky Vegan Spider Cookies
Step 1: Prep the Ingredients
Start by chilling the Mini Sun Cups in the fridge for about 30 minutes to keep them firm during decoration. Meanwhile, preheat your oven to 375°F (190°C) and line a baking sheet with parchment paper. This setup ensures your Spooky Vegan Spider Cookies bake evenly and don’t stick to the sheet.
Step 2: Mix the Egg Replacer
In a small bowl, combine 1 tablespoon of Bob's Red Mill Egg Replacer with 2 tablespoons of water. Let this mixture sit for a few minutes until it becomes slightly gel-like—this will help bind your cookie dough. This step is essential for achieving the perfect texture in your Spooky Vegan Spider Cookies.
Step 3: Cream the Sugars and SunButter
In a large mixing bowl, use an electric mixer to cream together ½ cup of shortening, ¾ cup of SunButter, ½ cup of organic brown sugar, and ¼ cup of granulated sugar. Beat this mixture on medium speed for 2-3 minutes until it’s light and fluffy. A well-creamed base will make your cookies soft and delightful!
Step 4: Combine Wet Ingredients
Add the prepared egg replacer, ¼ cup of dairy-free milk, and 1 teaspoon of vanilla extract to the creamed mixture. Mix on low speed until just combined, ensuring everything is well incorporated. This blend of wet ingredients enhances the flavor of your Spooky Vegan Spider Cookies, making them irresistible!
Step 5: Prepare the Dry Ingredients
In another bowl, whisk together 2 cups of all-purpose flour, 1 teaspoon of baking soda, and ½ teaspoon of salt. Gradually add this dry mixture to the wet ingredients, mixing until just combined. Be careful not to overmix; you want a tender dough for your cookies to shine!
Step 6: Shape the Dough
Scoop out the dough and divide it into 24 equal balls, about 1 inch in diameter. Roll each ball in sanding sugar for added sparkle and crunch. Place them on your prepared baking sheet, spacing about 2 inches apart to allow for spreading while baking.
Step 7: Bake the Cookies
Bake the cookies in the preheated oven for 10-12 minutes, until they are lightly golden and still soft in the center. Keep a close eye on them to avoid overbaking; they should retain a chewy texture. Remove from the oven and let cool on the pan for 5 minutes before transferring to a wire rack.
Step 8: Decorate the Spooky Spiders
Once the cookies are cool, press a chilled Mini Sun Cup into the center of each cookie. In a microwave or double boiler, melt ½ cup of vegan chocolate chips until smooth. Use a piping bag or a plastic bag with a corner snipped off to pipe out the legs and attach candy eyes to create your spooky spider accents.
Step 9: Chill and Serve
After decorating, refrigerate the cookies for about 10 minutes to set the chocolate. This will ensure the legs and eyes stay in place. Once set, your Spooky Vegan Spider Cookies are ready to delight friends and family—perfect for Halloween or any fun gathering!
Spooky Vegan Spider Cookies Substitutions
Embrace your creativity in the kitchen and customize these delightful cookies to your heart's content—each variation brings its own unique twist!
- Nut-Free: Swap SunButter for seed butter, like pumpkin or tahini, to keep the flavors nut-free while ensuring a rich texture.
- Coconut Sugar: Use coconut sugar instead of brown for a caramel-like sweetness, giving an earthy depth to each bite.
- Gluten-Free: Replace all-purpose flour with a 1:1 gluten-free baking blend for a delicious alternative that everyone can enjoy.
- Flavored Milk: Try using vanilla almond milk or oat milk for added flavor; these options can elevate the taste of the cookies!
- Chocolate Variations: Instead of vegan chocolate chips, experiment with white chocolate chips for a contrasting sweetness or butterscotch for a unique flavor twist.
- Extra Spooky: Incorporate a dash of cinnamon or pumpkin spice for a warming autumn flair—perfect for Halloween treats.
- Bigger Spiders: Use larger vegan chocolate cups or even homemade treats for the spider bodies, making your cookies even more of a visual showstopper!
- Chili Flakes: If you’re feeling adventurous, add a pinch of chili flakes to the dough for a hint of heat that contrasts beautifully with the sweetness.
Whichever option you choose, these Spooky Vegan Spider Cookies are sure to bring good cheer and costumes to your Halloween celebrations! They pair wonderfully with warm apple cider or any of your favorite seasonal drinks. Happy baking!
Make Ahead Options
These Spooky Vegan Spider Cookies are perfect for meal prep, allowing you to save time during the busy Halloween season! You can mix the cookie dough and refrigerate it for up to 24 hours before baking. Simply shape the dough into balls and roll them in sanding sugar, then cover and store them in the fridge to maintain their freshness. When you're ready to bake, place the chilled dough on a prepared baking sheet and bake as instructed. If you have leftover cookies, they can be stored in an airtight container at room temperature for up to 3 days. This way, you'll have delicious Halloween treats ready to impress your guests with minimal effort!
Expert Tips for Spooky Vegan Spider Cookies
- Chilling is Key: Make sure to chill the Mini Sun Cups before use; this prevents melting during decoration and helps maintain their shape.
- Check Your Oven: Bake until just golden; underbaking slightly will ensure that your Spooky Vegan Spider Cookies remain soft and chewy.
- Avoid Overmixing: When combining wet and dry ingredients, mix just until incorporated. Overmixing can lead to tougher cookies.
- Flour Measurement: Use a spoon to fluff up the flour before measuring. This prevents packed flour which can make cookies dry.
- Fun Additions: Get creative with toppings! Consider using different edible decorations for the spiders to switch things up and make your cookies uniquely yours.
What to Serve with Spooky Vegan Spider Cookies
These delightful treats are not just fun to make; they also bring a sense of festive warmth to any gathering. Imagine the laughter and joy they’ll bring when paired with the right accompaniments!
- Hot Apple Cider: The sweet and spicy notes perfectly complement the nutty flavor of the cookies, enhancing the overall experience.
- Pumpkin Spice Lattes: Creamy and warm, these lattes add a cozy touch to your Halloween celebrations, making them the ideal drink to enjoy alongside your spooky treats.
- Vegan Whipped Cream: A dollop of this airy topping on the side invites a deliciously creamy contrast to the chewy texture of the cookies.
Pair these cookies with themed snacks, like ghost-shaped fruit slices or pumpkin seed brittle, to create an engaging display that encourages guests to indulge in the Halloween spirit.
- Chocolate-Covered Pretzels: The salty crunch complements the sweetness of the cookies, providing a delightful contrast in texture and flavor.
- Caramel Dipped Apples: These also bring a festive spirit with a crisp, sweet bite, balancing the soft cookies beautifully.
- Spooky Themed Fruit Platter: Fresh fruits cut into ghost shapes or pumpkin-like oranges bring a fun, healthy element to the table.
- Vegan Ice Cream: Scoop some atop a cookie for an indulgent treat that chills and thrills. A spiced flavor would be a perfect match!
- Gingerbread Cookies: Their spiced warmth echoes the flavors of the season, bringing a new texture along with festive cheer.
Turn your spooky cookie moment into an entire experience and make lasting memories at your next Halloween gathering!
Storage Tips for Spooky Vegan Spider Cookies
Room Temperature: Store leftovers in an airtight container at room temperature for up to 3 days. Layer cookies with parchment paper to prevent sticking.
Fridge: For longer freshness, place them in the fridge, where they can last for up to a week. Just remember to bring them back to room temperature before serving for the best flavor!
Freezer: If you have extra dough, form it into balls and freeze for up to 1 month. Thaw and bake directly from the freezer without thawing for fresh Spooky Vegan Spider Cookies anytime!
Reheating: To enjoy cookies warm, briefly microwave them for 10-15 seconds or place them in a preheated oven at 350°F for a few minutes to restore their delightful softness.
Spooky Vegan Spider Cookies Recipe FAQs
What type of SunButter should I use for the best flavor?
I recommend using smooth SunButter for a delightful nuttiness and moisture in your cookies. If you prefer a different flavor, smooth peanut butter is a great alternative, though it will slightly alter the final taste.
How should I store leftover Spooky Vegan Spider Cookies?
Store any leftovers in an airtight container at room temperature for up to 3 days. I suggest layering the cookies with parchment paper to prevent them from sticking together. For longer freshness, you can refrigerate them for up to a week—just remember to bring them back to room temperature before enjoying!
Can I freeze the dough for future baking?
Absolutely! If you have extra dough, simply form it into balls and freeze them on a baking sheet for about 30 minutes, then transfer them to a freezer-safe container. They can be frozen for up to 1 month. When you're ready to bake, place the frozen dough directly onto the baking sheet and bake as usual without thawing.
What if my cookie dough is crumbly?
If your dough turns out crumbly, it often means the egg replacer wasn't activated properly or there wasn’t enough moisture. To fix this, add a tablespoon of dairy-free milk at a time until the dough comes together. Make sure to follow the instructions for the egg replacer, allowing it to sit for a few minutes before mixing it into the dough.
Are these cookies safe for kids with nut allergies?
If you are baking for someone with nut allergies, it's best to replace the SunButter with a seed-based butter like SunButter, which is made from sunflower seeds. Always check labels for potential allergens in other ingredients like chocolate chips and ensure all substitutions are safe.
How can I customize the spookiness of my cookies?
You can enhance the spooky factor by adding different edible decorations like colored sugar or gummy candy! For a blood-drip effect, try adding red sanding sugar around the edges. It’s a delightful way to make your Spooky Vegan Spider Cookies uniquely yours while keeping the Halloween spirit alive!
Deliciously Spooky Vegan Spider Cookies for Halloween Fun
Ingredients
Equipment
Method
- Chill the Mini Sun Cups in the fridge for about 30 minutes. Preheat your oven to 375°F (190°C) and line a baking sheet with parchment paper.
- In a small bowl, combine 1 tablespoon of Bob's Red Mill Egg Replacer with 2 tablespoons of water. Let it sit to become slightly gel-like.
- In a large mixing bowl, cream together the SunButter, organic brown sugar, and granulated sugar on medium speed for 2-3 minutes until light and fluffy.
- Add the prepared egg replacer, dairy-free milk, and vanilla extract to the creamed mixture. Mix on low speed until just combined.
- In another bowl, whisk together all-purpose flour, baking soda, and salt. Gradually add to the wet mixture, mixing until just combined.
- Scoop out dough and divide it into 24 equal balls. Roll each in sanding sugar, then place 2 inches apart on the baking sheet.
- Bake in the preheated oven for 10-12 minutes until lightly golden. Let cool on the pan for 5 minutes before transferring to a wire rack.
- Press a chilled Mini Sun Cup into the center of each cookie. Melt vegan chocolate chips and pipe out legs and attach candy eyes.
- Refrigerate cookies for about 10 minutes to set the chocolate.


Leave a Reply