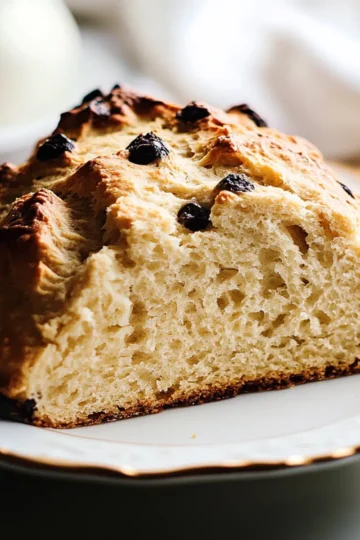
The moment the warm, yeasty aroma of freshly baked Fluffy Greek Pita wafts through your kitchen, any trace of fast food cravings will vanish. This easy homemade comfort food is more than just a side; its versatility shines whether you're creating a sandwich, dipping into creamy hummus, or simply enjoying it warm with a drizzle of olive oil. What’s even better? This recipe can be easily adapted for gluten-free or vegan diets, ensuring everyone at your table can indulge in a soft, pillowy delight. With just a handful of simple ingredients and a few straightforward steps, you can elevate your culinary skills and impress your family or guests. Ready to experience pita perfection? Let’s dive into the delicious details!
Why Is Homemade Pita Unforgettable?
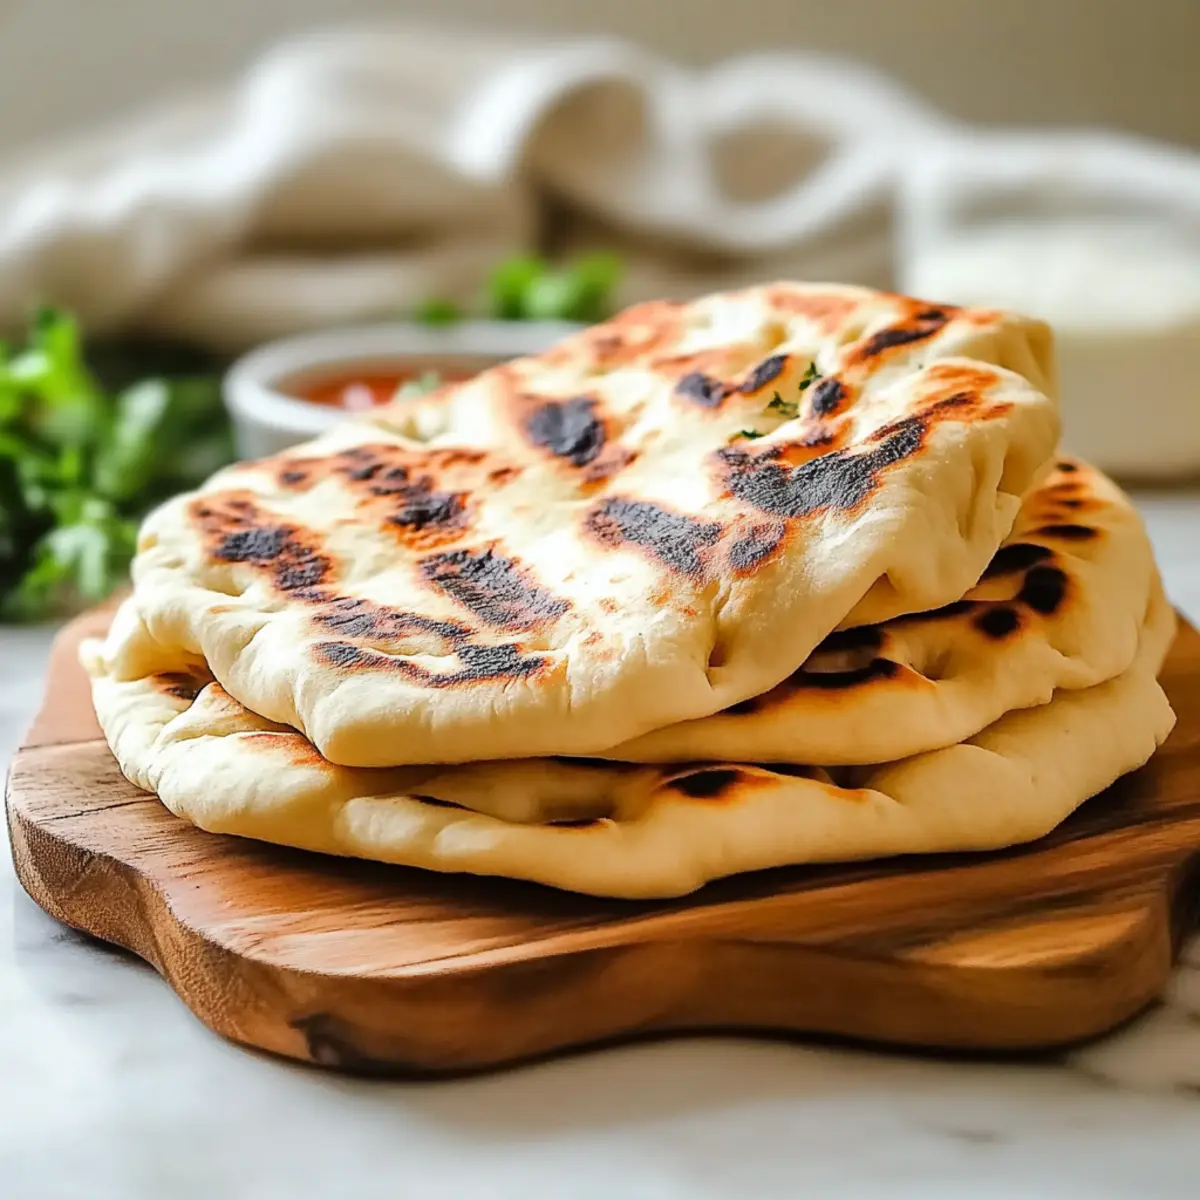
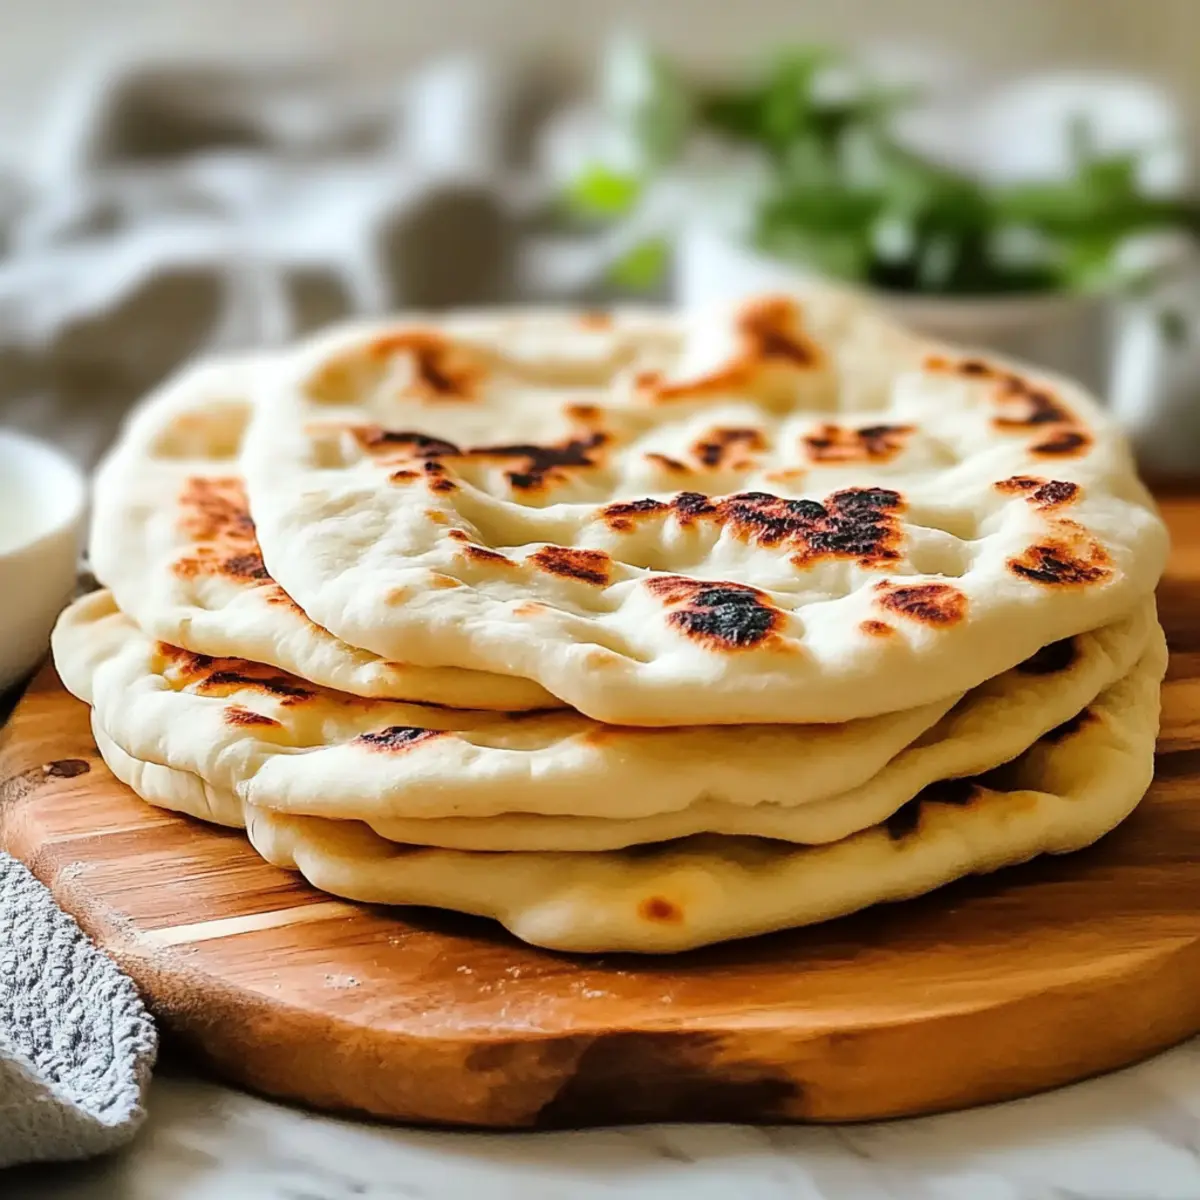
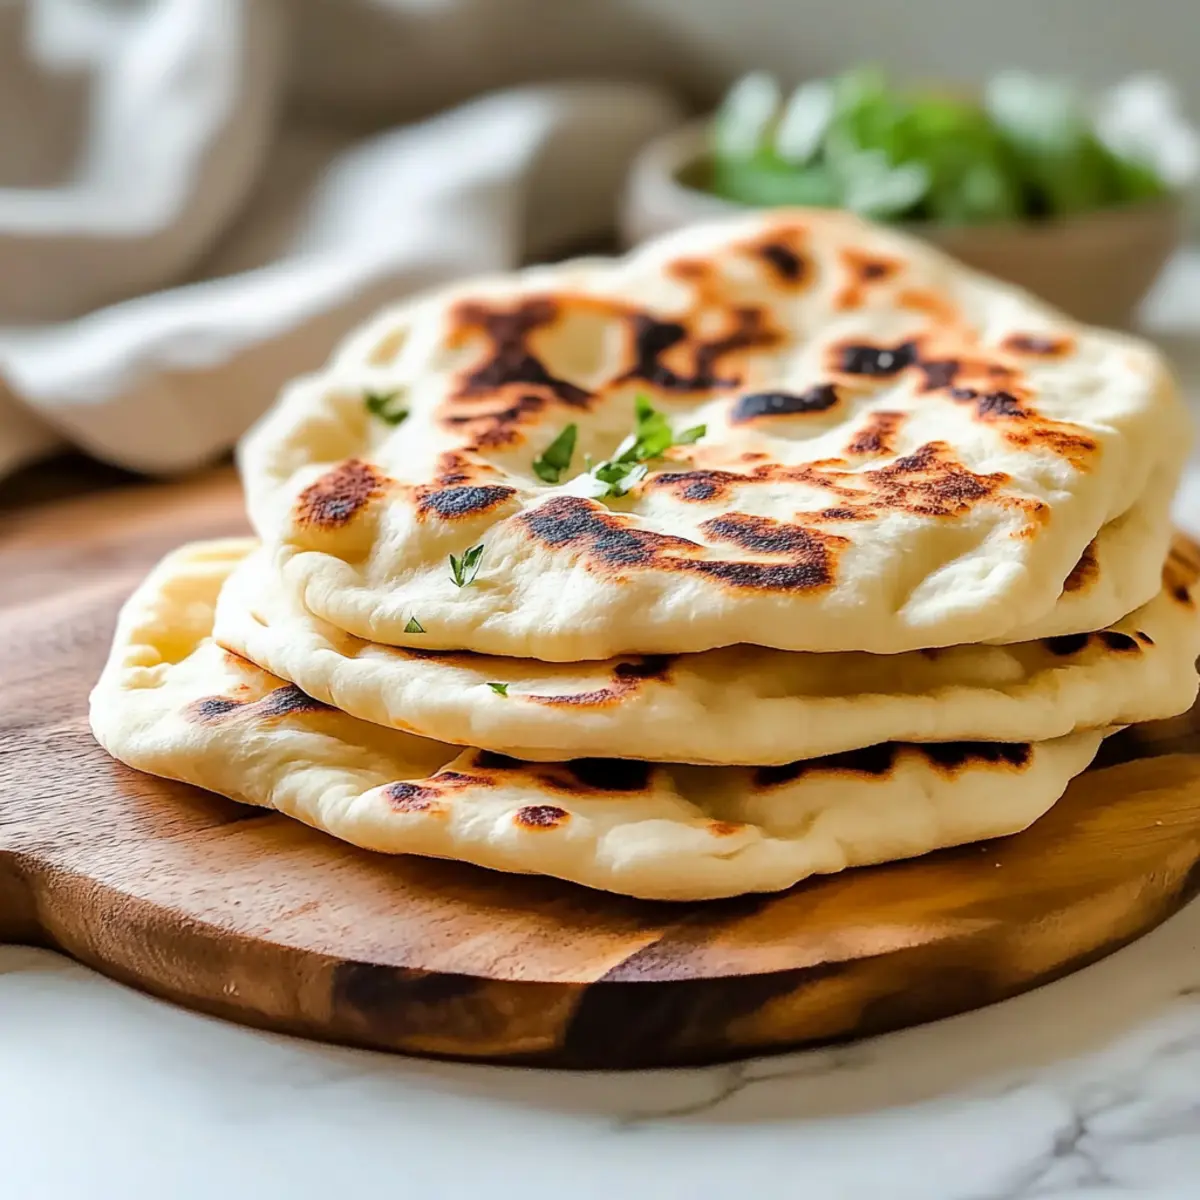
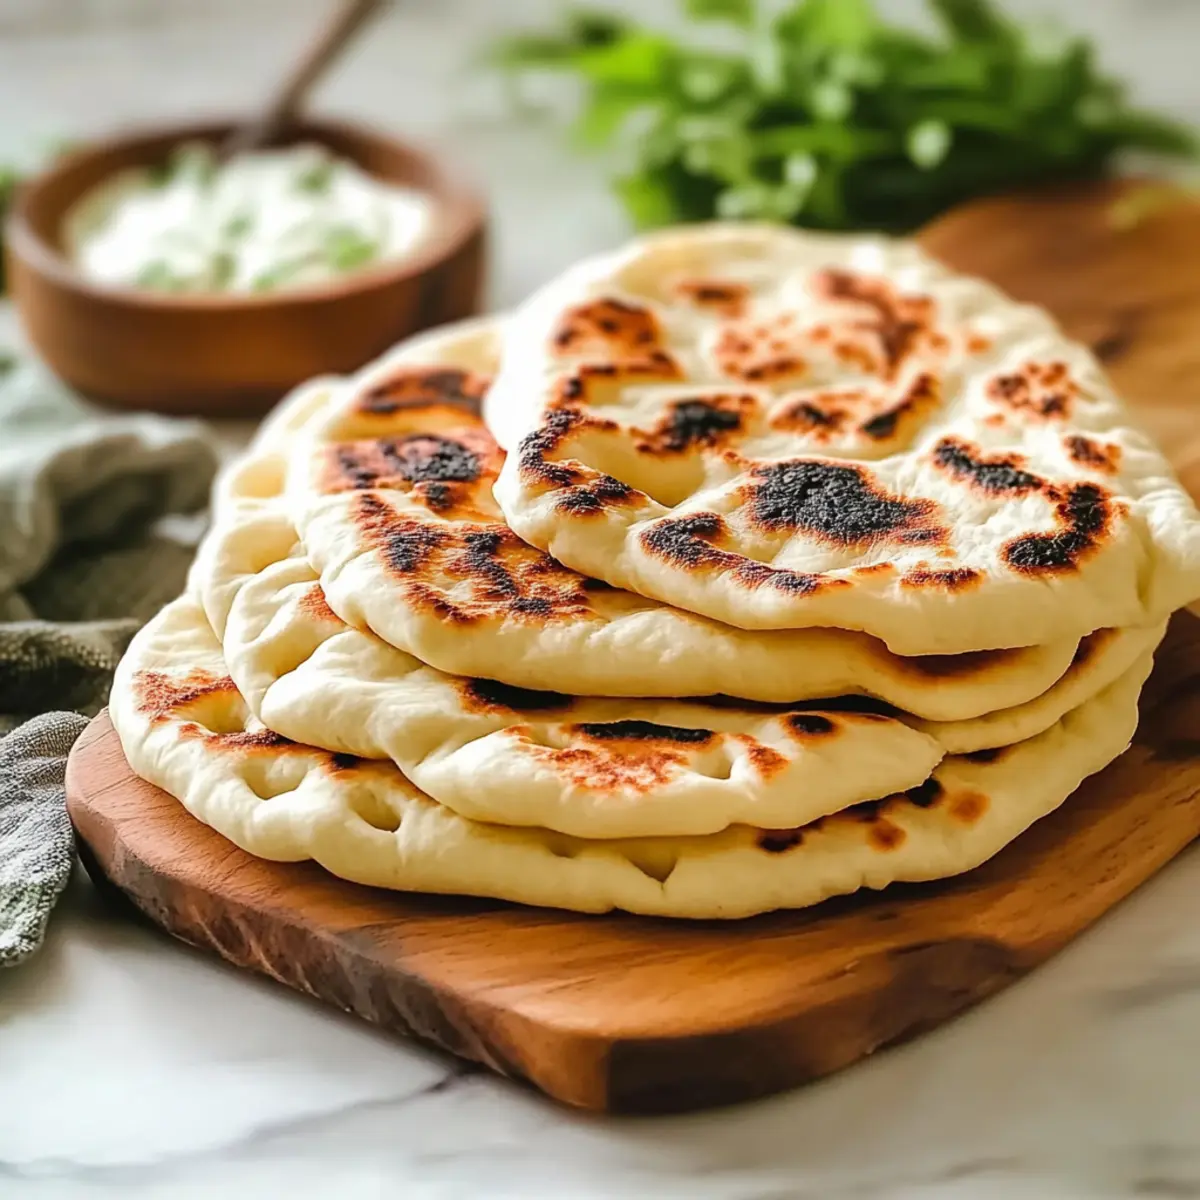
Warm, Pillowy Goodness: Each pita puffs beautifully as it cooks, creating a soft, airy pocket that's perfect for stuffing.
Easy to Customize: Whether you prefer gluten-free or vegan, this recipe offers alternatives to fit your dietary needs without sacrificing flavor.
Time-Saving Treat: With just a few straightforward steps, you can serve piping hot pitas in under two hours.
Crowd-Pleasing Versatility: Perfect for family dinners or gatherings, these pitas pair effortlessly with dips, grilled meats, or fresh salads for a well-rounded meal.
Satisfaction Guaranteed: Say goodbye to lifeless takeout and enjoy the satisfaction of creating your own fresh pita bread at home! For more amazing homemade ideas, check out our homemade dips.
Ingredients for Fluffy Greek Pita
• Discover the key elements for making Fluffy Greek Pita that will transform your meals!
For the Dough
- All-Purpose Flour – Provides structure and texture; swap with a gluten-free flour blend for a gluten-free option.
- Active Dry Yeast – Essential for fermentation and rising; ensure it's fresh for the best results.
- Kosher Salt – Enhances flavor and balances the dough.
- Warm Milk – Adds moisture and richness; use plant-based milk for a vegan variation.
- Warm Water – Helps activate the yeast for proper dough rise.
- Olive Oil – Contributes flavor and tenderness to the dough.
Optional Toppings
- Garlic-Infused Butter – Perfect for brushing on warm pitas for extra flavor.
- Fresh Herbs (Oregano or Thyme) – Add to the dough for a delightful herbal twist.
Now that you have the ingredients, you’re all set to create a delicious batch of Fluffy Greek Pita!
Step‑by‑Step Instructions for Fluffy Greek Pita
Step 1: Combine Dry Ingredients
In a large mixing bowl, whisk together 2 cups of all-purpose flour, 2 teaspoons of active dry yeast, and 1 teaspoon of kosher salt until thoroughly combined. This step is crucial for ensuring even distribution of the yeast and salt, which will contribute to the perfect rise of your Fluffy Greek Pita.
Step 2: Add Wet Ingredients
Gradually pour in 1 cup of warm milk and ½ cup of warm water into the dry mixture, stirring gently with a wooden spoon until a shaggy dough forms. Ensure the liquids are warm but not hot to avoid killing the yeast. The dough should come together while still being sticky, indicating a good start to your pita journey.
Step 3: Knead the Dough
Transfer the shaggy dough onto a floured surface and incorporate 2 tablespoons of olive oil. Knead for 5 to 7 minutes until the dough is smooth and elastic. As you knead, you’ll feel the dough becoming less sticky and more cohesive, making it a delightfully pliable base for your Fluffy Greek Pita.
Step 4: Let the Dough Rise
Place the kneaded dough in a greased bowl, cover it with a damp cloth, and let it rise in a warm area for about 1 hour, or until it doubles in size. This process allows the yeast to activate properly, resulting in that airy texture we adore in fluffy pitas. After an hour, gently press down the dough to release any trapped air bubbles.
Step 5: Shape the Dough
Once risen, punch down the dough to remove excess air, then divide it into 8 equal pieces. Roll each piece into a ball, ensuring they're smooth on the outside. Take a moment to admire the lovely, fluffy texture of the dough you've created – it’s the foundation of your delicious Fluffy Greek Pita!
Step 6: Roll the Pitas
On a floured surface, use a rolling pin to flatten each ball into circles approximately 7-8 inches wide and ¼ inch thick. Aim for a uniform thickness to ensure they cook evenly. The sight of the rolled-out dough should excite your senses, as they are ready to transform into perfect pitas.
Step 7: Cook the Pitas
Preheat a cast-iron skillet over high heat for 5 minutes until it's hot. Place each rolled pita in the skillet and cook for about 1 minute on each side, or until they puff up and develop a light golden-brown color. Watch as they beautifully expand, creating that coveted pocket characteristic of Fluffy Greek Pita.
Step 8: Add Finishing Touches
After cooking, remove the warm pitas from the skillet and brush them with garlic-infused butter or sprinkle them with fresh herbs if desired. This final touch elevates their flavor, making them a delightful companion for any meal, whether you're using them for dips or as a sandwich base.
Make Ahead Options
These Fluffy Greek Pitas are a perfect solution for meal prep enthusiasts! You can prepare the dough and let it rise up to 24 hours in advance by covering it tightly with plastic wrap and refrigerating it. When you're ready to continue, simply let the dough come back to room temperature, punch it down, and shape it into pitas. If you prefer, you can also shape and cook the pitas ahead of time, then refrigerate them in an airtight container for about 3 days or freeze them for up to 1 month. To reheat, warm them gently in a skillet or microwave for a few seconds—this keeps them just as delicious and soft as freshly made!
What to Serve with Fluffy Greek Pita
Transform your meal into a culinary celebration by pairing these delightful pitas with fresh and vibrant accompaniments.
- Creamy Hummus: This classic dip provides a creamy contrast to the fluffy texture, enhancing each bite with rich flavors.
- Tzatziki Sauce: The cool, tangy yogurt and cucumber dip is refreshing and perfectly complements the warm pitas, ideal for dipping or drizzling.
- Greek Salad: A medley of crisp veggies, tangy feta, and olives brings a burst of freshness, balancing the soft pitas with vibrant flavors.
- Roasted Vegetables: Sweet, caramelized veggies add a delicious roasted flavor; the earthy tones pair beautifully with pitas for a wholesome meal.
Imagine piling your fluffy Greek pita high with warm roasted vegetables, all kissed with olive oil and herbs. Each bite offers harmony—a perfect blend of textures and tastes!
- Grilled Chicken Souvlaki: Juicy skewered chicken enhances the pita experience; add a sprinkle of herbs for extra flavor.
- Spicy Chickpea Stew: A warming stew brings delightful spices and a satisfying heartiness, perfect for stuffing into your pitas for a comforting meal.
- Lemonade or Mint Tea: A refreshing drink option to cool your palate, pairing wonderfully with the savory flavors of your meal.
How to Store and Freeze Fluffy Greek Pita
Room Temperature: Store the pitas in a sealed container at room temperature for up to 3 days, ensuring they stay soft and fresh.
Fridge Storage: If you need them to last longer, wrap the pitas in foil or plastic wrap and keep them in the fridge for up to 5 days for optimal softness.
Freezer Instructions: For longer storage, freeze the pitas separated by parchment paper in an airtight container for up to 1 month. Reheat directly from frozen.
Reheating: To enjoy your Fluffy Greek Pita again, warm them in a skillet over low heat for a few minutes, or place in a toaster oven for a fresh-out-of-the-oven texture.
Expert Tips for Fluffy Greek Pita
Avoid Stale Yeast: Ensure your active dry yeast is fresh for the best rise; expired yeast can lead to flat pitas.
Preheat Your Skillet: A thoroughly heated cast-iron skillet is key to achieving that perfect puff; don’t rush this step!
Knead Gently: Over-kneading can lead to tough pitas. Stop kneading once the dough is smooth and elastic for fluffy results.
Watch Cooking Time: Each pita cooks quickly; keep an eye on them to avoid burning, and allow them to puff properly.
Proper Storage: Store leftover pitas in an airtight container for up to 3 days to maintain their softness and flavor.
Fluffy Greek Pita Variations & Substitutions
Feel free to personalize your Fluffy Greek Pita experience with these tasty twists and adaptations that cater to your palate!
-
Gluten-Free: Substitute all-purpose flour with a 1:1 gluten-free flour blend to enjoy fluffy pitas without the gluten. Perfect for everyone at the table!
-
Vegan Delight: Swap warm milk for almond, oat, or any preferred plant-based milk, ensuring your pitas stay rich and delicious while being entirely vegan-friendly.
-
Herb-Infused: Add a tablespoon of dried herbs like oregano or thyme to the dough for an aromatic twist that enhances flavor. The herby scent will make your kitchen feel like a Mediterranean getaway!
-
Garlic Lovers: Incorporate minced garlic into the olive oil you brush on the pitas for a strong garlic punch that elevates every bite. The savory aroma will have everyone asking for seconds!
-
Spice it Up: Add a teaspoon of red pepper flakes to the dough for a hint of heat, making your pitas a perfect companion for spicy dips and toppings.
-
Sweet Surprise: For a unique touch, blend a tablespoon of honey or agave syrup into the wet ingredients. This slight sweetness transforms the pitas into a delightful treat, perfect for pairing with fruit or yogurt.
-
Cheese Lover's Dream: Incorporate crumbled feta cheese into the dough for a flavor-packed twist that pays homage to classic Greek cuisine. The gooey pockets of cheese will create an irresistible experience!
-
Nutty Flavor: Replace olive oil with tahini for a nutty undertone that adds depth to your pitas. This substitution pairs beautifully with Mediterranean spreads like hummus or baba ganoush.
Don't forget, these adaptations also create amazing pairings! Why not enjoy your customized pitas with a refreshing Greek salad or some homemade tzatziki sauce? For even more ideas, explore our recipes for homemade dips and discover perfect companions for your freshly baked pitas.
Fluffy Greek Pita Recipe FAQs
How do I choose ripe ingredients for the dough?
Absolutely! For the best texture in your Fluffy Greek Pita, look for fresh active dry yeast. Check the expiration date on the package as stale yeast won’t rise properly. When selecting flour, opt for high-quality all-purpose or a gluten-free blend if needed. A general tip is to store your flour in a cool, dry place to ensure freshness.
What is the best way to store leftover pitas?
For room temperature storage, keep your pitas in a sealed container for up to 3 days. This will maintain their softness. If you want to store them longer, wrapping in foil or plastic and placing them in the fridge allows for up to 5 days of freshness. Just remember to reheat gently to restore their fluffiness!
Can I freeze Fluffy Greek Pita for later use?
Very much! To freeze your pitas, place parchment paper between each one to prevent sticking, and store them in an airtight container or freezer bag for up to 1 month. When you're ready to enjoy them, simply reheat directly from frozen in a skillet on low heat for a few minutes until warm, maintaining that delicious texture.
What if my pitas don’t puff up during cooking?
Very! If you find that your pitas aren't puffing properly, it may be due to your skillet being not hot enough, or the dough was too cold. Preheat the skillet thoroughly and cook the pitas quickly in high heat. It’s also crucial to ensure your dough has risen adequately; otherwise, they won't have the proper air pockets. If this still doesn’t help, knead a tad longer next time!
Are there dietary considerations for pets or allergies?
Yes! While Fluffy Greek Pitas are generally safe for human consumption, they contain ingredients like wheat, milk, and olive oil that might not be suitable for pets. Before serving pitas to anyone with dietary restrictions or allergies, always double-check your ingredients for potential allergens. If someone has a gluten allergy, opt for the gluten-free version to avoid any issues.
Fluffy Greek Pita: The Best Homemade Comfort Awaits
Ingredients
Equipment
Method
- Combine dry ingredients in a mixing bowl: flour, yeast, and salt.
- Add warm milk and water gradually, stirring until a shaggy dough forms.
- Transfer dough to a floured surface and knead with olive oil for 5 to 7 minutes.
- Let the dough rise in a greased bowl covered with a damp cloth for about 1 hour.
- Punch down the dough, divide it into 8 pieces, and roll each into a ball.
- Roll each ball into circles about 7-8 inches wide and ¼ inch thick.
- Preheat a cast-iron skillet over high heat for 5 minutes; cook each pita for 1 minute on each side.
- Brush cooked pitas with garlic-infused butter or sprinkle with fresh herbs if desired.


Leave a Reply