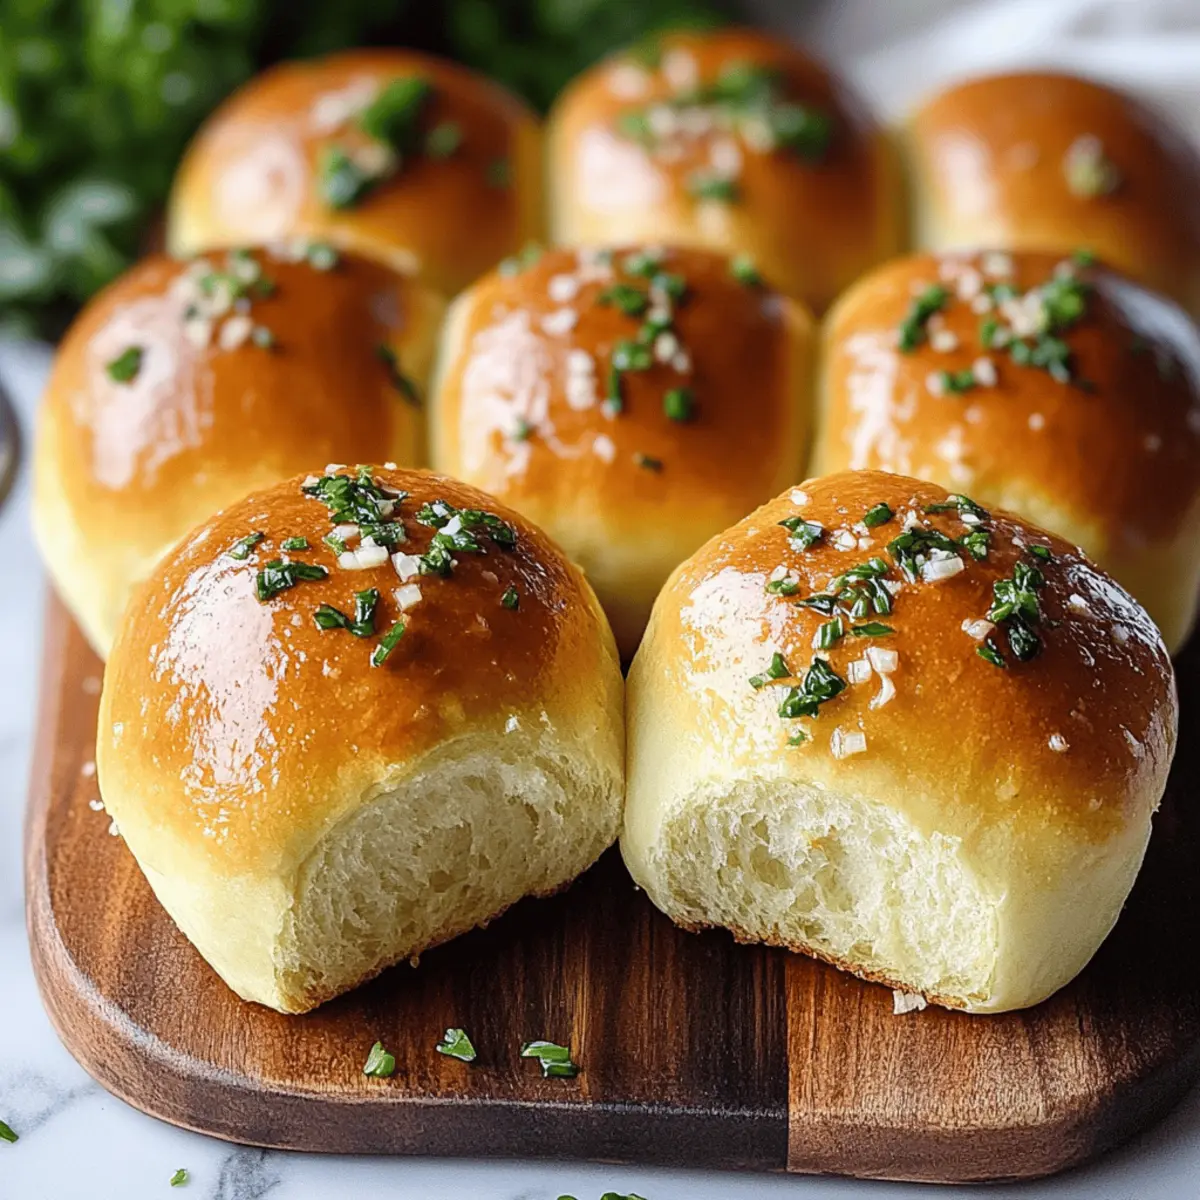
The enticing aroma of warm garlic butter wafted through my kitchen, instantly transporting me to my favorite corner bakery. It’s these moments that inspire me to bake, and today, I'm thrilled to share my recipe for Easy Garlic Butter Dinner Rolls. These rolls aren't just a side dish; they're the perfect companion to any meal, promising that buttery, fluffy finish that elevates everything from soups to casual dinners. With quick prep time and the irresistible allure of homemade comfort, you’ll want to whip up batch after batch. So, are you ready to fill your home with the cozy scents of savory garlic? Let’s dive into the joy of baking!
Why Will You Adore These Rolls?
Irresistible Aroma: The scent of warm garlic butter fills your kitchen, creating an inviting atmosphere that beckons everyone to gather around the table.
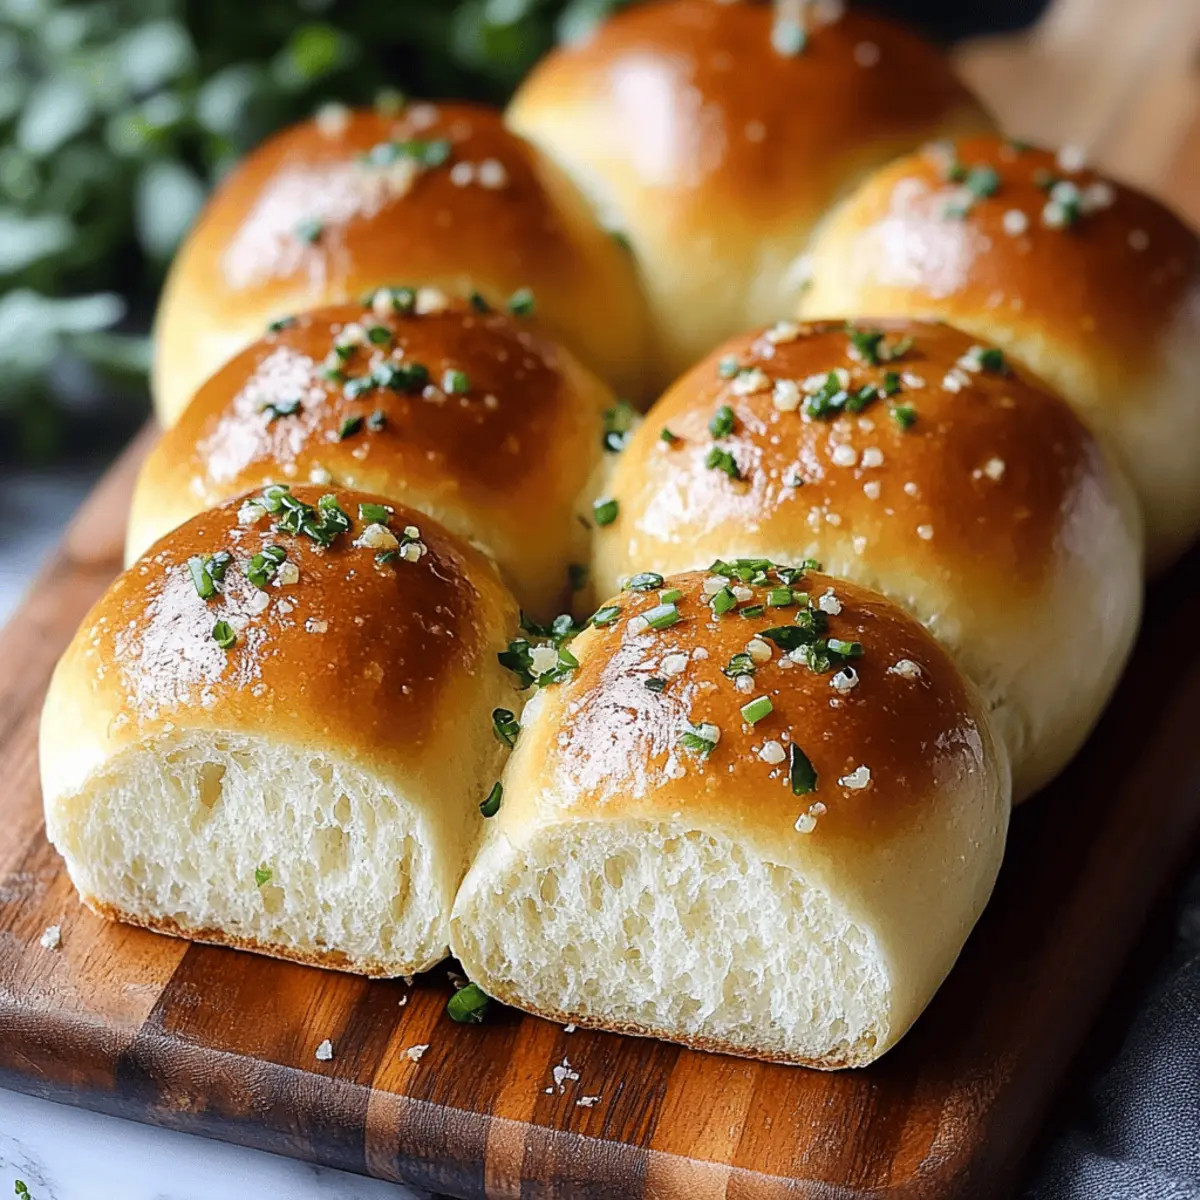
Fluffy Texture: Each roll is crafted to be soft and airy, providing that melt-in-your-mouth experience that takes homemade comfort food to new heights.
Versatile Companion: Perfect for pairing with soups, salads, or as a delicious addition to pasta dishes, these rolls will complement any meal effortlessly.
Simple Ingredients: With just a few pantry staples, you can create these delightful rolls, making them ideal for both novice and experienced bakers.
Quick Prep Time: While they may taste like a bakery treat, these rolls come together quickly, allowing you to enjoy fresh-baked goodness in no time.
Creative Variations: Feel free to experiment! Add herbs or cheese for a personal twist, making every batch uniquely yours. If you’re looking for more delicious side ideas, check out our best comforting side dishes!
Garlic Butter Dinner Rolls Ingredients
For the Dough
• Active Dry Yeast – Provides leavening for fluffy texture; always check for freshness for the best results.
• Warm Milk (about 110°F) – Activates the yeast; it should feel warm to the touch, not hot. For a twist, use warm water if needed, though it may alter the flavor slightly.
• Sugar – Enhances flavor and aids in yeast activation; honey or agave syrup can also work well as substitutes.
• All-Purpose Flour – Key structure ingredient for these rolls; for a gluten-free version, opt for a 1:1 gluten-free flour blend.
• Egg – Adds richness and assists with browning; replace with a flax egg for a vegan alternative.
• Salt – Essential for improving flavor and tightening the dough; don’t skip this crucial ingredient!
• Unsalted Butter (softened) – Contributes to flavor and moisture; vegan butter is a great dairy-free option.
For the Topping
• Fresh Garlic – An aromatic flavor enhancer essential for that garlic butter deliciousness; if you're in a pinch, use garlic powder (about ½ teaspoon).
• Fresh Parsley (optional) – Adds a pop of color and freshness; feel free to omit or replace it with your favorite herbs.
These Garlic Butter Dinner Rolls are not just delightful; they also make for a comforting addition to any meal you prepare!
Step‑by‑Step Instructions for Garlic Butter Dinner Rolls
Step 1: Prepare Yeast Mixture
Begin by warming your milk to about 110°F; it should feel warm but not hot to touch. In a small bowl, combine the warm milk with active dry yeast and a touch of sugar, then let it sit for 5–10 minutes until it foams up and becomes bubbly. This indicates that your yeast is active and ready to bring your garlic butter dinner rolls to life.
Step 2: Combine Ingredients
In a large mixing bowl, whisk together the remaining sugar, all-purpose flour, salt, and softened unsalted butter. Once well combined, pour in the foamy yeast mixture along with the egg. Mix everything together until it forms a shaggy dough. Don’t worry about perfection; this mixture will come together beautifully as you knead.
Step 3: Kneading
Transfer the dough onto a clean, floured surface and begin kneading for about 10–15 minutes. Use the heel of your hand, pushing the dough away from you and folding it back over, until it's smooth and elastic—this is key to achieving the fluffy texture of your garlic butter dinner rolls. You can perform the windowpane test by stretching a small piece; it should become translucent without tearing.
Step 4: First Rise
Place the kneaded dough into a lightly oiled bowl, turning it to coat all sides. Cover it with a damp cloth or plastic wrap, and set it in a warm, draft-free area to rise for approximately 90 minutes or until doubled in size. This step is crucial for developing that airy texture that makes these rolls so irresistible.
Step 5: Shape Rolls
After the first rise, punch down the dough to release the air. Divide the dough into 12 equal pieces and roll each piece into a smooth ball. Arrange these balls on a lined baking pan, spacing them slightly apart. This shaping step ensures your garlic butter dinner rolls rise beautifully and maintain that lovely round appearance.
Step 6: Second Rise
Cover the shaped rolls with a clean kitchen towel and let them rise for another 30–45 minutes until puffy and nearly doubled in size. This second rise is essential as it contributes to the fluffy texture, so ensure they have enough space to expand and grow more decadent.
Step 7: Preheat Oven
While your rolls are completing their second rise, preheat your oven to 350°F. This gives the rolls the perfect environment to bake to golden perfection, so make sure the oven is ready when the time comes to pop your garlic butter dinner rolls in.
Step 8: Egg Wash
Before baking, brush the tops of the rolls with an egg wash made by whisking together an egg with a tablespoon of water. This will create a beautiful glazed finish on your garlic butter dinner rolls, giving them an appetizing golden color as they bake.
Step 9: Bake
Place the baking pan in the preheated oven and bake for 20–22 minutes until the rolls are golden brown and sound hollow when tapped on the bottom. Keep an eye on them towards the end to prevent over-baking and ensure they achieve that perfect crust.
Step 10: Garlic Butter Topping
As soon as the rolls come out of the oven, melt unsalted butter in a small pan and sauté minced garlic until fragrant. Brush this delicious garlic butter mixture generously over the warm rolls, allowing the rich flavor to soak in. Garnish with fresh parsley if desired, adding a burst of color and flavor to your golden garlic butter dinner rolls.
Expert Tips for Garlic Butter Dinner Rolls
-
Active Yeast Check: Ensure your yeast is fresh by checking for foam after mixing it with warm milk. If it doesn't foam, your rolls won't rise.
-
Avoid Excess Flour: When kneading, resist the temptation to add more flour if the dough feels sticky. A little stickiness will improve as gluten develops.
-
Windowpane Test: Test for gluten development by stretching a small piece of dough. It should stretch thin without tearing, indicating it’s ready for the first rise.
-
Room Temperature Rise: For the best rise, place the dough in a warm, draft-free area. This helps create that fluffy texture in your garlic butter dinner rolls.
-
Make-Ahead Option: Shape and refrigerate the rolls overnight for a convenient next-day bake. Allow them to come to room temperature before baking for optimal results.
How to Store and Freeze Garlic Butter Dinner Rolls
Room Temperature: Store cooled rolls in an airtight container for up to 2 days. Keep them in a cool, dry place to maintain softness.
Fridge: If you need them to last longer, store in the refrigerator for up to 5 days. Reheat in the oven for a fresh-baked taste.
Freezer: Freeze the rolls for up to 3 months. Wrap them individually in plastic wrap and then in aluminum foil for extra protection against freezer burn.
Reheating: To enjoy your garlic butter dinner rolls, wrap them in foil and warm in a preheated oven at 350°F for about 10 minutes, or until heated through.
What to Serve with Easy Garlic Butter Dinner Rolls
Warm, fluffy dinner rolls fresh from the oven create an inviting atmosphere, perfect for enhancing any meal.
-
Hearty Vegetable Soup: The rich broth and comforting flavors make this pairing a delightful choice, merging warmth and texture in every bite.
-
Caesar Salad: Crisp romaine and creamy dressing complement the fluffy rolls, providing a refreshing contrast that elevates your dining experience.
-
Grilled Chicken: Juicy chicken drizzled with a savory sauce brings a protein-packed balance to your dinner, married beautifully with the garlic butter rolls.
-
Pasta Primavera: Fresh vegetables and al dente pasta in a light sauce harmonize with the rolls, making for a satisfying and colorful meal.
-
Braised Beef: Savory and rich, this hearty dish promotes a deep-rooted comfort when served alongside the buttery dinner rolls, perfect for mopping up sauces.
-
Sparkling Lemonade: This refreshing drink adds a zesty brightness that contrasts perfectly with the savory flavors of garlic butter and enhances the meal's overall appeal.
Indulging in these delicious pairings will transform your dinner roll experience, ensuring everyone leaves the table satisfied and delighted!
Make Ahead Options
These Easy Garlic Butter Dinner Rolls are perfect for busy weeknights, allowing you to enjoy homemade goodness with less stress! You can prepare the dough and shape the rolls up to 24 hours in advance and refrigerate them. To do this, simply follow all the steps until the second rise, then cover the shaped rolls with plastic wrap and place them in the fridge. When you’re ready to bake, let them sit at room temperature for about 30 minutes to rise slightly before preheating your oven. This method ensures the rolls retain their fluffy texture and buttery flavor, making it easy to serve warm, freshly baked rolls any night of the week!
Garlic Butter Dinner Rolls Variations
Get ready to unleash your creativity in the kitchen with these delightful variations that will make your garlic butter dinner rolls even more irresistible!
-
Herbed Twist: Incorporate minced fresh herbs like rosemary or thyme into the dough for an aromatic kick. The presence of herbs can elevate the flavor profile beautifully.
-
Cheesy Delight: Add shredded cheese like cheddar or mozzarella into the dough or sprinkle on top before baking. The melted cheese will create a cheesy, gooey texture that’s hard to resist.
-
Whole Wheat: Substitute half of the all-purpose flour with whole wheat flour. This adds a nutty flavor and a dash of healthiness without compromising the rolls' softness.
-
Sweet Spin: For a sweet twist, mix in a tablespoon of honey to the dough. This will create subtly sweet rolls that pair nicely with butter or jam.
-
Spicy Kick: Add crushed red pepper flakes or diced jalapeños to the dough for a heat-infused surprise. It’s a fantastic way to spice things up for those who love a little warmth.
-
Garlic and Parmesan Topping: Mix grated Parmesan cheese into your garlic butter topping. This gives a flavorful crust on top of each roll that’s crispy and packed with umami.
-
Gluten-Free Goodness: Use a 1:1 gluten-free flour blend instead of all-purpose flour. This way, you can savor each bite without gluten concerns, ensuring everyone can enjoy the rolls.
-
Vegan Variation: Opt for a flax egg and use coconut oil instead of butter for a completely plant-based alternative. You'll still achieve that delightful texture and flavor!
Each of these variations can transform your rolls into something new and exciting, making any dinner extra special. If you’re looking for even more inspiration, check out our best comforting side dishes for ideas that pair perfectly with your delightful homemade rolls!
Garlic Butter Dinner Rolls Recipe FAQs
How can I tell if my yeast is fresh?
To ensure your active dry yeast is fresh, mix it with warm milk (about 110°F) and a pinch of sugar. If it foams after about 5-10 minutes, your yeast is active and ready to use. If there’s no foam, it’s best to start with a new packet!
What is the best way to store leftover dinner rolls?
You can store cooled garlic butter dinner rolls in an airtight container at room temperature for up to 2 days. If storing in the fridge, they can last up to 5 days. To maintain their softness, keep them in a cool, dry place away from direct sunlight.
Can I freeze these dinner rolls?
Absolutely! To freeze your garlic butter dinner rolls, wrap each roll tightly in plastic wrap and then in aluminum foil to prevent freezer burn. They will stay fresh for up to 3 months. When you’re ready to enjoy them, simply thaw them at room temperature or reheat directly from frozen.
What should I do if my dough is too sticky?
If your dough feels overly sticky while kneading, resist the urge to add more flour too quickly. Just keep kneading for 10-15 minutes as it will become less sticky as gluten develops. You can use a little bit of oil on your hands to make the process easier!
Can I make these rolls vegan?
Yes, you can easily make vegan garlic butter dinner rolls by substituting the egg with a flax egg (1 tablespoon flaxseed meal and 2.5 tablespoons water, let it sit for 5 minutes to thicken) and using vegan butter instead of regular butter. They will be just as fluffy and delicious!
Can I add ingredients like cheese or herbs?
The more the merrier! Feel free to incorporate cheese like cheddar into the dough or sprinkle on top before baking, or add fresh herbs such as rosemary or thyme for an aromatic twist. Just make sure not to overload the dough so it retains its light texture!
Easy Garlic Butter Dinner Rolls That Melt in Your Mouth
Ingredients
Equipment
Method
- Warm the milk to about 110°F and combine with yeast and a touch of sugar. Let sit for 5–10 minutes until foamy.
- In a large bowl, whisk together the remaining sugar, flour, salt, and butter. Add the foamy yeast mixture and egg, mixing until shaggy.
- Knead the dough on a floured surface for about 10–15 minutes until smooth and elastic.
- Place the dough in a lightly oiled bowl, cover, and let rise in a warm area for about 90 minutes until doubled.
- Punch down the dough, divide into 12 pieces, and roll each into a ball. Place on a lined baking pan.
- Cover and let the rolls rise for another 30–45 minutes until puffy and nearly doubled.
- Preheat the oven to 350°F.
- Brush the tops with an egg wash made from an egg whisked with water.
- Bake for 20–22 minutes until golden brown and hollow when tapped.
- Melt butter in a pan, sauté garlic until fragrant, and brush over warm rolls before garnishing with parsley.


Leave a Reply