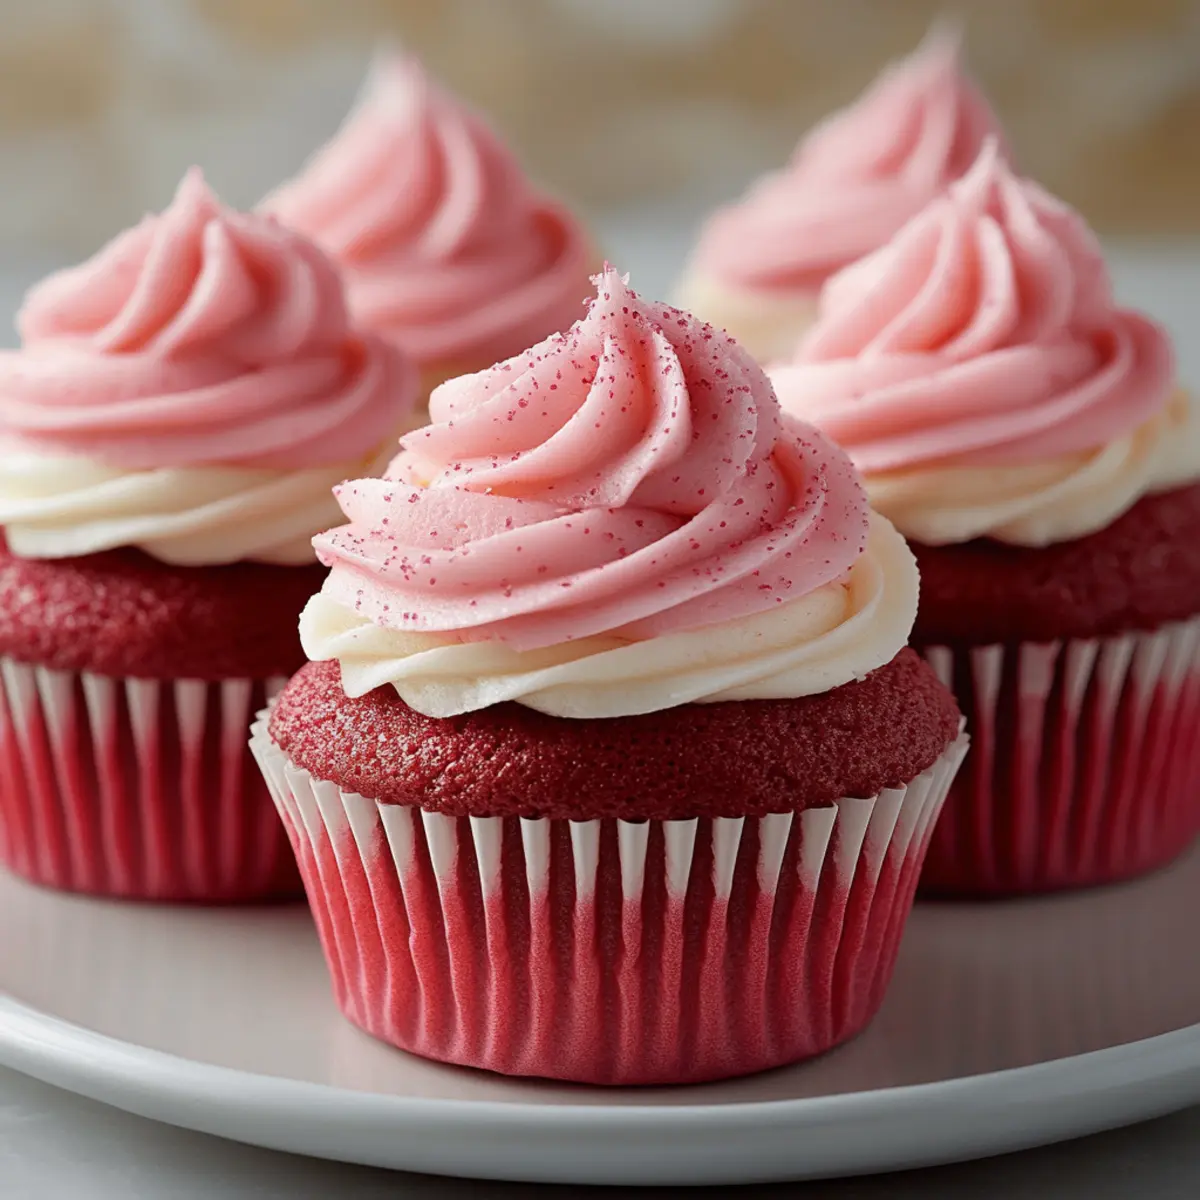
With a sprinkle of joyous anticipation, I whipped up these Pink Velvet Cupcakes, convinced they would be the show-stopper at my next gathering. They’re not just a pretty face; these moist cupcakes with cream cheese frosting deliver a delightful twist on the classic red velvet. Perfect for celebrations—think birthdays, bridal showers, or just a sunny afternoon with friends—this recipe is both simple and crowd-pleasing. You’ll love how the vibrant pink hue brightens up any dessert table while the rich flavor makes each bite feel like a warm hug. Are you ready to transform your baking lineup with these charming treats?
Why are these cupcakes so special?
Irresistible flavor: The luscious combination of cocoa and vanilla creates a deliciously rich taste that keeps you coming back for more.
Vibrant appearance: Their stunning pink hue adds a cheerful touch to any celebration, making them visually irresistible at your gathering.
Versatile delight: Perfect for birthdays, bridal showers, or just a cozy afternoon treat, these cupcakes fit every occasion like a glove.
Moist and tender: Thanks to the buttermilk and careful mixing, each bite is a soft, melt-in-your-mouth experience that delights the senses.
Creamy frosting: Topped with luscious cream cheese frosting, these cupcakes offer a perfect balance of sweetness that elevates the overall taste.
For tips on ensuring that perfect texture, explore our guide on common baking mistakes to avoid.
Pink Velvet Cupcake Ingredients
Discover what makes these cupcakes so delightful!
For the Cupcake Batter
- All-Purpose Flour – Provides structure; substitute with gluten-free flour for a gluten-free option.
- Granulated Sugar – Adds sweetness; can be replaced with coconut sugar for a lower glycemic index.
- Baking Powder – Helps the cupcakes rise; ensure it's fresh for the best results.
- Baking Soda – Aids in leavening when combined with the acidity from buttermilk.
- Salt – Enhances flavor; use kosher salt for a more rounded taste.
- Unsalted Butter – Adds richness and moisture; can substitute with vegetable oil if desired.
- Large Egg – Provides binding and moisture; for a vegan option, use a flax egg.
- Buttermilk – Contributes to a tender crumb; regular milk with vinegar can be a substitute.
- Cocoa Powder – Adds depth of flavor; dark cocoa can be used for a richer taste.
- Vanilla Extract – Enhances the overall flavor profile.
- Red Food Coloring – Gives the characteristic pink color; adjust the amount for desired vibrancy.
For the Cream Cheese Frosting
- Cream Cheese – Creates a rich frosting base; substitute with vegan cream cheese for a dairy-free option.
- Powdered Sugar – Sweetens and thickens frosting; can be reduced for a less sweet frosting.
- Heavy Cream/Milk – Used to adjust frosting consistency; any milk can create a lighter frosting.
These Pink Velvet Cupcakes are sure to capture hearts and taste buds alike. Enjoy baking!
Step‑by‑Step Instructions for Pink Velvet Cupcakes
Step 1: Prepare the Cupcake Batter
Preheat your oven to 350°F (175°C). Line a cupcake baking pan with colorful cupcake liners to add a festive touch. In a large mixing bowl, whisk together the all-purpose flour, baking powder, baking soda, cocoa powder, and salt until well combined. In another bowl, cream together the softened unsalted butter and granulated sugar until light and fluffy, about 3-5 minutes.
Step 2: Combine Wet Ingredients
Add the large egg to the butter-sugar mixture, beating until fully incorporated. Then, pour in the buttermilk and vanilla extract, followed by the red food coloring. Mix until everything is well-blended and smooth. Be sure to scrape down the sides of the bowl for an even color. This mixture should have a lovely pink hue, ready for the dry ingredients.
Step 3: Mix Dry and Wet Ingredients
Gradually add the dry ingredients to the wet mixture, mixing gently with a spatula. Stir just until combined—be cautious not to overmix to retain a light and fluffy texture. The Pink Velvet Cupcake batter should be smooth with a soft, velvety look. This is a crucial step for achieving that irresistible, moist quality.
Step 4: Fill Muffin Tins
Using a ladle or a measuring cup, carefully pour the batter into each cupcake liner, filling them about two-thirds full. This allows room for the cupcakes to rise beautifully without overflowing. Aim for even distribution to ensure all your Pink Velvet Cupcakes have the same lovely shape.
Step 5: Bake
Place the filled muffin tins in the preheated oven and bake for 18-20 minutes, or until a toothpick inserted into the center of a cupcake comes out clean. Keep an eye on them to avoid overbaking; they should be just set with a slight bounce when gently pressed on top.
Step 6: Cool the Cupcakes
Once baked, remove the cupcake pan from the oven and let it cool in the pan for about 5-10 minutes. Carefully transfer the cupcakes to a wire rack to cool completely. This will prevent them from becoming soggy and ensures they’ll hold up beautifully when you frost them.
Step 7: Prepare the Cream Cheese Frosting
In a mixing bowl, beat the softened cream cheese and unsalted butter together until smooth and creamy, about 3-4 minutes. Gradually add in the powdered sugar and a splash of vanilla extract, mixing until well combined. If needed, adjust the consistency with heavy cream or milk until your desired thickness is reached; you want it fluffy yet spreadable.
Step 8: Frost the Cupcakes
Once the cupcakes are completely cooled, take a knife or piping bag to generously frost the tops with the rich cream cheese frosting. Feel free to get creative with your frosting technique; a simple swirl or a classic spread will elevate the appearance of your Pink Velvet Cupcakes. Add sprinkles for an extra celebratory touch if desired!
Expert Tips for Pink Velvet Cupcakes
-
Room Temperature Ingredients: Ensuring all your ingredients are at room temperature helps create a smooth batter, leading to moist cupcakes.
-
Avoid Overmixing: Mix the batter just until combined. Overmixing can lead to dense cupcakes instead of the light texture we love in Pink Velvet Cupcakes.
-
Check for Doneness: Use a toothpick to test their doneness. It should come out clean or with a few crumbs attached for perfectly baked cupcakes.
-
Cooling Time Matters: Let the cupcakes cool completely before frosting. This prevents the frosting from melting and ensures a beautiful finish.
-
Flavor Development: Allow the frosted cupcakes to sit at room temperature for a few hours before serving. This enhances the flavors and overall satisfaction, making each bite even more delightful!
What to Serve with Pink Velvet Cupcakes
Indulging in these delightful cupcakes invites a world of mouthwatering pairings that will elevate your treat time.
-
Creamy Vanilla Ice Cream: The smoothness of vanilla ice cream adds contrasting creamy texture that beautifully balances the richness of the cupcakes.
-
Fresh Berries: A handful of strawberries or raspberries adds a refreshing tartness that brightens the sweetness of each bite, offering a lovely pop of color.
-
Bold Coffee: A cup of rich coffee not only complements the sweetness of the cupcakes but also enhances their flavor profile, creating a cozy pairing perfect for afternoon tea.
-
Sparkling Lemonade: This bubbly, citrus refreshment cuts through the sweetness and adds a fun, festive flair, making it ideal for celebrations.
-
Chocolate Ganache: A drizzle of rich chocolate ganache introduces a harmonious depth of flavor, perfect for those who appreciate that classic chocolate enhancement.
-
Chocolate-dipped Strawberries: These elegant treats echo the cupcake's colors while adding a decadent chocolate layer that takes your dessert experience to the next level.
-
Mini Fruit Tarts: Their flaky crust and creamy filling introduce new textures and flavors, making them a delightful addition to any dessert table.
Experimenting with these pairings not only makes your dessert spread visually stunning but also a joyful celebration of flavors!
Make Ahead Options
These Pink Velvet Cupcakes are perfect for busy home cooks who love to plan ahead! You can prepare the cupcake batter up to 24 hours in advance. Simply mix the dry ingredients and then wrap the bowl with plastic wrap, refrigerating it until you're ready to bake. To maintain quality, avoid mixing in the wet ingredients until just before baking, as this preserves their light and fluffy texture. The baked cupcakes can be stored in an airtight container for up to 3 days at room temperature. When it's time to serve, frost with the cream cheese frosting you can also prepare up to 3 days prior and refrigerate, just re-whip it lightly before frosting for a truly delightful treat that tastes freshly made!
How to Store and Freeze Pink Velvet Cupcakes
- Room Temperature: Store unfrosted Pink Velvet Cupcakes in an airtight container for up to 3 days at room temperature to maintain their moist texture.
- Fridge: If you prefer longer storage, keep frosted cupcakes in the fridge for up to 5 days. Use a container that allows some air circulation to prevent the frosting from becoming too firm.
- Freezer: For extended storage, freeze unfrosted cupcakes in a single layer on a baking sheet for about an hour. Once firm, transfer them to an airtight container or freezer bag, where they can last up to 3 months.
- Reheating: To enjoy cupcakes that have been frozen, simply thaw them in the refrigerator overnight, and frost them after they reach room temperature for best results.
Pink Velvet Cupcake Variations
Feel free to let your creativity shine and customize these cupcakes to match your taste buds and dietary needs!
- Dairy-Free: Use almond milk and vegan cream cheese for a delightful dairy-free option that maintains flavor and texture.
- Gluten-Free: Substitute all-purpose flour with a gluten-free blend, ensuring everyone can enjoy this treat without worries.
- Chocolate Lovers: Introduce chocolate chips into the batter for a luscious, rich chocolate explosion in every bite.
- Citrus Zing: Add orange or lemon zest for a refreshing twist that harmonizes beautifully with the sweet frosting.
- Spicy Kick: Mix in a pinch of cinnamon or nutmeg for a warm, spiced flavor that’s perfect for cozy occasions.
- Layered Delight: Bake as a large cake and layer with cream cheese frosting between each layer for extra festive flair.
- Nutty Crunch: Fold in chopped walnuts or pecans into the batter for added texture and a nutty flavor that complements the sweetness.
- Sprinkle Fun: Top with colorful confetti or seasonal sprinkles for an eye-catching presentation that’s sure to impress!
For more creative ways to enhance your baking, check out our guide on common baking mistakes to avoid and ensure you're always delivering delightful treats!
Pink Velvet Cupcakes Recipe FAQs
How do I select the right food coloring for my cupcakes?
Absolutely! For the best results, I recommend using a gel or paste food coloring instead of liquid. Gel colors provide a vibrant hue without altering the cupcake's consistency. Just start with a small amount and add more until you achieve your desired pink shade, mixing thoroughly to ensure even color distribution.
How should I store my Pink Velvet Cupcakes?
Store your unfrosted cupcakes in an airtight container at room temperature for up to 3 days to keep them moist. If you've already frosted them, you can refrigerate them for up to 5 days. Just be sure to use a container that allows for slight airflow to prevent the frosting from becoming too solid.
Can I freeze Pink Velvet Cupcakes?
Yes, definitely! To freeze your unfrosted Pink Velvet Cupcakes, place them in a single layer on a baking sheet for about an hour to allow them to firm up. Once they're solid, transfer them to an airtight container or freezer-safe bag. They can be stored like this for up to 3 months. When you're ready to enjoy, thaw them overnight in the refrigerator and frost them once they reach room temperature for the best texture and flavor.
What should I do if my cupcakes are too dense?
Very common! If your cupcakes end up denser than expected, it could be due to overmixing the batter. Make sure to mix the wet and dry ingredients just until combined and not longer. Additionally, check that your leavening agents—like baking powder and baking soda—are fresh, as expired ingredients won't provide the lift needed for light, fluffy cupcakes.
Are there any dietary considerations I should keep in mind with this recipe?
Of course! For those with gluten sensitivities, you can substitute all-purpose flour with a gluten-free flour blend. If you need a dairy-free option, use vegetable oil instead of butter and vegan cream cheese for the frosting. Lastly, for a vegan cupcake, simply replace the egg with a flax egg (1 tablespoon flaxseed meal mixed with 3 tablespoons of water) and use non-dairy milk combined with vinegar in place of buttermilk. Enjoy baking for everyone!
Irresistibly Moist Pink Velvet Cupcakes for Any Celebration
Ingredients
Equipment
Method
- Preheat your oven to 350°F (175°C). Line a cupcake baking pan with colorful cupcake liners.
- In a large mixing bowl, whisk together the all-purpose flour, baking powder, baking soda, cocoa powder, and salt until well combined.
- In another bowl, cream together the softened unsalted butter and granulated sugar until light and fluffy.
- Add the large egg to the butter-sugar mixture, beating until fully incorporated.
- Pour in the buttermilk and vanilla extract, followed by the red food coloring. Mix until well-blended and smooth.
- Gradually add the dry ingredients to the wet mixture, mixing gently with a spatula.
- Using a ladle or measuring cup, pour the batter into each cupcake liner, filling them about two-thirds full.
- Place the filled muffin tins in the oven and bake for 18-20 minutes, or until a toothpick comes out clean.
- Remove the cupcake pan from the oven and cool in the pan for about 5-10 minutes before transferring to a wire rack.
- Beat together the softened cream cheese and unsalted butter until smooth, then gradually add in the powdered sugar.
- If needed, adjust the consistency with heavy cream or milk. Frost the cooled cupcakes generously with cream cheese frosting.
Leave a Reply