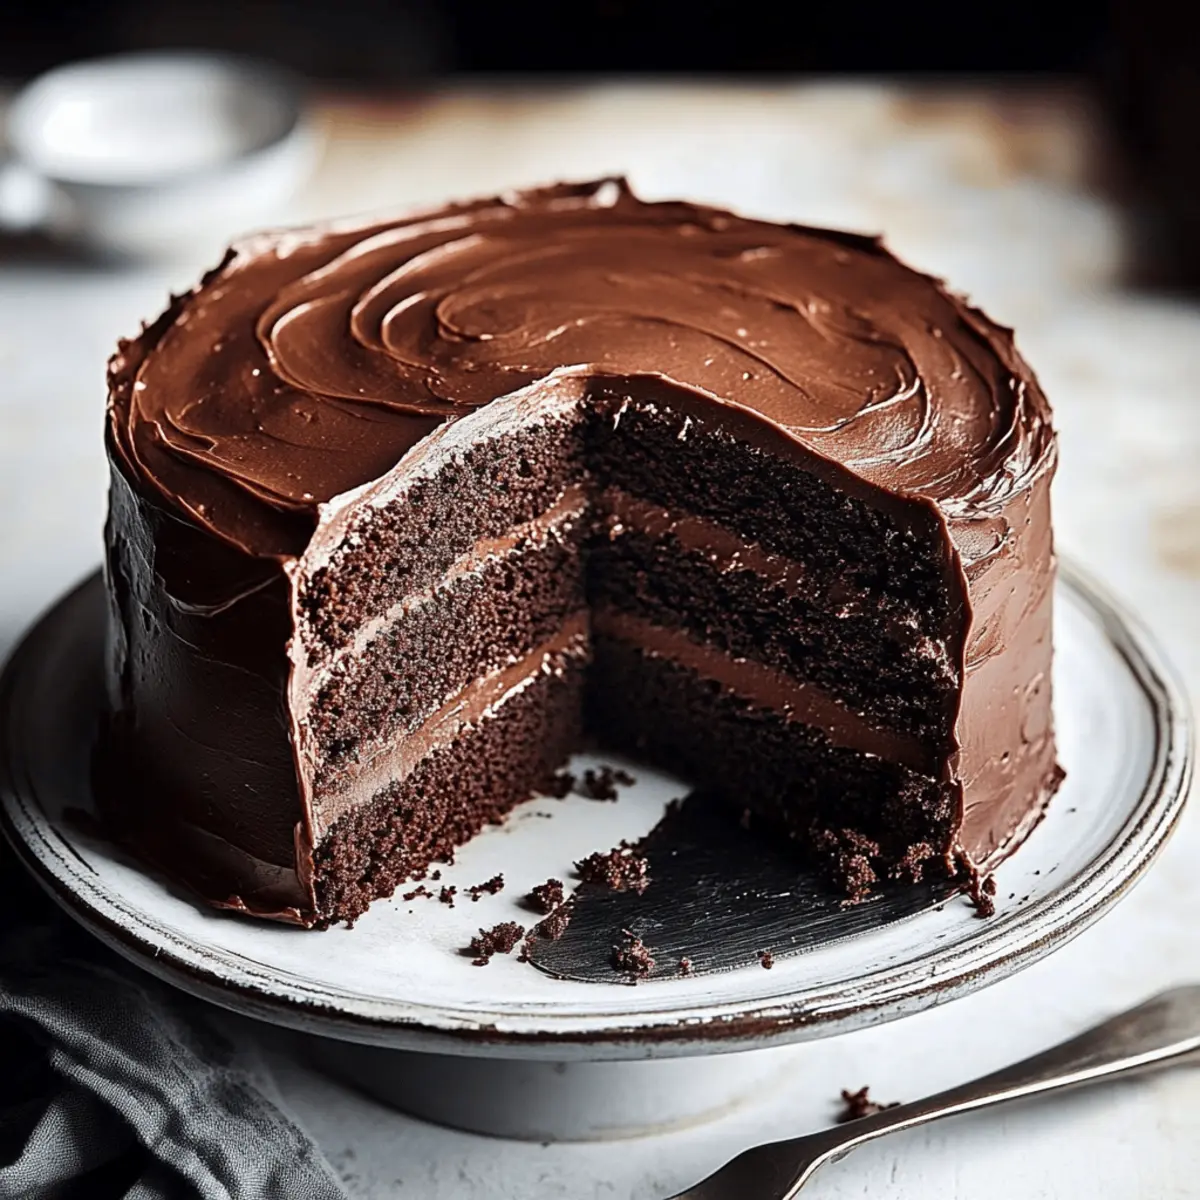
As I held a warm slice of Best Matilda’s Chocolate Cake, the rich aroma wrapped around me like a comforting embrace. This classic dessert brings back memories of cozy gatherings and joyous celebrations. With its perfect moist texture and delectable chocolate flavor, this cake isn’t just a treat; it’s an invitation to indulge. The addition of hot coffee enhances the cocoa notes, making every bite a moment to savor. Whether you're hosting a birthday bash or simply wanting to treat yourself, this simple baking recipe is your go-to for any occasion. The best part? It invites creativity—feel free to swap ingredients or add your personal touch! What delightful twist will you add to your Matilda's Chocolate Cake?
Why is Matilda’s Chocolate Cake a must-try?
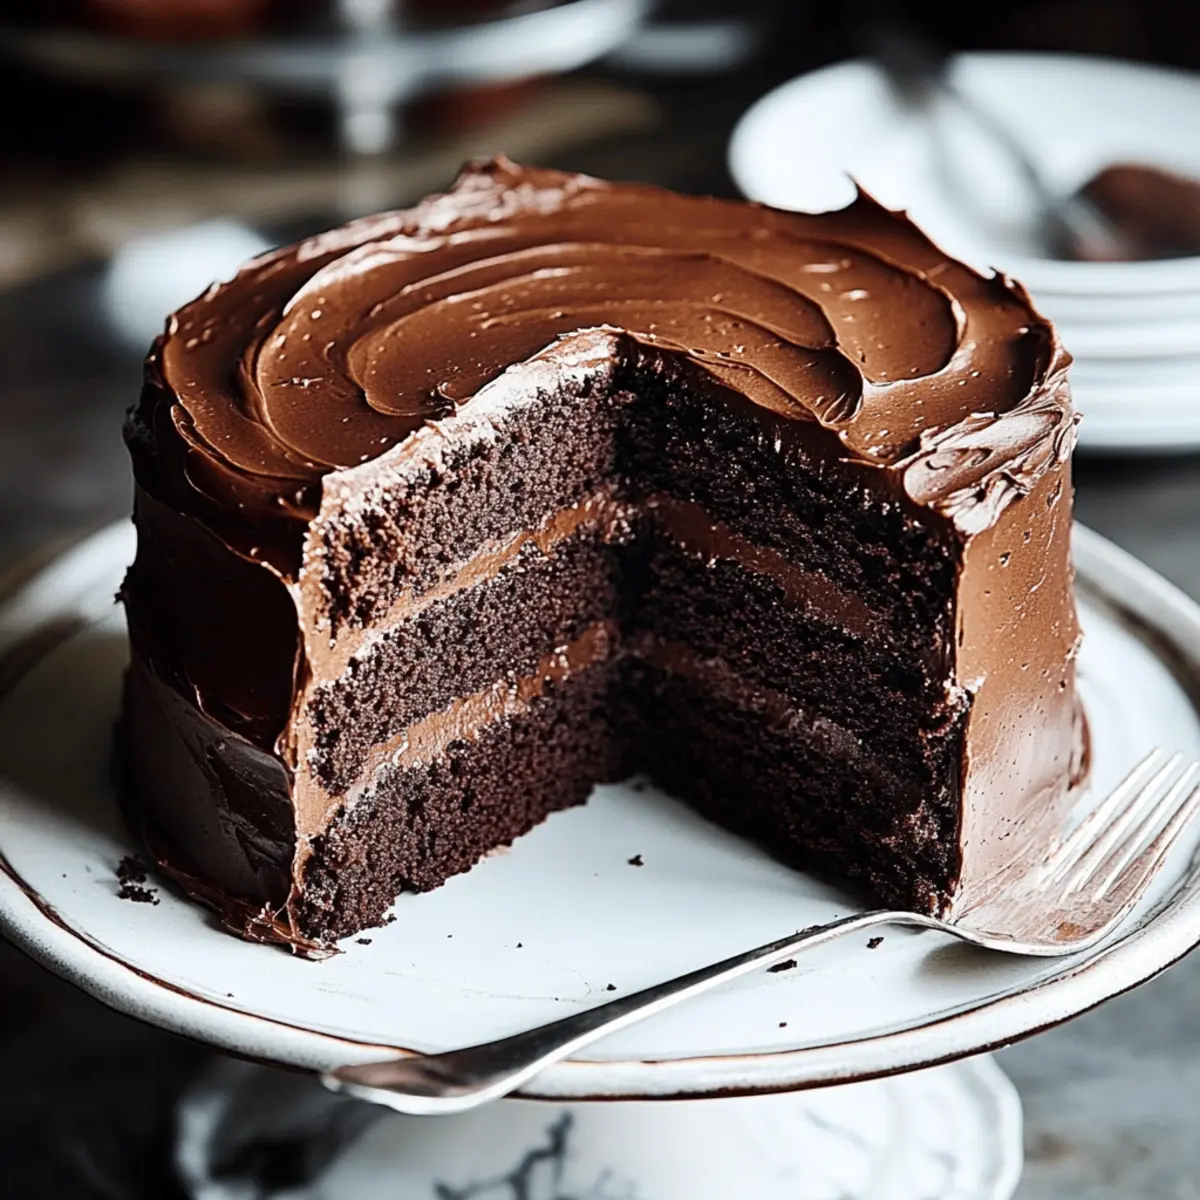
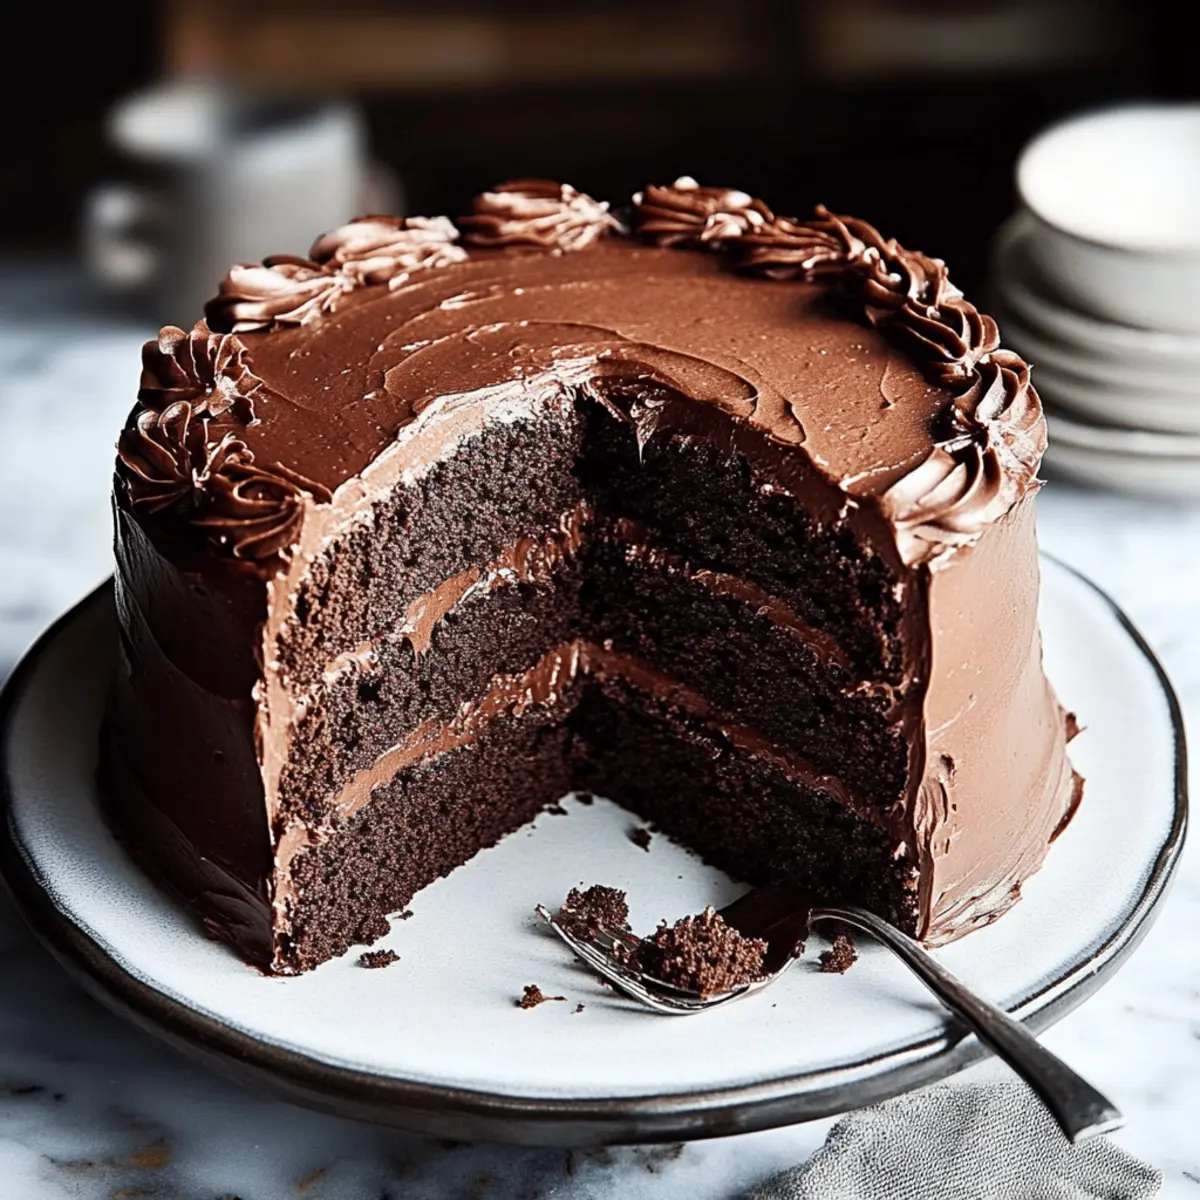
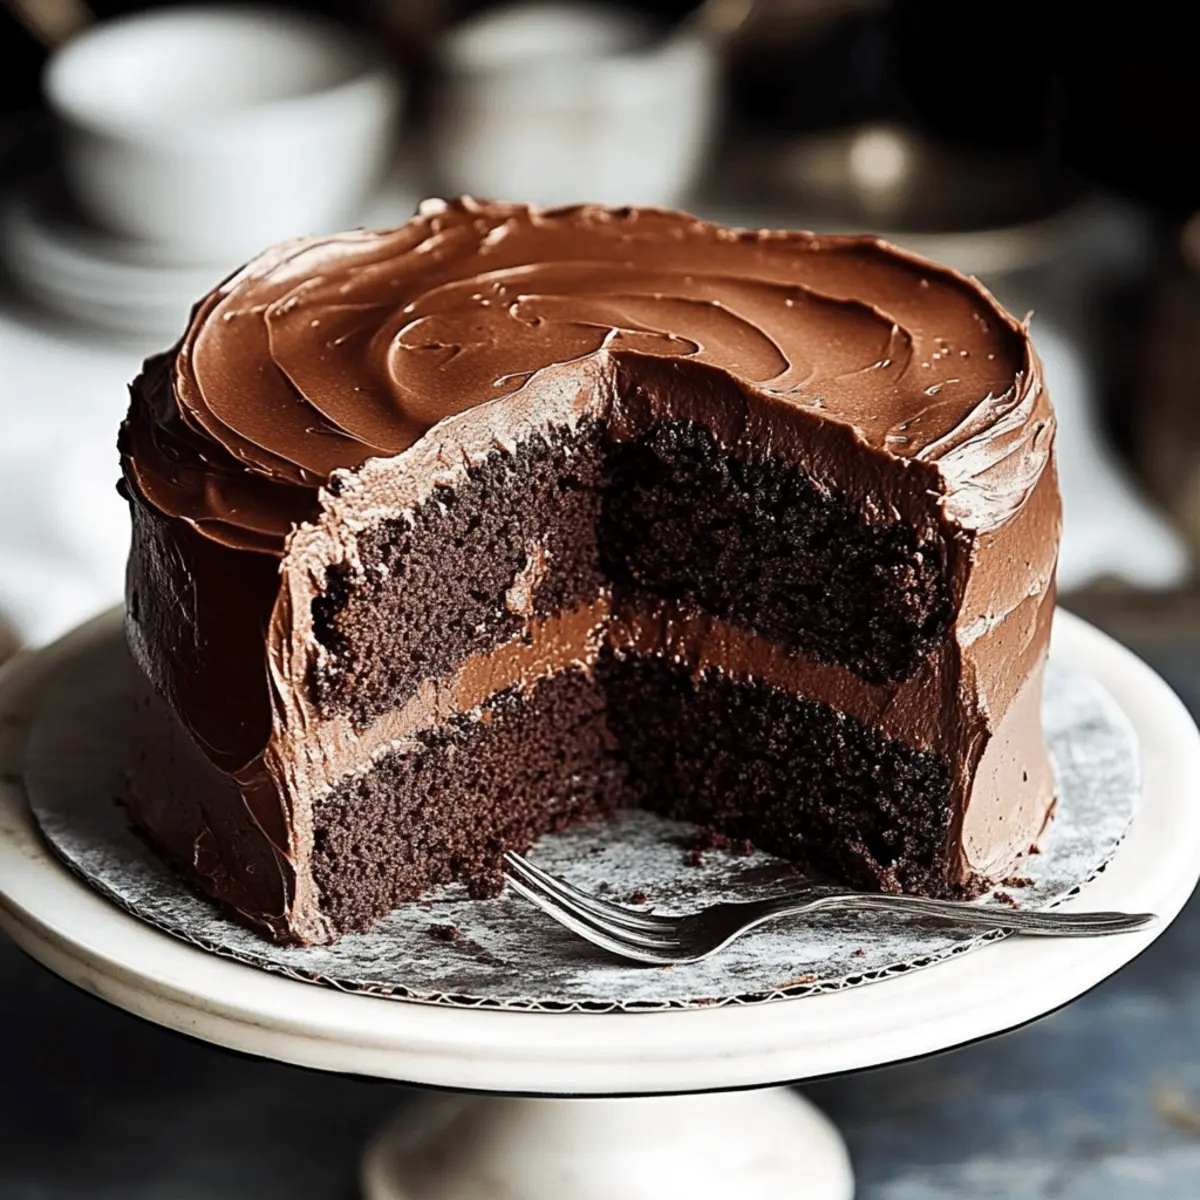
Irresistible Moisture: Each slice of Matilda’s Chocolate Cake boasts a sumptuous, melt-in-your-mouth texture that's hard to resist—perfect for satisfying chocolate cravings!
Effortless Baking: Enjoy this simple baking experience that requires minimal skills and readily available ingredients, making it approachable for chefs of all levels.
Versatile Delight: From decadent fresh strawberries to a drizzle of homemade ganache, personalize your creation with toppings that excite your taste buds!
Crowd Pleaser: Whether it's a birthday party or cozy family dinner, this cake is sure to impress your guests, leaving them begging for seconds.
Make-Ahead Magic: With the option to bake ahead, your preparation time is minimized, allowing you to enjoy the festivities stress-free—perfect for busy schedules!
So, why wait? This indulgent cake is just a mix away—check out more inspiration on how to add variations to elevate your dessert game!
Matilda’s Chocolate Cake Ingredients
• Everything you need for a classic dessert!
For the Batter
- Granulated Sugar – Adds sweetness; swap with brown sugar for a richer flavor.
- All-Purpose Flour – Provides structure; consider cake flour for a lighter texture.
- Unsweetened Dutch-Process Cocoa Powder – Delivers intense chocolate flavor; substitute with regular unsweetened cocoa for a sharper taste.
- Vegetable Oil – Ensures moisture; feel free to replace with melted butter for a deeper richness.
- Buttermilk – Adds tang and moisture; mix milk with vinegar or lemon juice for a quick substitute (1 cup milk + 1 tablespoon vinegar/lemon juice).
- Coffee (Hot Brewed) – Intensifies chocolate flavor without overpowering; omit for a caffeine-free version or replace with hot water.
This collection of ingredients sets the stage for your delightful Matilda’s Chocolate Cake, promising a beautiful balance of flavors and a texture that melts in your mouth!
Step‑by‑Step Instructions for Matilda's Chocolate Cake
Step 1: Prep the Oven and Pans
Preheat your oven to 350°F (175°C) and prepare for success! Line two 8-inch round cake pans with parchment paper for easy release and spray them with non-stick baking spray. This ensures your layers come out beautifully intact, ready to showcase your Matilda's Chocolate Cake.
Step 2: Mix the Dry Ingredients
In a large mixing bowl, whisk together 2 cups of all-purpose flour, 1 cup of granulated sugar, ¾ cup of unsweetened cocoa powder, 1 ½ teaspoons of baking powder, 1 ½ teaspoons of baking soda, and ½ teaspoon of salt. Ensure the mixture is smooth and well-combined, letting the rich chocolate aroma inspire anticipation as you prepare the rest of your Matilda's Chocolate Cake.
Step 3: Combine the Wet Ingredients
Add ½ cup of vegetable oil, 2 large eggs, and 2 teaspoons of vanilla extract to the dry ingredients. Stir gently until the mixture is just combined; avoid over-mixing to keep your cake light and fluffy. This is the foundation that will contribute to the perfect moist texture of your Matilda's Chocolate Cake.
Step 4: Incorporate Buttermilk and Coffee
Next, gently stir in 1 cup of buttermilk, followed by 1 cup of hot brewed coffee. The heat helps to dissolve the cocoa powder fully, enhancing the chocolate flavor. Aim for a smooth batter with a rich consistency that promises to melt in your mouth—a sure sign your Matilda's Chocolate Cake will be irresistible!
Step 5: Bake the Cake Layers
Carefully divide the batter between your prepared cake pans, ensuring an even distribution. Place them in the preheated oven and bake for 30-35 minutes. Check for doneness by inserting a toothpick into the center—if it comes out clean or with a few moist crumbs, your Matilda's Chocolate Cake is ready to emerge from the oven.
Step 6: Cool the Cake Layers
Once baked, remove the pans from the oven and allow the cake layers to cool in the pans for about 10 minutes. This will help them set properly. Afterward, carefully transfer your layers to a wire rack to cool completely. Cooling is essential to prevent your frosting from melting, ensuring a perfect finish for your Matilda's Chocolate Cake.
Matilda's Chocolate Cake Variations
Feel free to let your imagination run wild with these delightful twists to elevate your chocolate cake experience!
-
Gluten-Free: Substitute all-purpose flour with a gluten-free baking blend to make this cake suitable for gluten-intolerant friends. Enjoy a deliciously moist dessert without compromising on flavor!
-
Dairy-Free: Use almond milk and a plant-based yogurt instead of buttermilk for a creamy texture that’s dairy-free. Coconut oil can replace vegetable oil, adding a lovely subtle flavor.
-
Nutty Surprise: Incorporate finely chopped nuts, like walnuts or hazelnuts, into the batter for a wonderful crunch. Just fold them in gently before baking to keep the cake’s tender crumb.
-
Fruity Essence: Swirl in pureed raspberries or strawberries for a fruit-infused twist! The berries will add a delightful tartness that perfectly complements the richness of the chocolate.
-
Spice It Up: Add a teaspoon of cinnamon or a pinch of cayenne pepper for a hint of warmth. It’s a surprising and delightful enhancement that takes your rich chocolate cake to another level!
-
Zesty Kick: Mix in some freshly grated orange zest to uplift the cake with a refreshing citrus note. The brightness of the orange elevates the chocolate beautifully, creating a more dynamic flavor profile.
-
Decadent Layers: For a truly indulgent cake, add layers of chocolate ganache between cake layers or on top. Drizzling it as a topping creates a lush chocolate experience that will wow guests!
-
Cheesecake Layer: Create a surprise cheesecake layer by using a simple cheesecake batter. Incorporate it between the chocolate layers for a show-stopping dessert that combines two classics!
Feel free to experiment with these variations and make the recipe your own! For even more ideas on how to add variations to other delightful desserts, check out our suggestions to keep your baking creative.
What to Serve with Best Matilda’s Chocolate Cake
Indulge your senses and elevate your dessert experience with delightful accompaniments that perfectly complement each rich, chocolatey slice.
- Vanilla Ice Cream: The creaminess and coolness of vanilla ice cream contrast beautifully with the warm cake, enhancing its decadent flavor.
- Whipped Cream: Light and fluffy, a dollop of freshly whipped cream adds an airy touch that balances the cake's richness.
- Fresh Berries: Bright, juicy strawberries, raspberries, or blueberries provide a refreshing burst of flavor that complements the chocolate bliss.
- Chocolate Ganache: Drizzling warm chocolate ganache over the cake offers a luscious texture and a double chocolate experience that every chocoholic dreams of!
- Coffee or Espresso: Enjoying a slice with a hot cup of brewed coffee or espresso amplifies the cake's rich cocoa notes, creating a harmonious pairing that warms the soul.
- Homemade Toffee Sauce: A drizzle of toffee sauce adds a delightful caramel flavor and a sticky texture that contrasts wonderfully with the moist cake.
- Fruit Compote: A tangy fruit compote, like cherry or orange, cuts through the sweetness, bringing an unexpected twist to each bite of chocolate goodness.
- Nutty Crunch: Sprinkle with crushed hazelnuts or almonds for a crunchy texture that enhances the cake's moist interior.
- Chocolate-Covered Strawberries: For a touch of elegance, serve chocolate-dipped strawberries on the side, elevating your dessert to a whole new level of indulgence.
Helpful Tricks for Matilda's Chocolate Cake
-
Use Fresh Ingredients: Ensure your baking powder, soda, and cocoa powder are fresh. Stale ingredients can result in a flat cake that lacks the desired moist texture.
-
Don’t Over-Mix: When combining wet and dry ingredients, mix just until incorporated. Over-mixing can create a dense cake instead of the light and fluffy Matilda's Chocolate Cake you want.
-
Check Oven Temperature: Use an oven thermometer to verify your baking temperature. An inaccurate oven can lead to undercooked or burnt layers, affecting the cake's moisture and flavor.
-
Cooling Time: Allow the cake layers to cool fully before frosting. Frosting a warm cake may lead to melted frosting, ruining the beautiful appearance of your Matilda's Chocolate Cake.
-
Store Properly: Keep leftover cake tightly wrapped in the fridge to maintain its moisture. This helps preserve that incredible melt-in-your-mouth texture for several days!
Make Ahead Options
These Best Matilda’s Chocolate Cake layers are perfect for busy home cooks who want to save time without sacrificing taste! You can bake the cake layers up to 3 days in advance; simply cool them completely, wrap each layer tightly in plastic wrap, and refrigerate until you're ready to assemble. This ensures they remain just as moist and delightful. To finish, frost the cake with your favorite icing after allowing it to come to room temperature for about 30 minutes. If you're feeling adventurous, you can also prepare the frosting a day ahead, storing it in the fridge to keep it fresh and ready to spread! By prepping in advance, you can enjoy delicious, heartwarming moments without the last-minute rush.
How to Store and Freeze Matilda’s Chocolate Cake
Fridge: Wrap leftover cake tightly with plastic wrap or aluminum foil and store it in the fridge for up to 4 days. This helps retain its delicious moist texture.
Freezer: For longer storage, freeze unfrosted cake layers. Wrap them individually in plastic and then in foil, and they can last for up to 3 months.
Thawing: To enjoy your frozen Matilda’s Chocolate Cake, thaw it overnight in the fridge before frosting. This ensures the best texture and flavor upon serving.
Reheating: If you want to enjoy a warm slice, microwave individual pieces for about 10-15 seconds. Enjoy the cozy, indulgent taste fresh out of the microwave!
Matilda’s Chocolate Cake Recipe FAQs
How do I choose the right cocoa powder for Matilda’s Chocolate Cake?
Absolutely! For a deep, rich chocolate flavor, I recommend using unsweetened Dutch-process cocoa powder. However, if you can't find it, regular unsweetened cocoa also works well, but it offers a slightly sharper taste. Just keep in mind that the type of cocoa you choose will influence the cake's overall flavor profile.
How should I store my leftover Matilda’s Chocolate Cake?
Very simply! Wrap your leftover cake tightly with plastic wrap or aluminum foil. Store it in the fridge for up to 4 days—this helps maintain that delightful moist texture. Just be sure to keep it sealed to prevent it from drying out.
Can I freeze Matilda’s Chocolate Cake for later enjoyment?
Absolutely! To freeze, wrap the unfrosted cake layers tightly in plastic wrap, then follow with aluminum foil to prevent freezer burn. The cake can be stored this way for up to 3 months. When you're ready to indulge, simply thaw overnight in the fridge for the best texture!
What should I do if my cake is too dry after baking?
If you find your Matilda's Chocolate Cake turns out dry, don’t fret! Ensure you’re measuring your ingredients accurately and consider adding a simple syrup to moisten each layer. Combine equal parts of sugar and water, heat until the sugar dissolves, and lightly brush it onto the cooled cake layers before frosting. This adds moisture back in and enhances the flavor!
Are there any dietary considerations for pets or allergies regarding this recipe?
Yes, it’s important to note that chocolate, including cocoa powder used in this recipe, is toxic to pets, especially dogs. Always keep any chocolate cake far out of their reach! Additionally, for those with egg or dairy allergies, you can substitute eggs with applesauce (¼ cup per egg) and buttermilk with a dairy-free milk mixed with vinegar (1 cup milk + 1 tablespoon vinegar) for a suitable alternative.
How do I avoid my cake from sticking to the pans?
To ensure your cake layers come out perfectly, always line the bottom of your pans with parchment paper and spray the sides with baking spray. This two-step prevention will minimize sticking, letting your Matilda’s Chocolate Cake maintain its beautiful form and texture when removed from the pans.
Indulgent Matilda's Chocolate Cake That Melts in Your Mouth
Ingredients
Equipment
Method
- Preheat your oven to 350°F (175°C) and prepare two 8-inch round cake pans with parchment paper and non-stick spray.
- In a large mixing bowl, whisk together flour, sugar, cocoa powder, baking powder, baking soda, and salt until smooth.
- Add vegetable oil, eggs, and vanilla to the dry ingredients and stir gently until just combined.
- Gently mix in buttermilk and coffee until you have a smooth batter.
- Divide the batter evenly between the prepared cake pans and bake for 30-35 minutes.
- Allow the cakes to cool in the pans for 10 minutes before transferring to a wire rack to cool completely.


Leave a Reply