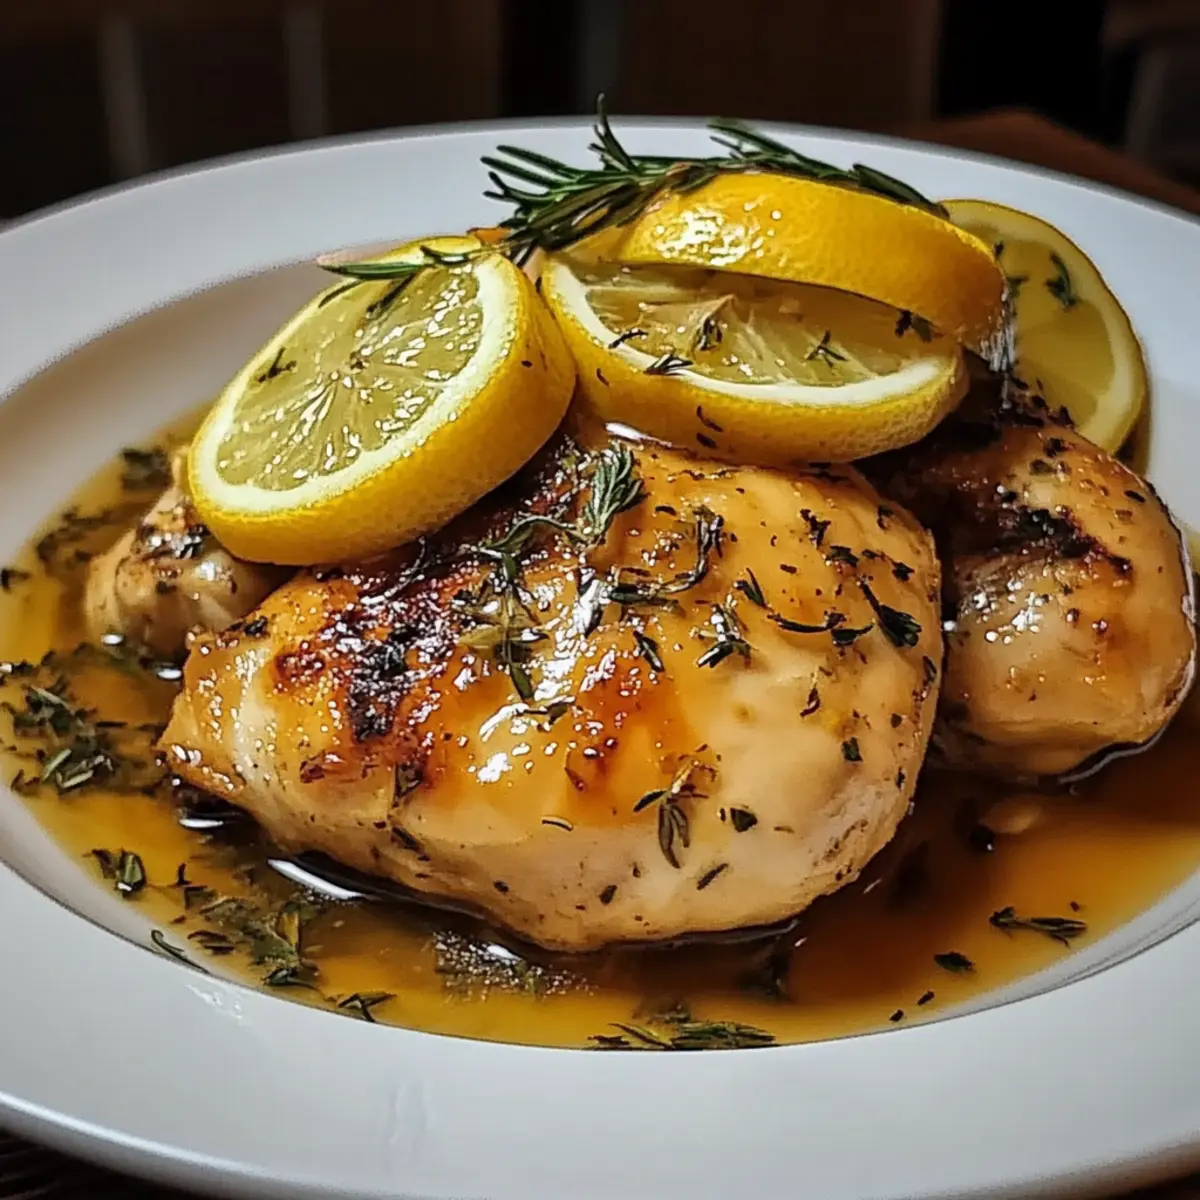
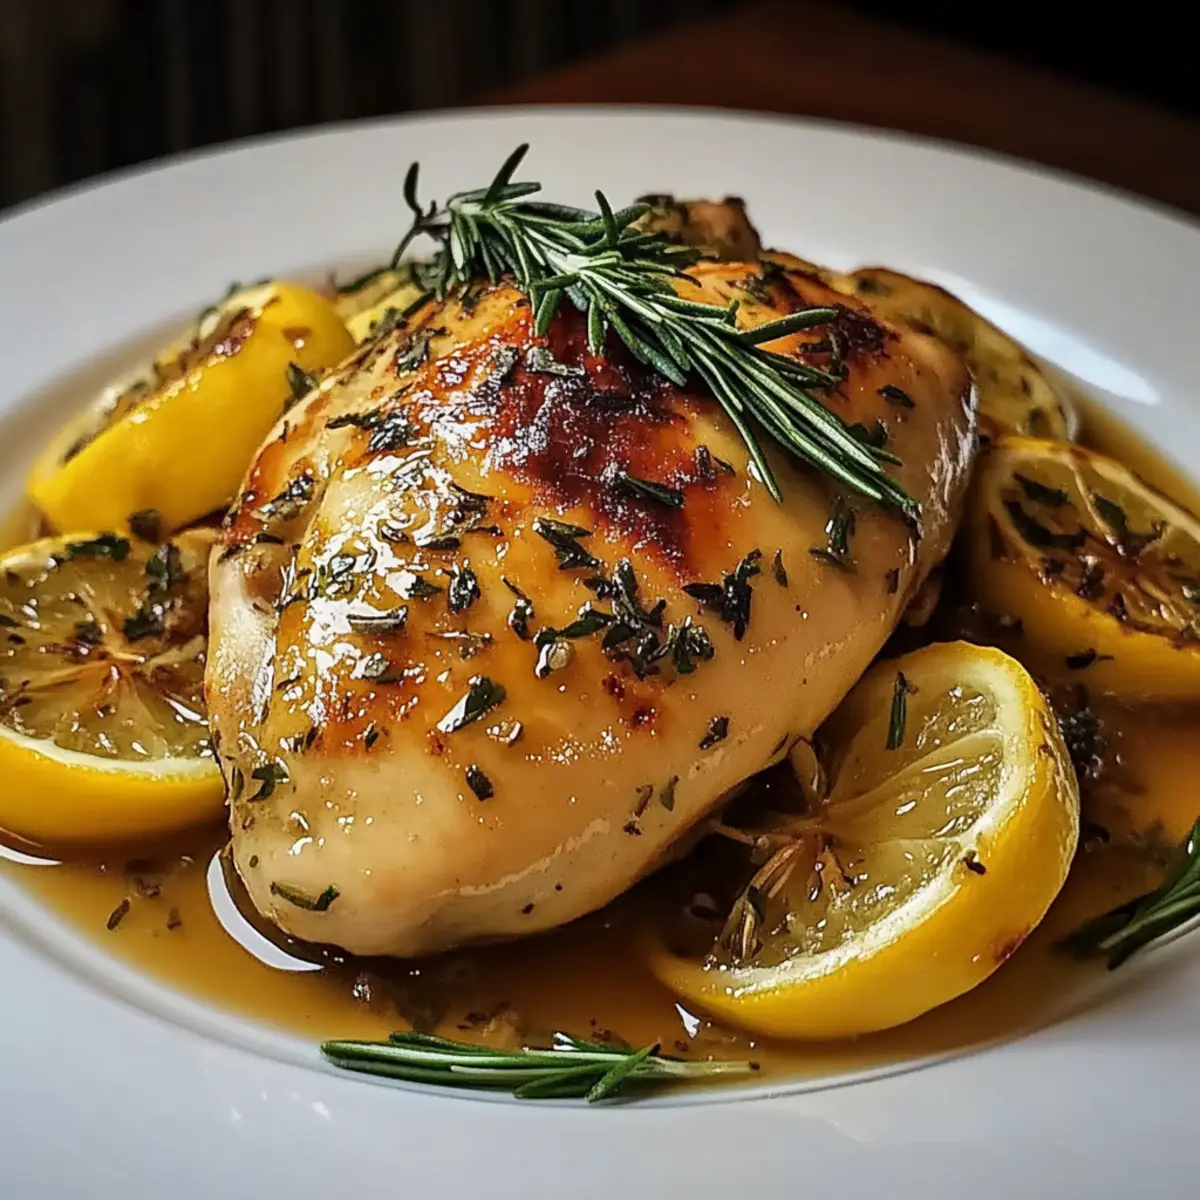
The aroma of citrus wafting through the kitchen is enough to ignite fond memories of family dinners and cozy gatherings. If you’re looking to elevate your dinner game, let me introduce you to my Easy Braised Lemon Chicken—a recipe that beautifully marries simplicity with gourmet flair. This comforting dish not only comes together in under an hour but also satisfies even the pickiest eaters, proving that homemade meals don’t have to be complicated. With tender chicken thighs simmered in a bright, zesty sauce, every bite is a delightful escape from the mundane. Whether it’s a weeknight dinner or a special occasion, this gluten-free gem promises a satisfying experience that will have you daydreaming about leftovers. Are you ready to embrace this burst of flavor in your kitchen? Let’s dive into the recipe!
Why is Braised Lemon Chicken a Must-Try?
Comforting, this dish encapsulates the essence of home-cooked meals that warm the soul. Bursting with flavor, the zesty lemon perfectly complements the savory chicken, creating a balance that everyone loves. Simple preparation makes it ideal for busy weeknights, yet it's impressive enough to wow guests during gatherings. Customizable options allow you to tailor it with seasonal veggies or different herbs, ensuring it never gets boring! Plus, as a gluten-free recipe, it's a versatile meal that caters to various dietary needs.
Braised Lemon Chicken Ingredients
Here’s everything you need to create this delightful dish!
For the Chicken
• Chicken Thighs – Juicy and flavorful; boneless options are great for a lighter meal.
• Olive Oil – Adds richness for searing; any neutral oil can work here.
For the Zesty Sauce
• Lemons – Fresh lemons deliver brightness; Meyer lemons can add a sweeter touch.
• Garlic – Fresh garlic enhances the flavor; avoid pre-minced for the best taste.
• Chicken Broth – Homemade broth provides depth; choose low-sodium for a healthier option.
For Seasoning
• Salt and Pepper – Essential for enhancing flavors; adjust to your taste preference.
• Fresh Thyme or Rosemary – Adds herbal notes; dried herbs can be a substitute (use ⅓ of the amount).
• Red Pepper Flakes (Optional) – For a touch of spice; omit if you prefer a milder dish.
For Garnish
• Fresh Parsley – Adds a pop of color and freshness; can be replaced with chives or green onions.
This Braised Lemon Chicken is an effortless way to bring comfort food to your table while ensuring every bite is packed with vibrant flavor!
Step‑by‑Step Instructions for Braised Lemon Chicken
Step 1: Prep the Chicken
Begin by patting the chicken thighs dry with paper towels to ensure a good sear. Season both sides generously with salt and pepper, letting them rest for a few minutes. This step is crucial for enhancing the flavors in your Braised Lemon Chicken, preparing each piece for the flavorful journey ahead.
Step 2: Sear
In a large skillet, heat 2 tablespoons of olive oil over medium-high heat until shimmering. Place the chicken thighs skin-side down in the hot oil, searing for about 5 minutes until they develop a golden brown crust. Flip the chicken over and cook for an additional 4 minutes. This step locks in the juices and infuses a rich flavor.
Step 3: Add Aromatics
Once the chicken is beautifully seared, add 4 cloves of smashed garlic and a handful of fresh thyme to the skillet. Sauté these aromatics for about 1 minute, allowing their fragrant oils to release and coat the chicken, enhancing the delicious essence of your Braised Lemon Chicken.
Step 4: Deglaze
Carefully pour in the zest and juice of 2 lemons along with 1 cup of chicken broth, using a wooden spoon to scrape up any browned bits stuck to the bottom of the skillet. Bring the mixture to a gentle simmer. This deglazing step ensures that every bit of flavor from the pan is incorporated into the sauce.
Step 5: Braise
Once simmering, cover the skillet with a lid, reduce the heat to low, and allow the chicken to braise gently for 25 minutes. This slow cooking method ensures the chicken thighs become tender and absorb the bright, zesty flavors of the broth and lemon, resulting in perfect Braised Lemon Chicken.
Step 6: Finish the Sauce
After 25 minutes, carefully remove the lid and continue to simmer the chicken uncovered for an additional 5 minutes. This will help thicken the sauce, intensifying the delicious flavors. You’ll know it’s done when the chicken is tender and coated in a glossy, flavorful sauce.
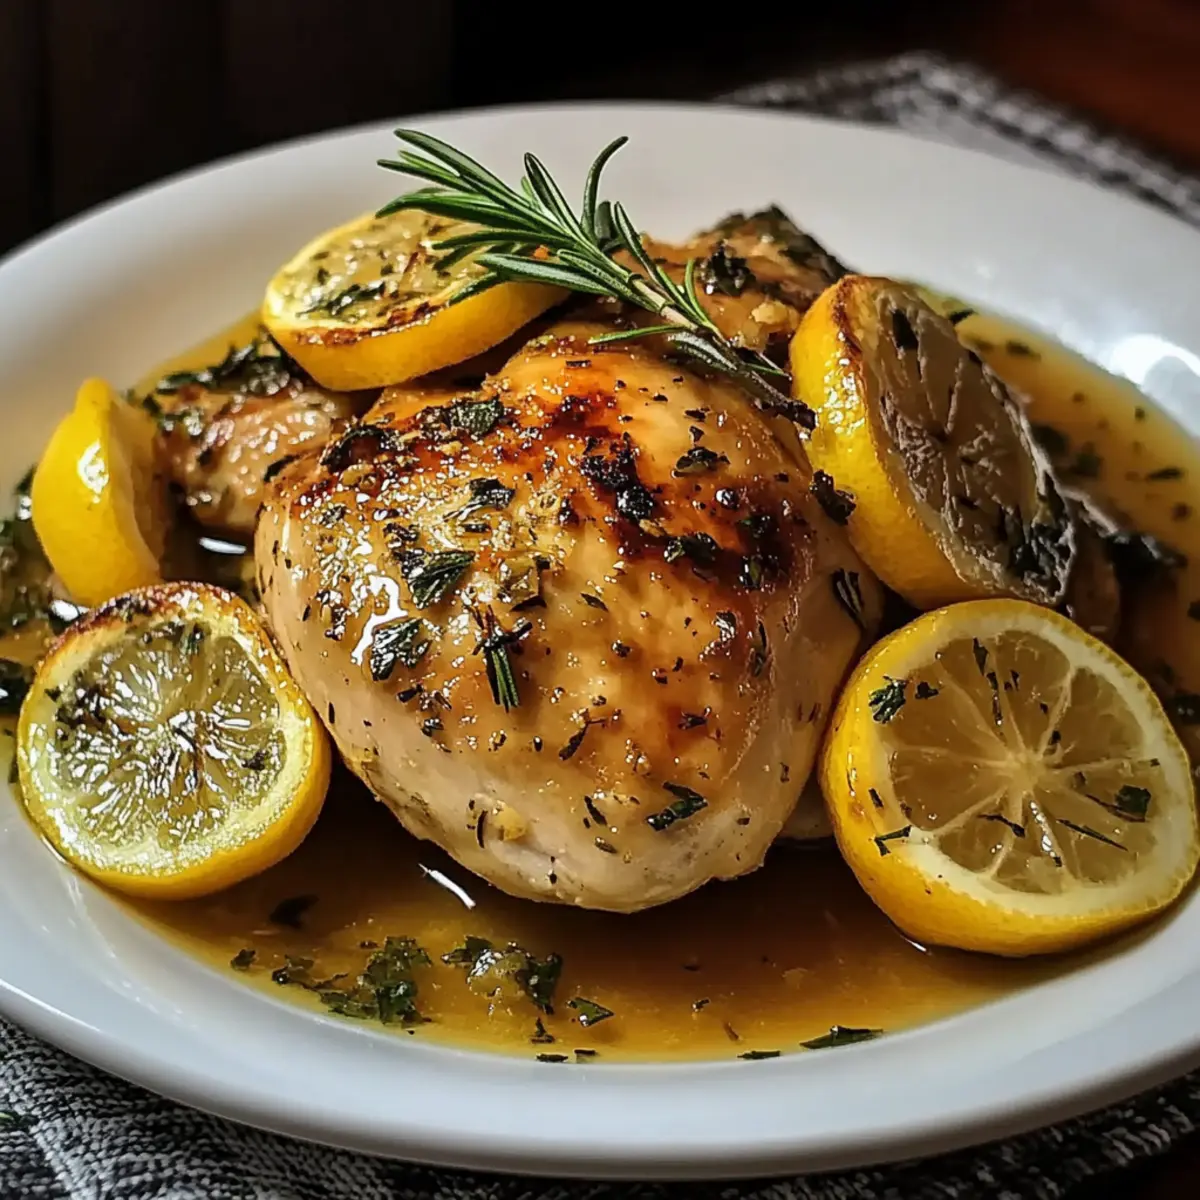
Step 7: Serve
Garnish your Braised Lemon Chicken with a sprinkle of freshly chopped parsley for a pop of color and added freshness. Serve immediately alongside crusty bread or fluffy rice to mop up that irresistible zesty sauce, creating a comforting and satisfying meal for everyone.
Make Ahead Options
Braised Lemon Chicken is perfect for busy home cooks looking to save time without sacrificing flavor! You can prep the chicken by seasoning it with salt and pepper up to 24 hours ahead of time, storing it covered in the refrigerator to keep it fresh. The zesty sauce can also be prepared in advance, combining the lemon juice, zest, and broth in an airtight container—this mixes beautifully after a day in the fridge. When you're ready to cook, just sear the chicken, pour in the prepared sauce, and braise as directed. This method ensures your delicious Braised Lemon Chicken will be just as tender and flavorful, making mealtime a breeze!
Expert Tips for Braised Lemon Chicken
- Perfect Searing: Ensure your skillet is hot enough before adding the chicken to achieve a golden-brown crust and maximize flavor in your Braised Lemon Chicken.
- Watch the Simmer: Keep the heat low during braising to prevent tough meat; check for tenderness at the 25-minute mark for the best results.
- Fresh Ingredients: Use fresh lemons and herbs for the brightest flavor. Old ingredients can lead to a dull-tasting sauce that doesn’t shine.
- Thicken the Sauce: If your sauce needs more thickness after braising, uncover and simmer for an extra few minutes; this enhances the richness of the dish.
- Savory Seasoning: Don't skimp on salt and pepper! Correct seasoning elevates your Braised Lemon Chicken, balancing the bright acidity of the lemons.
What to Serve with Braised Lemon Chicken
Create a delightful dining experience that complements the zesty, tender essence of this comforting chicken dish.
- Creamy Mashed Potatoes: Their buttery smoothness soaks up the vibrant sauce, creating a harmonious blend of flavors on your plate.
- Garlic Roasted Vegetables: The caramelized sweetness of root vegetables adds depth and texture, perfectly balancing the bright lemon notes.
- Crisp Green Salad: Fresh greens with a light vinaigrette provide a refreshing contrast and elevate the dish's overall palate. Every bite feels satisfying and full of life!
- Quinoa Pilaf: This nutty, chewy side not only enhances nutrition but also pairs beautifully with the tender chicken and zesty sauce.
- Buttery Rice: Fluffy rice acts as the perfect canvas for the sauce, absorbing every luscious drop and leaving you craving more!
- Lemon Sorbet: For dessert, this light, citrusy treat cleanses the palate and brings the theme full circle, inviting sweet endings.
How to Store and Freeze Braised Lemon Chicken
Fridge: Store any leftovers in an airtight container for up to 3 days. This keeps your Braised Lemon Chicken fresh for delightful reheating.
Freezer: To prolong its life, freeze the chicken with its braising sauce in a freezer-safe container for up to 3 months. Thaw it overnight in the fridge before reheating.
Reheating: When ready to enjoy, reheat on the stovetop over low heat, adding a splash of chicken broth or lemon juice to maintain moisture and flavor.
Room Temperature: Avoid leaving the chicken out for more than 2 hours to ensure food safety; refrigerate promptly after serving.
Braised Lemon Chicken Variations
Customize your Braised Lemon Chicken with these delightful twists that will ignite your culinary creativity!
-
Lighter Option: Substitute chicken thighs with boneless chicken breasts for a leaner alternative. This way, you keep it satisfying without sacrificing flavor.
-
Veggie Boost: Add seasonal vegetables like asparagus or zucchini during the braising process for added nutrition and wonderful textures. The extra veggies soak up the zesty sauce, enhancing each bite.
-
Herb Swap: Experiment with fresh basil or oregano instead of thyme or rosemary for a different flavor profile. Each herb brings its own character, broadening your dish's appeal!
-
Spicy Kick: Toss in some chopped jalapeños or increase red pepper flakes for a fiery experience. The heat will create a delicious contrast to the lemon's brightness.
-
Citrus Infusion: Use a mix of citrus juices, like orange or lime, along with lemon for an interesting twist. The fruity notes will add a unique depth to your dish.
-
Creamy Sauce: Stir in a splash of heavy cream or a dollop of Greek yogurt at the end for a rich, luscious sauce. It’s perfect for those who love a creamier finish to their comfort food.
-
Sweet Surprise: A teaspoon of honey or maple syrup added before braising can balance out the tartness of lemons. This gentle sweetness will create a new level of harmony in your dish.
Explore these variations to keep your Braised Lemon Chicken exciting with every preparation! And while you're at it, consider pairing it with some delicious garlic roasted vegetables or serving it over a bed of creamy mashed potatoes for a truly satisfying experience. Your taste buds will thank you!

Braised Lemon Chicken Recipe FAQs
How do I choose the best lemons for this recipe?
Absolutely! For the brightest flavor in your Braised Lemon Chicken, choose fresh, firm lemons with vibrant yellow skin. Avoid lemons with dark spots or a dull appearance, as they may not be as juicy. If you're looking for a sweeter flavor, Meyer lemons are a lovely alternative.
What’s the best way to store leftover Braised Lemon Chicken?
Store your Braised Lemon Chicken in an airtight container in the fridge for up to 3 days to maintain its deliciousness. If you prefer, you can also freeze it! Just ensure it’s placed in a freezer-safe container with the braising sauce for up to 3 months. When reheating, add a splash of broth or lemon juice to retain moisture!
Can I use frozen chicken for this recipe?
Very! If you’re using frozen chicken, make sure to thaw it completely in the fridge overnight before cooking. This ensures even cooking and makes for tender, flavorful Braised Lemon Chicken. It’s best not to cook chicken from frozen to avoid uneven texture.
What should I do if my sauce is too thin after braising?
If your sauce seems too thin, don’t worry! Simply remove the lid after 25 minutes of braising and let it simmer uncovered for an additional 5-10 minutes. This allows excess moisture to evaporate, thickening the sauce and intensifying the flavor for that perfect zesty finish.
Is this dish suitable for gluten-free diets?
Absolutely! This Braised Lemon Chicken recipe is naturally gluten-free, making it a fantastic option for anyone avoiding gluten. Just ensure that your chicken broth is labeled gluten-free; some brands may contain gluten.
How long can I safely leave the chicken out after serving?
It's best to avoid leaving your Braised Lemon Chicken out at room temperature for more than 2 hours to ensure food safety. If you have leftovers, refrigerate them promptly to keep the dish fresh and safe to enjoy later!
Delicious Braised Lemon Chicken for Effortless Comfort Cooking
Ingredients
Equipment
Method
- Pat the chicken thighs dry with paper towels, season with salt and pepper, and let them rest.
- In a large skillet, heat olive oil over medium-high heat and sear chicken thighs for 5 minutes until golden. Flip and cook for an additional 4 minutes.
- Add smashed garlic and fresh thyme, sautéing for 1 minute to release flavors.
- Deglaze by adding the zest and juice of 2 lemons and 1 cup of chicken broth, simmering gently.
- Cover and reduce heat to low, braising for 25 minutes until chicken is tender.
- Uncover and simmer for an additional 5 minutes to thicken the sauce.
- Serve garnished with parsley alongside crusty bread or rice.


Leave a Reply