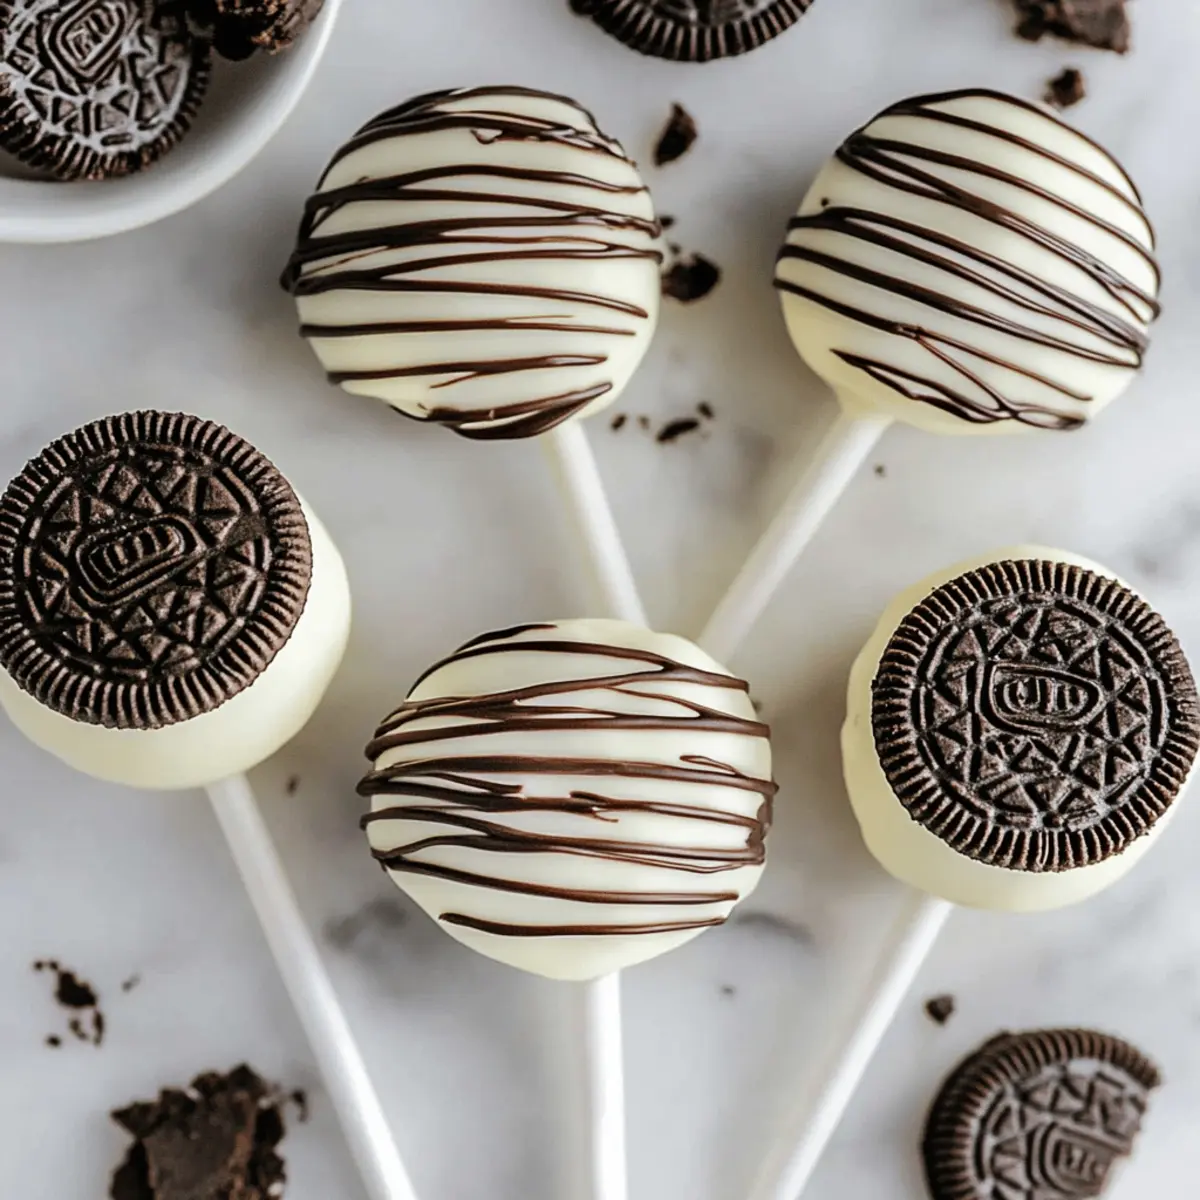
As the chocolate melted in my hands, I realized dessert could be transformed into a delightful pop of joy. Enter the world of Indulgent No-Bake Oreo Cake Pops—a treat that effortlessly combines crunchy Oreo cookies and creamy goodness into a bite-sized wonder. What I love most about these pops is their simplicity: they are not only an easy dessert to whip up, but they’re also a customizable crowd-pleaser. Whether you’re hosting a gathering or simply craving something sweet, these pops bring smiles while requiring minimal effort. Plus, they’re perfect for letting your creativity shine, with variations from Nutella swaps to festive sprinkles. Intrigued? Let's dive into the deliciousness of making the ultimate Oreo Cake Pops!
Why Are Oreo Cake Pops a Must-Try?
Irresistible versatility: These no-bake treats can be customized to fit any occasion, using everything from party-themed sprinkles to playful flavor swaps like Nutella.
Effortless preparation: With just a handful of ingredients, you can whip up a delicious dessert that impresses guests without taking up your entire day.
Perfect for sharing: Each bite-sized pop is easy to enjoy, making them the ultimate crowd-pleaser at parties or casual get-togethers.
Endless creativity: Let your imagination run wild; mix in flavored extracts or substitute cookies for a unique spin on this classic dessert.
Economical indulgence: With approximately 80-90 calories per pop, they're a delightful treat that feels special but won't derail your diet. Invite friends over and share a platter of these delightful Oreo Cake Pops, and you'll create memories with every bite!
Oreo Cake Pops Ingredients
For the Cake Mix
- Oreo Cookies – These provide the foundational flavor and crunch; feel free to substitute with other chocolate sandwich cookies for variation.
- Cream Cheese – Adds a creamy texture and binds the mixture; Nutella can be used for a rich hazelnut twist.
For Coating
- White Chocolate – Use high-quality chocolate to coat your pops; different types of chocolate can offer exciting adaptations of the Oreo Cake Pops.
For Assembly
- Lollipop Sticks – Essential for holding the cake pops; use cute decorative options or even skip them if you're displaying the pops on a platter.
For Garnishing (optional)
- Sprinkles or Garnishes – Enhance visual appeal and add texture; mini chocolate chips or festive crushed candy canes can be delightful alternatives for seasonal variations.
Step‑by‑Step Instructions for Oreo Cake Pops
Step 1: Crush Oreos
Begin by placing about 24 Oreo cookies in a food processor. Pulse them until they form a fine powder, similar to sand, which should take around 30 seconds. This will be the base for your delightful Oreo Cake Pops. Pour the crushed cookies into a mixing bowl and set aside.
Step 2: Mix Ingredients
Add 8 ounces of softened cream cheese to the crushed Oreos in the bowl. Using a spatula or mixer, blend them together until the mixture is smooth and fully combined, resembling a thick dough. This should take about 3–5 minutes. The cream cheese ensures a delightful creaminess that binds the Oreo cake pop mixture.
Step 3: Shape Dough
Using your hands, roll the Oreo mixture into approximately 20 uniform balls, each around 20 grams. Place these balls on a baking sheet lined with parchment paper. To firm up the cake pops and ensure they hold their shape during dipping, refrigerate the shaped balls for at least 20 minutes.
Step 4: Melt Chocolate
While the cake balls are chilling, set up a double boiler or microwave to gently melt 12 ounces of white chocolate. If using the microwave, melt the chocolate in 30-second intervals, stirring after each until smooth and fully melted. This should take about 1–2 minutes total. Smooth melted chocolate is crucial for coating your Oreo Cake Pops evenly.
Step 5: Prepare Lollipop Sticks
Once your melted chocolate is ready, dip the tip of each lollipop stick into the chocolate. This helps the stick adhere to the cake ball better. Carefully insert the stick into the center of each chilled cake ball, ensuring it goes deep enough to hold but not all the way through.
Step 6: Coat Cake Pops
Now, it's time to dip the cake pops! Fully immerse each cake ball in the melted white chocolate, ensuring it's coated evenly. Lift it out and gently shake off any excess chocolate, allowing it to drip back into the bowl. This step is essential for achieving a neat, even coat on your Oreo Cake Pops.
Step 7: Set Pops
Arrange the coated cake pops upright in a cake pop stand or insert them into a foam block. Chill them in the refrigerator for 15–30 minutes until the chocolate coating has completely hardened. This will give your cake pops a glossy finish, ready for any décor.
Step 8: Garnish (optional)
If desired, drizzle additional melted semi-sweet chocolate over the cooled cake pops for decoration. You can also add colorful sprinkles while the chocolate is still wet for a fun, festive look. This final touch will enhance the visual appeal of your Irresistibly Indulgent Oreo Cake Pops, making them even more enticing.

Expert Tips for Oreo Cake Pops
Room Temperature Cream Cheese: Ensure your cream cheese is at room temperature for smoother blending, making it easier to achieve a cohesive dough.
Chill Thoroughly: Refrigerate cake balls for the full 20 minutes to prevent them from breaking apart while coating in chocolate.
Use Quality Chocolate: Invest in high-quality chocolate for coating; it makes a significant difference in taste and appearance of your Oreo Cake Pops.
Creative Coating Ideas: Experiment with colored chocolate or themed sprinkles to make your cake pops even more festive.
Even Sizing: Use a cookie scoop to portion the dough evenly, ensuring all pops are the same size for uniform cooking and cooling.
Avoid Overmixing: Mix just until combined when blending the cream cheese and Oreos; overmixing can lead to a dense texture in your cake pops.
Oreo Cake Pops Variations & Substitutions
Feel free to get creative and tailor these delightful pops to your taste and occasion!
- Nutella Swap: Replace cream cheese with Nutella for a rich, hazelnut twist that adds a deep chocolate flavor.
- Cookie Variations: Try different sandwich cookies like peanut butter or mint for a unique and exciting flavor profile.
- Flavored Extracts: Incorporate vanilla or almond extracts into the cream cheese mixture for a delicious hint of added depth.
Whether it’s a birthday party or a cozy family gathering, adjusting the flavors can transform each batch into something memorable.
- Colored Chocolate: Use vibrant colored chocolate melts to coat the pops for festive occasions or themed events, making them visually stunning.
- Texture Twists: Roll the finished pops in crushed nuts or graham cracker crumbs instead of sprinkles for a delightful crunch.
- Heat It Up: Add a pinch of cayenne pepper to your coating chocolate for a surprising kick that contrasts beautifully with the sweetness.
- Creamy Centers: Center each cake pop with a dollop of peanut butter or caramel for an unexpected gooey surprise inside with each bite.
Don’t forget to pair your creations with a warm cup of coffee or a refreshing fruit salad for an enjoyable dessert experience!
Make Ahead Options
These Oreo Cake Pops are perfect for meal prep enthusiasts! You can mix the cake pop dough and shape it into balls up to 24 hours in advance, refrigerating them to maintain their firmness (this keeps them from crumbling when you dip them). Once they’re chilled, simply dip them in melted chocolate and let them set. Additionally, the finished pops can be stored in an airtight container in the fridge for up to 5 days without losing their delicious texture. For a quick-ready dessert, prepare a batch ahead of time, and when it’s time to serve, just grab and indulge in these delightful Oreo Cake Pops, delivering joy with minimal effort.
What to Serve with Indulgent No-Bake Oreo Cake Pops
Brighten your dessert table with delightful accompaniments that enhance your Oreo Cake Pops experience, creating a symphony of flavors.
- Fresh Berries: The tartness of strawberries or raspberries complements the sweetness of the cake pops, adding freshness and a burst of flavor.
- Cool Vanilla Ice Cream: A scoop of creamy vanilla ice cream balances the richness of the pops while adding a soothing temperature contrast. Serve it alongside for a dreamy dessert combo.
- Rich Coffee: A robust cup of coffee brings out the chocolate notes in the cake pops, making for a satisfying pairing that elevates your dessert experience.
- Sweet Tea: The subtle sweetness of iced tea provides a refreshing palate cleanse between bites, accentuating the indulgent nature of your cake pops.
- Chocolate Dipping Sauce: For true chocolate lovers, a warm chocolate sauce for dipping offers an extra layer of decadence and control over sweetness.
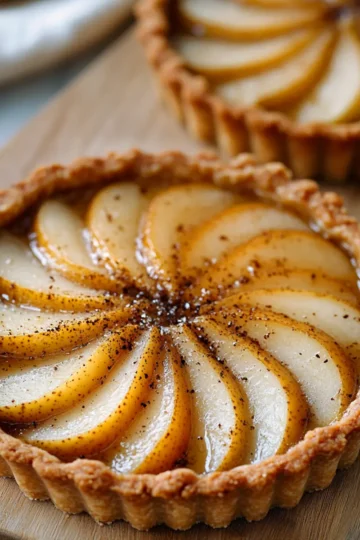
- Mini Fruit Tarts: Light and fruity tarts offer a delightful contrast to the dense cake pops, turning dessert into an exciting mini buffet.
- Nutty Trail Mix: Crunchy, nutty, and sweet, trail mix can serve as a fun, contrasting texture to the soft, creamy cake pops, creating a delightful snacking experience.
- Sparkling Lemonade: The fizzy, zesty punch of sparkling lemonade lightens the moment, bringing a refreshing twist to the sweet treats, perfect for summer gatherings.
- Chilled Fruit Salad: A vibrant bowl of seasonal fruits serves as a refreshing and healthful counterpoint to the rich Oreo Cake Pops, ensuring guests leave satisfied but not overly indulgent.
Storage Tips for Oreo Cake Pops
-
Room Temperature: If serving the Oreo Cake Pops immediately, they can sit out for up to 2 hours at room temperature, but it'll be best to keep them cool.
-
Fridge: Store the cake pops in an airtight container in the refrigerator for up to 5 days. This keeps them fresh and prevents any moisture from affecting their texture.
-
Freezer: For longer storage, freeze the pops individually wrapped in plastic wrap for up to 3 months. When ready to enjoy, let them sit out for 10-15 minutes for the perfect texture before serving.
-
Reheating: There's no need to reheat Oreo Cake Pops; they are meant to be enjoyed cold or at room temperature, maintaining their delightful creaminess and crunchiness.

Oreo Cake Pops Recipe FAQs
How do I choose the right Oreos for my cake pops?
You want to look for Oreo cookies that are fresh and free from cracks or dark spots all over the packaging, indicating old stock. For a fun twist, try variations like peanut butter or mint-flavored Oreos to create a flavorful base for your cake pops!
How should I store my Oreo Cake Pops?
For immediate serving, keep Oreo Cake Pops in an airtight container at room temperature for up to 2 hours. If not serving right away, store them in the refrigerator for up to 5 days to maintain freshness.
Can I freeze Oreo Cake Pops, and how?
Absolutely! To freeze, wrap each cake pop individually in plastic wrap and place them in a freezer-safe container. They can be stored this way for up to 3 months. When you're ready to enjoy them, let the pops sit out for 10-15 minutes to regain their ideal texture before serving.
What should I do if my chocolate coating is not smooth?
If your chocolate appears clumpy or not smooth enough for coating, it may have been overheated. To fix this, try adding a teaspoon of vegetable oil to the melted chocolate, stirring it in slowly to help it smooth out. The key is to melt the chocolate gently, so microwave in short bursts and stir often.
Are Oreo Cake Pops suitable for people with allergies?
These cake pops contain cream cheese and chocolate, which may be allergens for some individuals. If you're making them for a party, it’s a good idea to mention these ingredients clearly. For nut allergies, substitute cream cheese with dairy-free cream cheese or Nutella, ensuring it's safe for your guests.
How can I customize my Oreo Cake Pops?
The more the merrier when it comes to creativity! You can use flavored extracts like vanilla or almond in the mixture for added depth. Choosing colored chocolate for coating or using themed sprinkles can turn your cake pops into perfect party treats that match your celebration's color scheme.

Irresistibly Indulgent Oreo Cake Pops for Easy Parties
Ingredients
Equipment
Method
- Crush 24 Oreo cookies in a food processor until they form a fine powder.
- Mix 8 ounces of softened cream cheese with the crushed Oreos until smooth.
- Shape the mix into approximately 20 balls and refrigerate for 20 minutes.
- Melt 12 ounces of white chocolate using a double boiler or microwave.
- Dip the tips of lollipop sticks into the melted chocolate and insert into the chilled cake balls.
- Coat each cake ball in the melted chocolate and shake off excess.
- Chill the coated cake pops for 15-30 minutes to harden.
- Optional: Drizzle additional chocolate or add sprinkles while the chocolate is wet.


Leave a Reply