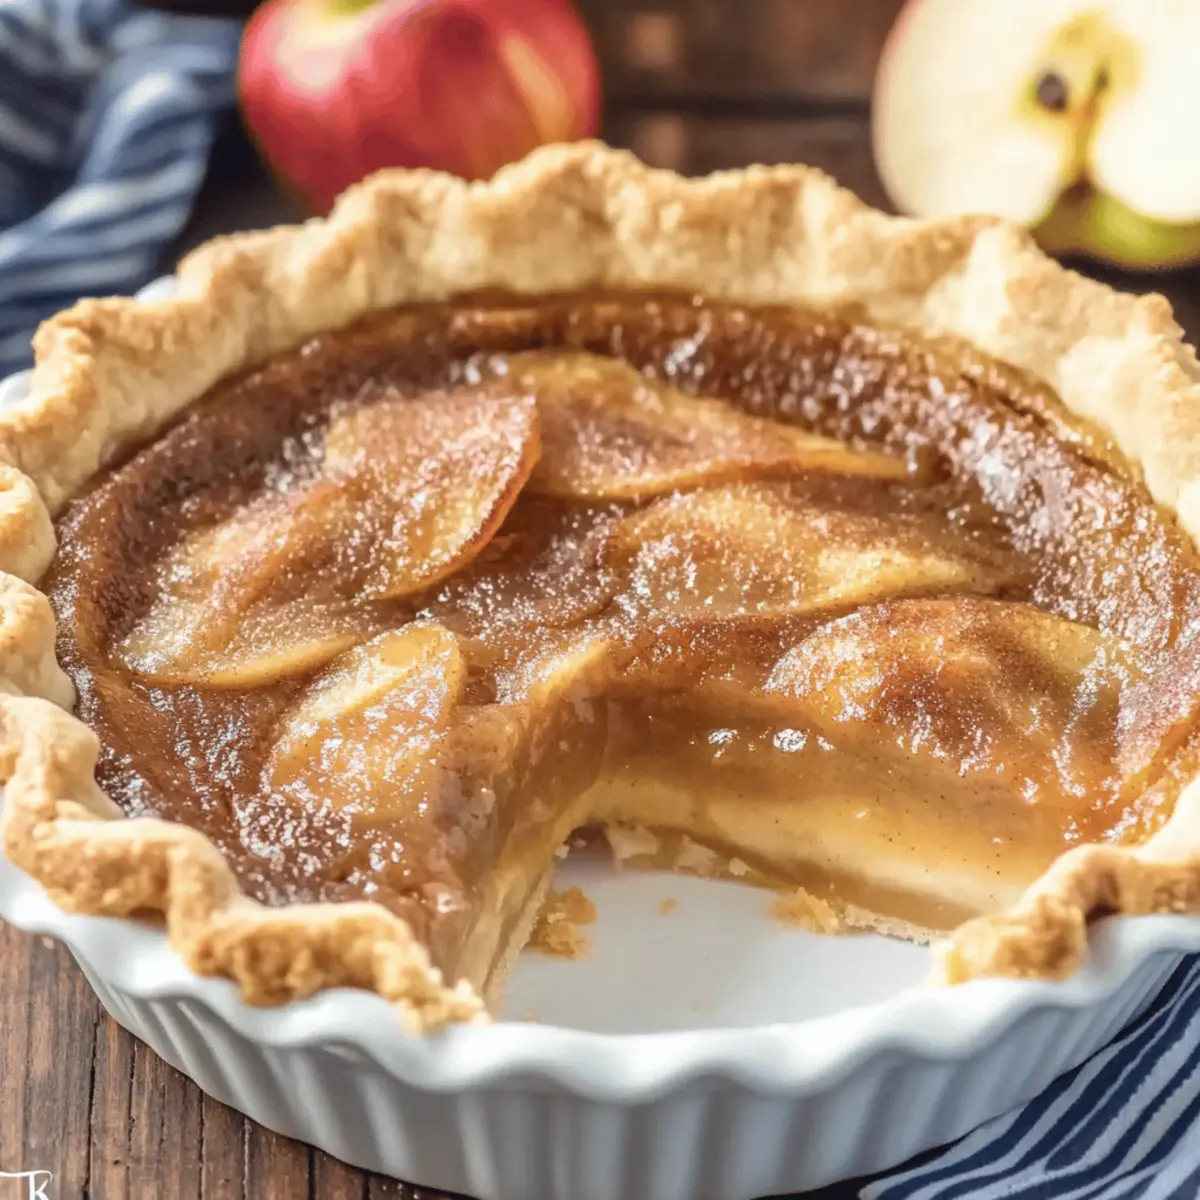
As the leaves begin to turn and a cool breeze whispers through the air, I can’t help but be reminded of the warm, comforting feeling that fills my kitchen when I bake an Apple Butter Pie. This easy dessert recipe is not only a taste of autumn but also a breeze to prepare, making it perfect for those busy days when you crave a slice of homemade nostalgia. With its delightful blend of spiced sweetness, it's a vegetarian twist on classic comfort food that everyone will love. Plus, it’s adaptable—swap in dairy-free milk or experiment with spices to make it your own! Ready to bring that cozy fall vibe to your table? Let’s dive into this delicious recipe together!
Why is this Apple Butter Pie special?
Comforting Aroma: The moment this pie bakes, your kitchen is filled with the sweet, spiced scent of fall, setting the perfect ambiance for gathering with loved ones.
Effortless Preparation: With just a few simple ingredients, making this pie is a breeze—ideal for busy cooks!
Versatile Flavor: Feel free to customize the filling with nutmeg or ginger for a personal touch. Plus, you can easily make it dairy-free with almond or oat milk.
Crowd-Pleasing Dessert: This Apple Butter Pie is sure to impress guests, making it a go-to dessert for any occasion.
Perfect Finish: Serve it warm with a scoop of vanilla ice cream or a dollop of whipped cream for an extra treat!
Apple Butter Pie Ingredients
For the Filling
- Whole Milk – Adds creaminess and balances sweetness; substitute with almond or oat milk for a dairy-free option.
- Large Eggs – Provides structure and helps set the filling when baked.
- Granulated Sugar – Sweetens the filling; feel free to adjust to taste.
- Apple Butter – The star ingredient, contributing a rich, sweet flavor; both store-bought and homemade work beautifully.
- Cornstarch – Thickens the filling to ensure it sets correctly.
- Cinnamon – Adds warmth and spice; consider mixing in nutmeg or ginger for an extra flavor boost.
For the Pie Crust
- Pie Crust – The foundation of your pie that holds the filling; use store-bought or homemade, whichever suits your preference.
Step‑by‑Step Instructions for Apple Butter Pie
Step 1: Preheat the Oven
Start by preheating your oven to 375ºF (190ºC). This temperature ensures even baking and a perfectly set filling in your Apple Butter Pie. As the oven heats up, prepare your baking space by gathering all necessary ingredients and equipment to make your prep smooth and efficient.
Step 2: Prepare the Filling
In a medium bowl, crack in the large eggs and whisk them until frothy. Gradually add in the granulated sugar, cornstarch, and cinnamon, blending well until no lumps remain. Finally, fold in the apple butter and slowly whisk in the whole milk until the mixture is smooth and creamy, ready to fill your pie.
Step 3: Prepare the Pie Crust
Take a pre-made or homemade pie crust and place it into a 9-inch pie dish. Press the dough into the bottom and up the sides, ensuring an even thickness. For a decorative touch, flute the edges with your fingers or a fork. Once your crust looks inviting, it’s time to pour in that delicious filling.
Step 4: Combine & Pour
Carefully pour the prepared filling into the crust, using a spatula to guarantee an even distribution across the pie. This step is crucial for a beautifully set Apple Butter Pie. The filling should sit just below the edge of the crust, ready for baking.
Step 5: Bake the Pie
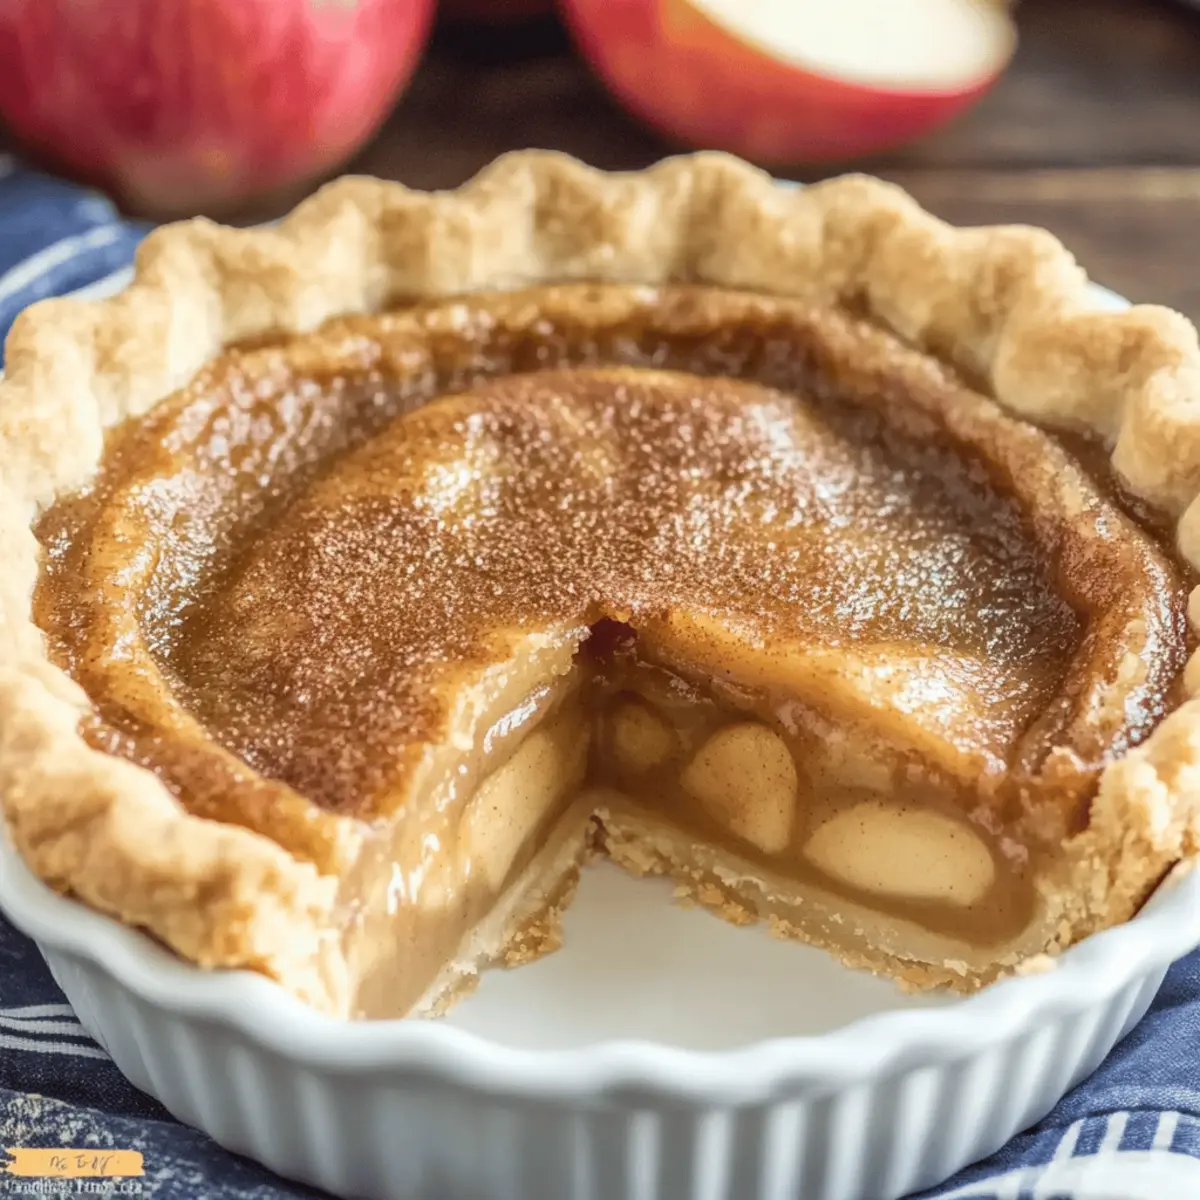
Place your pie on the bottom rack of the preheated oven. Bake for 60–65 minutes, keeping an eye on it; the center should be set but still have a slight jiggle. Look for a golden-brown crust, which indicates that your pie is coming to life with that warm autumn flavor.
Step 6: Cool Before Slicing
Once baked, carefully remove the pie from the oven and let it cool on a wire rack for at least 1 hour. This cooling time is vital for achieving the perfect texture, allowing the filling to firm up before you slice into your homemade Apple Butter Pie. Enjoy the calming scents as it cools!
What to Serve with Apple Butter Pie?
There's nothing quite like the comforting combination of flavors and textures to create a memorable meal around your delightful dessert.
-
Vanilla Ice Cream: A scoop of creamy vanilla ice cream melts beautifully on a warm slice, enhancing the flavors of spiced sweetness.
-
Whipped Cream: Light and airy, whipped cream adds a blissful touch that balances the pie’s richness while inviting a nostalgic charm.
-
Spiced Chai: The warm spices in chai elevate the cozy vibes of this autumn dessert, making each sip a comforting pause as you savor your pie.
-
Hot Apple Cider: This drink echoes the apple flavors of the pie, providing a heartwarming sip that transports you straight to fall festivities.
-
Gingersnap Cookies: Their crunchy texture and spiced flavors make a perfect contrast to the creamy filling, adding an extra layer of fall cheer to your dessert spread.
-
Caramel Sauce: Drizzle this over your pie for an indulgent twist, offering a sweet depth that bridges the flavors beautifully.
-
Pumpkin Spice Latte: Enjoy this seasonal favorite alongside your slice, the flavors harmonizing perfectly and embodying the essence of fall in every bite.
-
Maple Pecan Tart: A nod to classic autumn desserts, the nuttiness complements the pie beautifully, creating a comforting dessert pairing.
-
Candied Pecans: Their crunch and sweetness provide a delightful textural contrast when sprinkled on top of your slice, enhancing every mouthful!
Expert Tips for Apple Butter Pie
-
Whisk Thoroughly: To avoid lumps in your filling, make sure you whisk the egg mixture until it's thoroughly smooth before adding the apple butter.
-
Cooling Time Matters: After baking, let the pie cool properly on a wire rack for at least an hour. This helps set the filling and prevents it from being too watery.
-
Check for Doneness: The center should slightly jiggle when you take it out of the oven. This indicates it will firm up as it cools, perfect for a creamy Apple Butter Pie.
-
Flavored Variations: Feel free to mix in spices like nutmeg or ginger for an exciting twist. Just be cautious of adding too much, as it can overpower the apple flavor.
-
Dairy-Free Options: Don’t hesitate to swap whole milk for almond or oat milk if you're looking for a dairy-free version—this maintains flavor without sacrificing richness.
How to Store and Freeze Apple Butter Pie
Fridge: Store the cooled Apple Butter Pie in the refrigerator for up to 3-5 days. Make sure to cover it with plastic wrap or aluminum foil to maintain its freshness.
Freezer: For long-term storage, you can freeze the pie for up to three months. Wrap it tightly in plastic wrap and then in aluminum foil to protect it from freezer burn.
Thawing: When ready to enjoy, thaw the pie in the refrigerator overnight before serving. This helps retain its creamy texture and flavorful richness.
Reheating: If desired, warm individual slices in the microwave for about 15-20 seconds, or reheat the whole pie in a preheated oven at 350°F (175°C) for 10-15 minutes, ensuring it’s heated through while still delightful!
Apple Butter Pie Variations
Feel free to play around with these suggestions to make the Apple Butter Pie your own!
-
Dairy-Free: Substitute almond or oat milk for whole milk for a delicious dairy-free version. Your pie will remain creamy and flavorful without any dairy.
-
Spice Infusion: Add nutmeg or ginger alongside the cinnamon for an extra warm spice twist. This simple change can elevate the flavor profile of your pie beautifully.
-
Nutty Crust: Swap out regular pie crust for a nut-based crust made with almond or pecan flour for a gluten-free option. It adds a lovely crunch that complements the filling.
-
Apple Cinnamon: Mix in additional diced apples to the filling for a chunkier texture and a delightful burst of fresh apple flavor. It's like having two desserts in one!
-
Sweetness Control: Use less granulated sugar or replace it with maple syrup for a different sweetness with a hint of flavor depth. This can help make the pie align better with your dietary preferences.
-
Caramel Drizzle: Drizzle homemade or store-bought caramel sauce on top of each slice right before serving for a decadent finish. This indulgent addition is sure to impress your guests!
-
Extra Crisp: Bake the pie in a cast-iron skillet for a wonderfully crisp crust that adds an element of rustic charm to your dessert. Your crust will be flaky and golden brown.
-
Serving Suggestions: Enhance each slice with a scoop of vanilla ice cream or a spoonful of whipped cream. Pair it with spiced chai or hot apple cider for the ultimate cozy experience!
Using these variations, you can create the perfect Apple Butter Pie suited to your taste and dietary needs, making it an unforgettable dessert for your loved ones to savor!
Make Ahead Options
These Apple Butter Pie preparations are perfect for busy home cooks aiming to save time without sacrificing flavor! You can make the pie filling up to 24 hours in advance. Just prepare the filling as instructed, then cover and refrigerate it to maintain its creamy, smooth texture. The pie crust can also be made ahead; simply roll it out, fit it into the pie dish, and wrap it in plastic before refrigerating for up to 3 days. On the day of serving, you’ll need to pour the filling into the prepared crust and bake as directed. This way, you can enjoy delicious homemade Apple Butter Pie with minimal effort when it’s time to gather around the table!
Apple Butter Pie Recipe FAQs
What type of apples should I use for homemade apple butter?
Absolutely! When making homemade apple butter, I recommend using a mix of sweet and tart apples. Varieties like Fuji, Honeycrisp, and Granny Smith create a lovely depth of flavor. Peel the apples, core them, and cut them into chunks before cooking them down with spices and sugar.
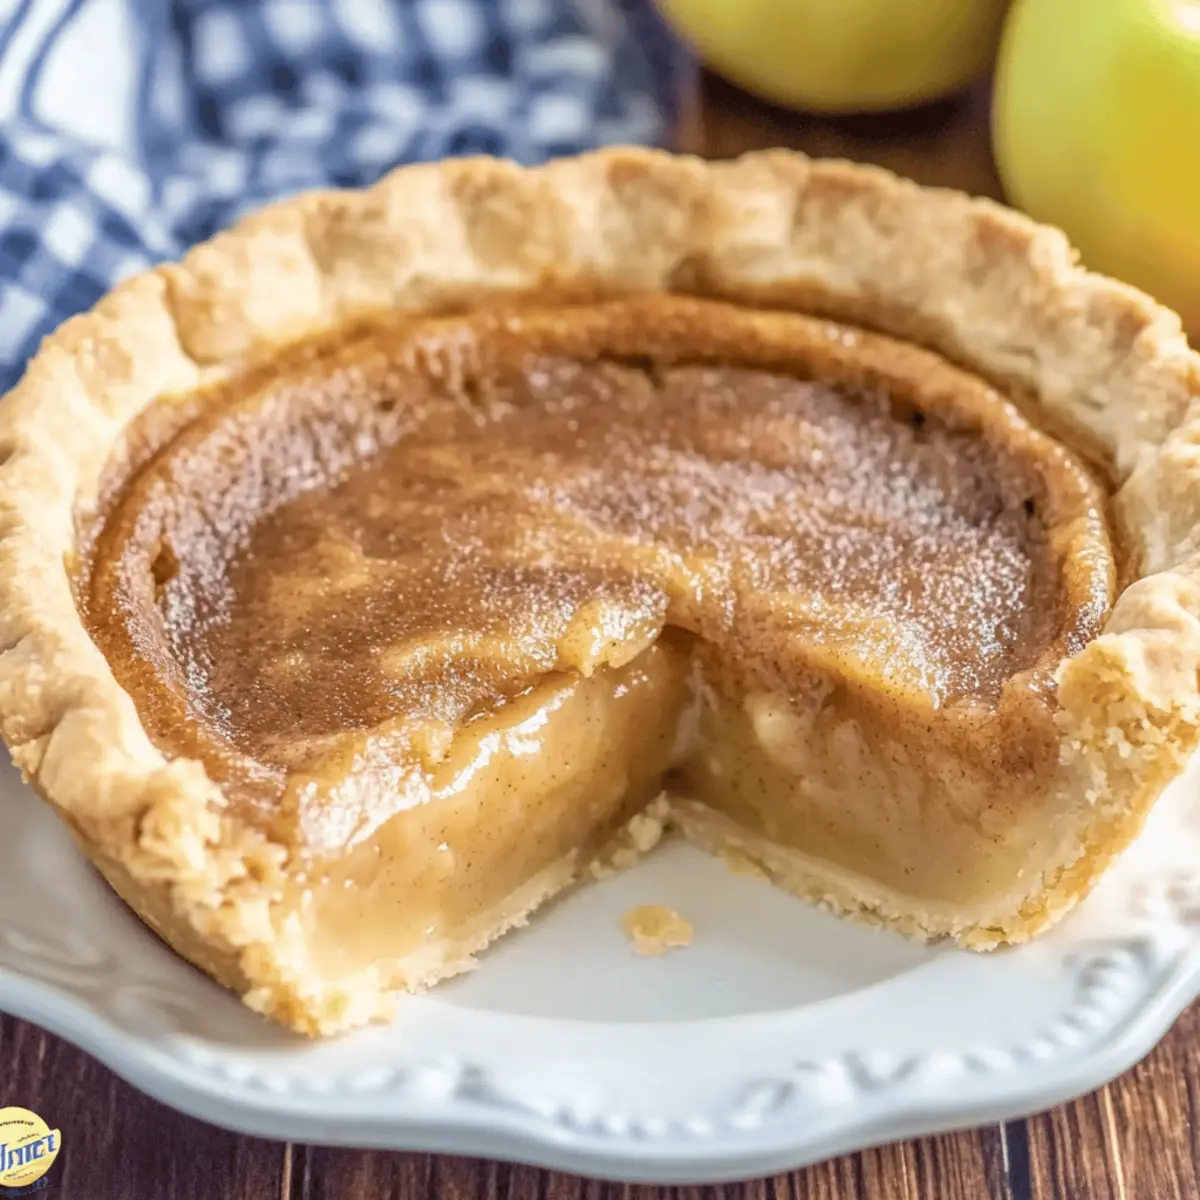
How can I tell when my pie filling is thick enough?
Very! Your pie filling should be thick enough when it coats the back of a spoon. If it seems too runny after baking, don't worry—letting it cool for about an hour will help it firm up as it sets. If you find it’s still not thickening, consider adding a bit more cornstarch next time!
What is the best way to store leftover Apple Butter Pie?
Once cooled, store the pie in the refrigerator, tightly covered with plastic wrap or aluminum foil, for about 3-5 days. This will maintain its freshness. If you plan to keep it for longer, it can be frozen for up to three months—just wrap it securely in plastic wrap and then in aluminum foil.
Can I freeze my Apple Butter Pie? If so, how?
Certainly! To freeze your Apple Butter Pie, wrap it tightly in plastic wrap followed by aluminum foil to prevent freezer burn. It’s best to freeze it before slicing! When you're ready to enjoy, simply thaw it in the refrigerator overnight before serving. You can warm individual pieces in the microwave for just 15-20 seconds for a cozy treat.
Is this Apple Butter Pie suitable for people with allergies?
Yes, this recipe is vegetarian and can easily be adapted for other dietary needs. If you're avoiding dairy, you can substitute whole milk with almond or oat milk. Just make sure to check the labels of your ingredients if allergies are a concern! Always serve with caution and be sure to communicate changes made to the recipe if serving to others.
What can I do if my pie crust is too dry or crumbly?
If you find your pie crust is too dry or crumbly, it’s likely that not enough liquid was added during prep. Next time, add a tablespoon of cold water at a time until the dough holds together without being sticky. After baking, if your crust is already baked and you find it crumbles too easily, simply enjoy it served in a bowl like a cobbler with a generous scoop of ice cream!

Deliciously Easy Apple Butter Pie for Cozy Fall Nights
Ingredients
Equipment
Method
- Preheat the oven to 375ºF (190ºC).
- In a medium bowl, whisk the large eggs until frothy. Gradually add in granulated sugar, cornstarch, and cinnamon, blending well. Fold in the apple butter and whisk in the whole milk until smooth.
- Place the pie crust into a 9-inch pie dish, pressing it evenly into the bottom and up the sides.
- Pour the prepared filling into the crust, ensuring an even distribution across the pie.
- Bake for 60-65 minutes, until the center is set but has a slight jiggle.
- Remove the pie from the oven and let it cool on a wire rack for at least 1 hour.


Leave a Reply