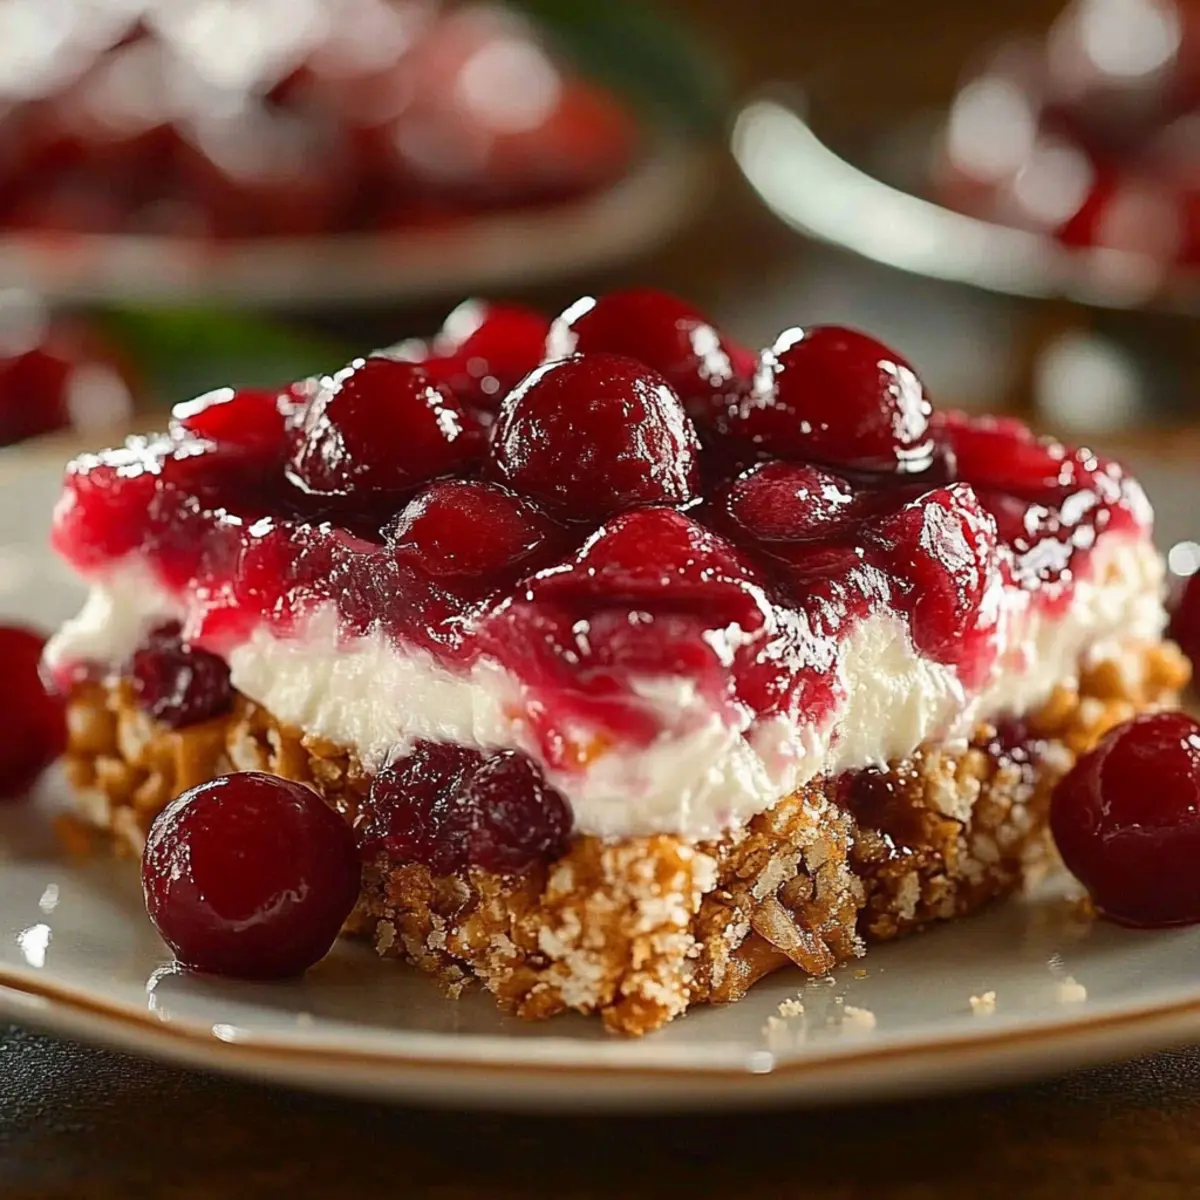
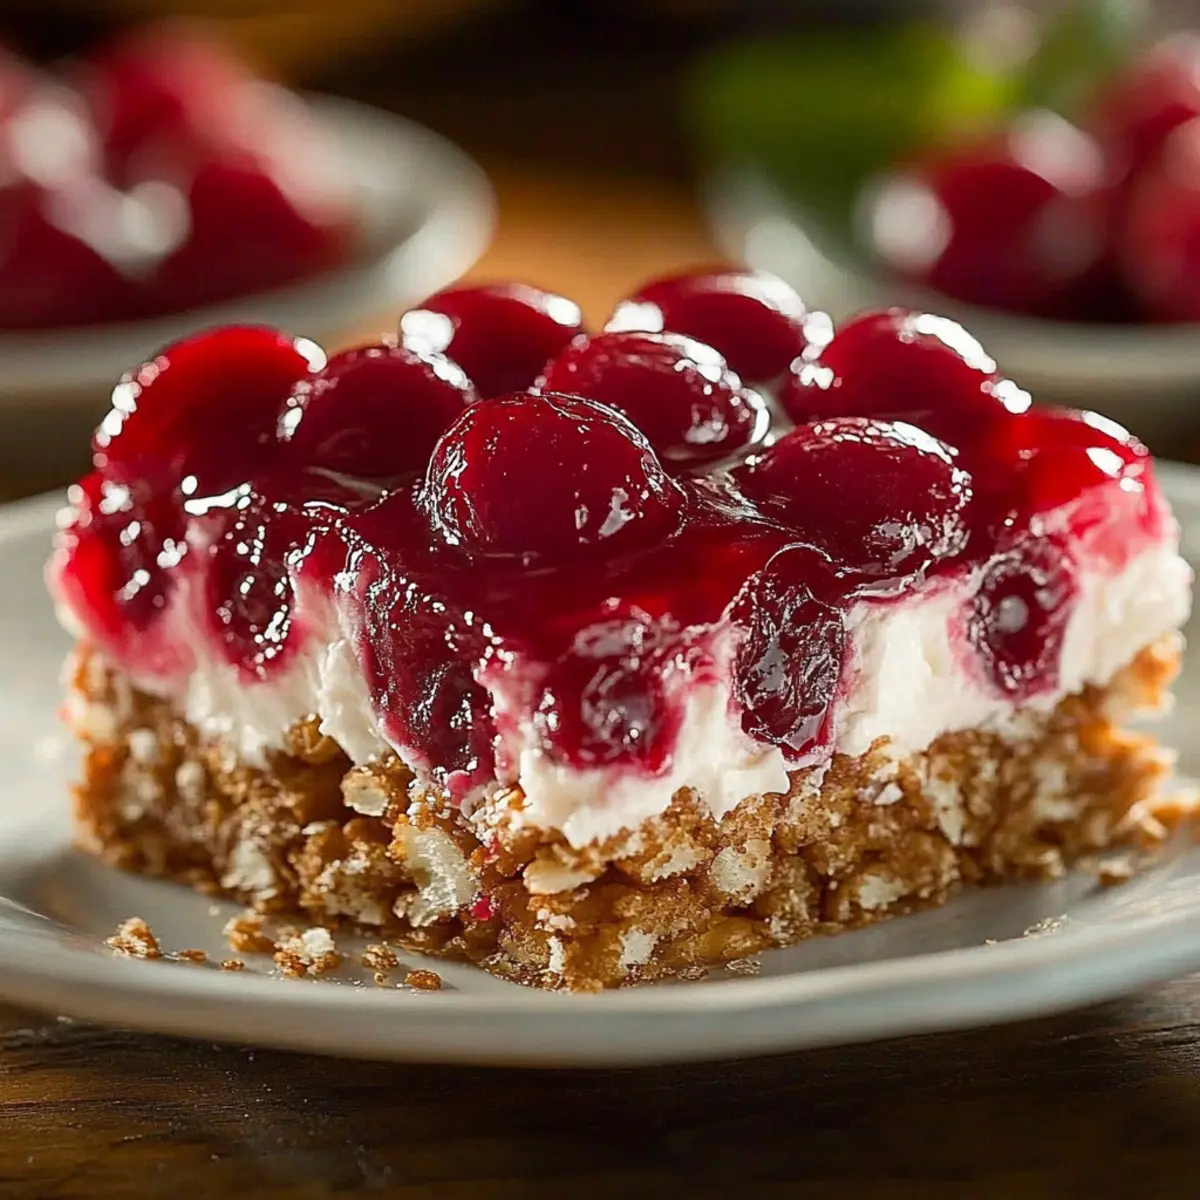
The first bite hits me like a summer breeze—refreshing, creamy, and just the right amount of crunch. These Cherry Pretzel Squares are not just a dessert; they’re a festive delight that brings back memories of warm gatherings and laughter. In this no-bake dessert, the salty pretzel crust meets a luscious cream cheese filling, topped with glistening cherry goodness, creating a balance that’s utterly irresistible. Whether you’re hosting a summer BBQ or simply want to treat yourself to something sweet, these squares are a quick and easy solution that anyone can whip up. Plus, they’re vegetarian-friendly, making them a versatile addition to any menu. Ready to check out this charming treat that’s sure to steal the show? Let’s dive in!
Why are Cherry Pretzel Squares a must-try?
Satisfying, crunchy base: The salty pretzel crust provides an unexpected yet delightful contrast to the smooth filling.
Decadent creaminess: The cream cheese and whipped topping create a light yet indulgent texture that melts in your mouth.
Effortless preparation: With no baking required, you can whip these up in no time, perfect for spontaneous gatherings or sweet cravings.
Versatile toppings: Feel free to experiment by substituting different pie fillings, like blueberry or raspberry, to match the season or occasion.
Crowd-pleaser appeal: Whether it's a summer barbecue or a holiday feast, these squares will charm guests of all ages—everyone loves that sweet and salty combo!
Cherry Pretzel Squares Ingredients
• Get ready for a no-bake treat!
For the Crust
- Salted Pretzels – Adds a delicious salty crunch that perfectly complements the sweet filling.
- Unsalted Butter – Binds the crust together and provides a rich flavor to balance the sweetness.
- Granulated Sugar – Sweetens both the crust and the creamy filling, enhancing the overall taste.
For the Cream Cheese Layer
- Cream Cheese – This tangy base creates a smooth and luscious filling that serves as the heart of the dessert.
- Whipped Topping (like Cool Whip) – Lightens the cream cheese to achieve that airy, fluffy texture everyone loves.
For the Cherry Topping
- Cherry Pie Filling – Acts as the glossy layer on top, delivering the signature flavor that makes these Cherry Pretzel Squares so special.
- Chopped Pecans (optional) – Adds an extra crunch and nutty flavor, enhancing the overall texture and taste of the dessert.
Step‑by‑Step Instructions for Cherry Pretzel Squares
Step 1: Preheat and Prepare
Begin by preheating your oven to 350°F (175°C). While the oven heats up, gather your equipment, including a 9x13-inch baking dish and a mixing bowl. This will ensure that you’re ready to assemble your Cherry Pretzel Squares without delay.
Step 2: Crush the Pretzels
In a food processor or a zip-top bag with a rolling pin, crush 2 cups of salted pretzels into coarse crumbs. Aim for a texture similar to sand, which will create a deliciously crunchy crust. This step is essential for achieving the perfect balance of salty and sweet in your dessert.
Step 3: Mix Crust Ingredients
In a large mixing bowl, combine the crushed pretzels with melted unsalted butter and 3 tablespoons of granulated sugar. Stir until the mixture is fully coated and crumbly. This binding agent is what holds your crust together, ensuring stability when you layer your Cherry Pretzel Squares.
Step 4: Form the Crust
Firmly press the pretzel mixture into the bottom of the prepared 9x13-inch baking dish. Use your fingers or the bottom of a glass to create an even layer that fills the entire dish. Bake this crust for 10 minutes until it's slightly golden, then remove it from the oven and let it cool completely.
Step 5: Cream Cheese Mixture
In a large bowl, beat softened cream cheese with ½ cup of granulated sugar using an electric mixer until the mixture is smooth and fluffy. This should take about 2-3 minutes. The creamy filling is the heart of your Cherry Pretzel Squares, so ensure there are no lumps for a silky texture.
Step 6: Fold in Whipped Topping
Gently fold in 2 cups of whipped topping (like Cool Whip) into the cream cheese mixture. Use a spatula to incorporate the whipped topping, creating a light and airy texture that complements the Cherry Pretzel Squares' crust beautifully. This step is crucial for achieving the perfect creamy consistency.
Step 7: Spread Cream Cheese Mixture
Once the crust has completely cooled, spread the cream cheese mixture evenly over the top. Make sure to seal the edges to prevent any cherry filling from seeping into the crust. This creates a delicious barrier between the layers, enhancing the overall flavor profile of your dessert.
Step 8: Add Cherry Topping
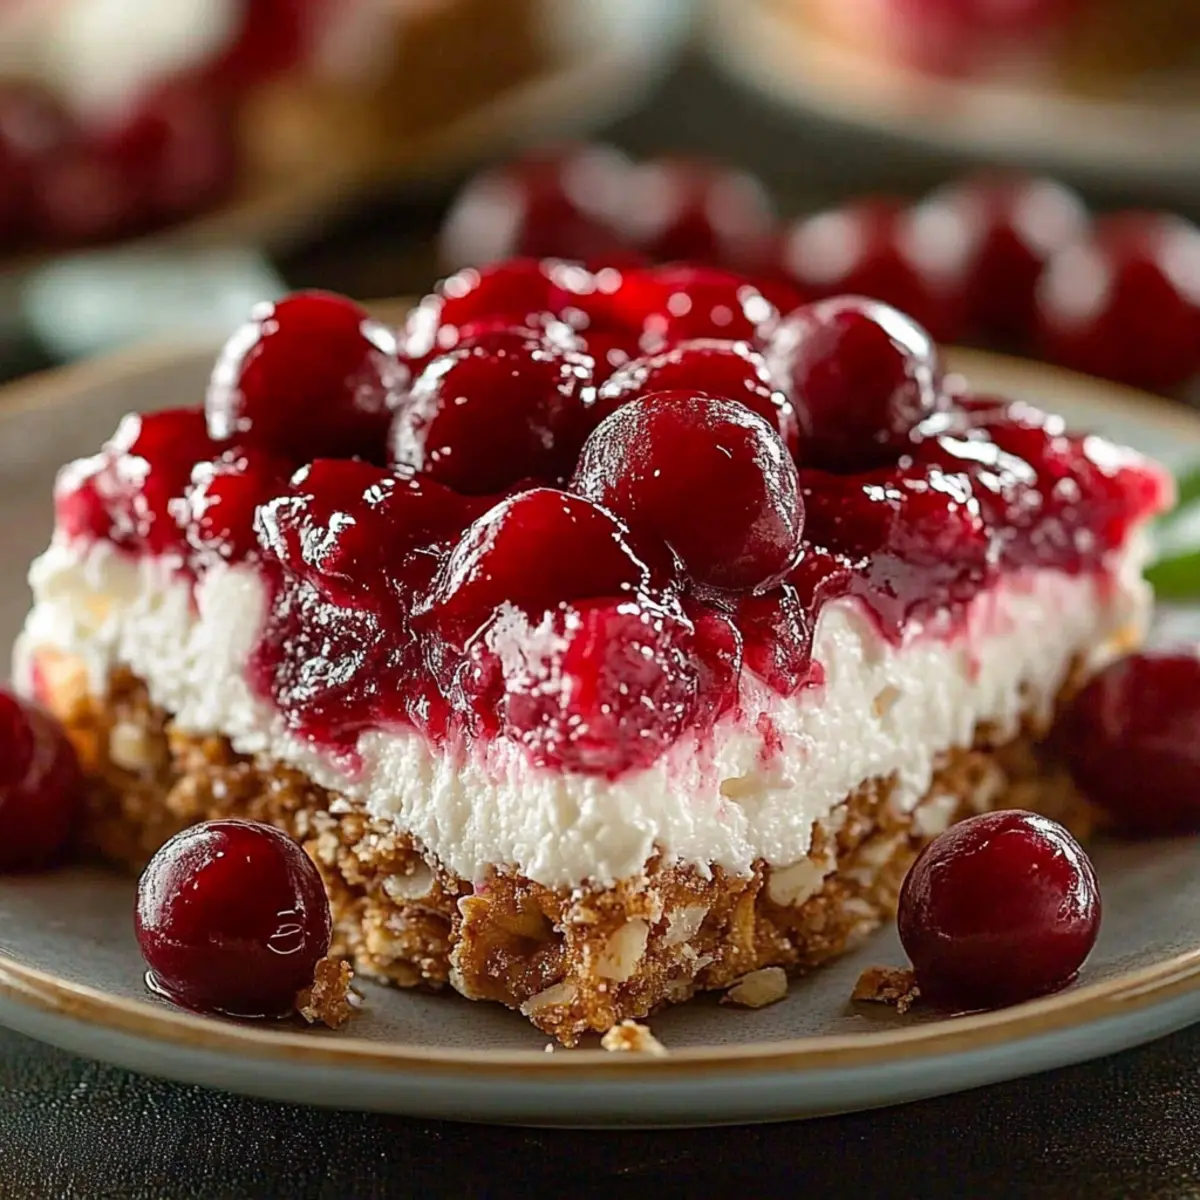
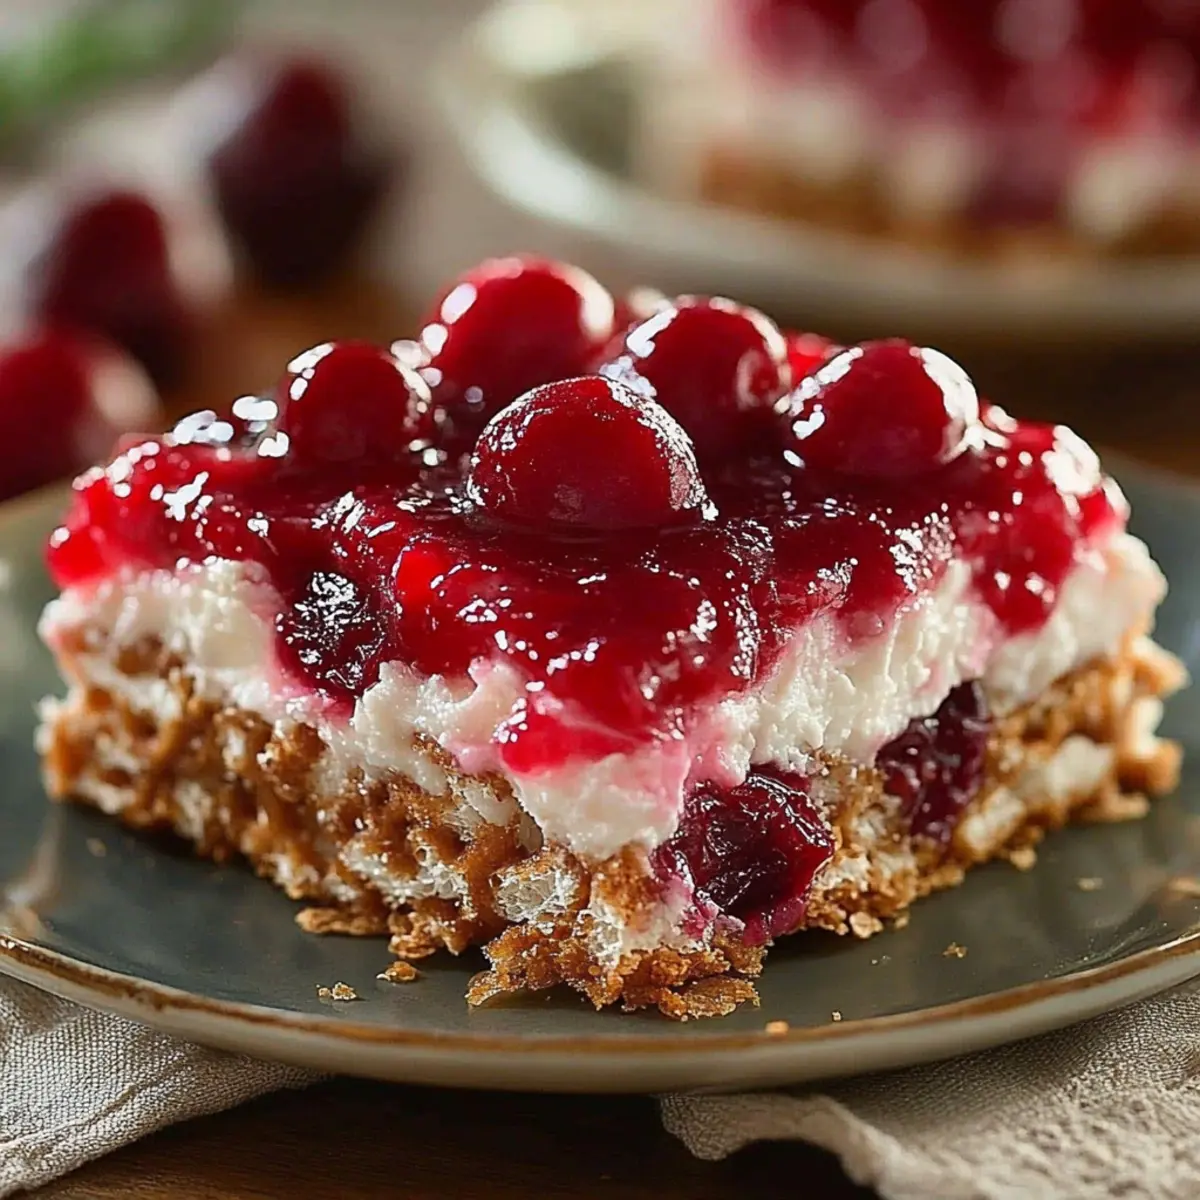
Spoon cherry pie filling generously over the cream cheese layer, spreading it out evenly across the surface. The bright cherry topping not only adds flavor but also gives your Cherry Pretzel Squares an appealing visual pop. Ensure you cover the filling well for a stunning presentation.
Step 9: Chill to Set
Cover the dish with plastic wrap and refrigerate for at least 4 hours, or overnight if possible, to allow the dessert to set fully. Chilling is essential for solidifying the layers, ensuring clean slices and optimal flavor when you serve your Cherry Pretzel Squares.
Step 10: Final Touches and Serve
Before serving, consider sprinkling chopped pecans on top for an added crunch and nutty flavor. Slice your Cherry Pretzel Squares into squares and serve them chilled, showcasing their beautiful layers. Watch as family and friends delight in this irresistible dessert!
How to Store and Freeze Cherry Pretzel Squares
Fridge: Keep your Cherry Pretzel Squares covered with plastic wrap or in an airtight container, and they will stay fresh for up to 4 days.
Freezer: You can freeze the uncut dessert for up to 2 months. Just wrap it tightly in plastic wrap and aluminum foil. When ready to serve, thaw in the fridge overnight before slicing.
Reheating: While these squares are best enjoyed chilled, if you've frozen them, allow them to rest at room temperature for a bit before slicing to make it easier.
Preparation Ahead: The crust can also be made in advance and frozen, making it convenient to assemble your Cherry Pretzel Squares closer to serving time.
Make Ahead Options
These Cherry Pretzel Squares are ideal for meal prep and can save you precious time during busy weeknights or gatherings! You can prepare the crust and the cream cheese layer up to 24 hours in advance; simply keep them airtight in the refrigerator to maintain their quality. For the best results, allow the cherry topping to be added just before serving—this ensures it remains fresh and vibrant. If you need to prep even further in advance, you can freeze the crust for up to 3 months. When you're ready to serve, just assemble the layers and chill for a bit to ensure that the flavors meld beautifully, making your dessert just as delicious as freshly made!
What to Serve with Cherry Pretzel Squares
A delightful dessert like this deserves an equally enticing spread to create the perfect meal experience.
-
Refreshing Fruit Salad: A mix of seasonal fruits can balance the richness of Cherry Pretzel Squares, providing a light, refreshing contrast.
-
Grilled Chicken Skewers: Juicy and smoky, these skewers offer a savory complement to the sweet and creamy layers, making for a delightful flavor pairing.
-
Creamy Coleslaw: The crunchy textures and zesty flavor of coleslaw harmonize beautifully with the dessert's creaminess, adding a satisfying crunch.
-
Sparkling Lemonade: Cool and bubbly, this drink enhances the sweet and tangy notes of the cherry topping while keeping your palate refreshed.
-
Vanilla Ice Cream: A scoop of smooth, creamy ice cream adds a luxurious touch, creating an indulgent experience that pairs exquisitely with the dessert's flavors.
-
Chocolate-Dipped Strawberries: These can enhance the festive feel, offering a touch of decadence alongside your Cherry Pretzel Squares for those with a passion for sweets.
-
Cheese Platter: A selection of soft and hard cheeses with crackers provides a savory element that balances the sweetness, perfect for a varied dessert table.
Each pairing enhances the overall dining experience, adding layers of flavor and enjoyment around your delightful Cherry Pretzel Squares.
Expert Tips for Cherry Pretzel Squares
- Cool the Crust: Ensure the crust is completely cooled before adding the cream cheese layer to prevent melting and sogginess.
- Seal the Edges: Firmly seal the edges of the cream cheese layer to avoid the cherry topping seeping through, maintaining a clean finish.
- Refrigerate Well: Chill the squares for the recommended time to ensure they set properly, which will help achieve clean slices and enhance the flavor.
- Use Quality Ingredients: Choose high-quality cream cheese and whipped topping for the best texture and taste in your Cherry Pretzel Squares.
- Mix Wisely: Avoid overmixing the cream cheese and whipped topping; a gentle fold keeps the airy texture that makes this dessert delightful.
Variations & Substitutions for Cherry Pretzel Squares
Feel free to explore these delightful twists on the classic Cherry Pretzel Squares that will make them uniquely yours!
-
Fruit Pie Filling: Swap out the cherry filling for blueberry, raspberry, or even peach to change the entire flavor profile. Each fruit brings its own sweetness and tartness, enhancing every bite.
-
Gluten-Free: To cater to gluten sensitivities, simply use gluten-free pretzels in place of traditional ones. This small swap maintains the crunchy texture while making the dessert accessible to all!
-
Less Sweet: For a more tart experience, opt for tart cherry pie filling instead of sweetened. This adjustment allows the fruit’s natural zing to shine through beautifully.
-
Nut-Free: To accommodate nut allergies, skip the pecans. You can add a sprinkle of crushed gluten-free cookies or oats on top for added crunch without the nuts.
-
Sugar-Free: To reduce sugar, consider using a sugar substitute in both the crust and cream cheese layer. Popular sweeteners like erythritol or stevia can work wonders without sacrificing taste.
-
Yo’gin’ it Up: For a fun adults-only twist, mix in a splash of cherry liqueur into the cream cheese filling. This adds a delightful depth of flavor and will have your guests buzzing about this special dessert!
-
Layer Cake: Transform these squares into a beautiful layered cake by alternating layers of the pretzel crust, cream cheese filling, and cherry topping in a springform pan. Make sure to chill it well to set before slicing.
-
Chocolate Drizzle: Drizzle melted chocolate over the top for an irresistible sweet and salty combination. The rich chocolate complements the flavors and makes for a stunning presentation!
With these variations, you can tailor your Cherry Pretzel Squares to suit any palate or occasion. They’re bound to be a hit at any gathering! For more fun twists on classic desserts, don’t forget to check out my recipe for Blueberry Cream Cheese Bars or consider making Raspberry Dream Dessert Cups for a fruity alternative.
Cherry Pretzel Squares Recipe FAQs
How do I select ripe cherries for topping?
Absolutely! Look for plump, glossy cherries with firm skins and a vibrant color. Avoid any that have dark spots or feel mushy, as these may indicate overripeness. If you're using canned cherry pie filling, be sure to check the expiration date and quality of the can for the best results.
What’s the best way to store leftover Cherry Pretzel Squares?
Very! Cover your Cherry Pretzel Squares with plastic wrap or transfer them to an airtight container. They will stay fresh in the refrigerator for up to 4 days. This way, you can enjoy a delightful piece each day without losing that fantastic flavor!
Can I freeze Cherry Pretzel Squares?
Absolutely! You can freeze the uncut dessert for up to 2 months. Just wrap the entire dish tightly in plastic wrap and then in aluminum foil to prevent freezer burn. When you’re ready to serve, thaw it in the fridge overnight. For easier slicing, let it sit at room temperature for about 15 minutes after thawing.
What should I do if my crust is too crumbly?
No worries! If your pretzel crust is too crumbly to hold together, it may need a bit more melted butter. Start by drizzling a tablespoon or two of melted butter over the mixture and mix it in. Press the mixture firmly into the baking dish to help it bind. Ensuring the butter is evenly mixed is key for a stable crust!
Are Cherry Pretzel Squares safe for pets?
Definitely not! While these squares are delicious for humans, they contain sugar and cream cheese which aren't suitable for pets. Keep them out of reach from furry friends, especially since the sweet cherry filling can also be harmful if consumed in large quantities. Always check ingredients before sharing!
What can I do if I want to make this dessert gluten-free?
Very good question! Simply substitute regular salted pretzels for gluten-free pretzels. These alternatives are widely available and will still provide that satisfying crunch without compromising flavor. Just be sure to verify that all other ingredients, like whipped topping, are also gluten-free to ensure a fully safe dessert.
Irresistibly Creamy Cherry Pretzel Squares You’ll Love
Ingredients
Equipment
Method
- Preheat your oven to 350°F (175°C) and gather your equipment.
- Crush 2 cups of salted pretzels into coarse crumbs.
- Combine the crushed pretzels with melted unsalted butter and 3 tablespoons of granulated sugar.
- Press the pretzel mixture into the bottom of the baking dish and bake for 10 minutes. Let it cool completely.
- Beat softened cream cheese with ½ cup of granulated sugar until smooth and fluffy.
- Gently fold in 2 cups of whipped topping into the cream cheese mixture.
- Spread the cream cheese mixture evenly over the cooled crust.
- Spoon cherry pie filling generously over the cream cheese layer.
- Cover with plastic wrap and refrigerate for at least 4 hours before serving.
- Slice into squares and serve chilled, optionally adding chopped pecans on top.


Leave a Reply