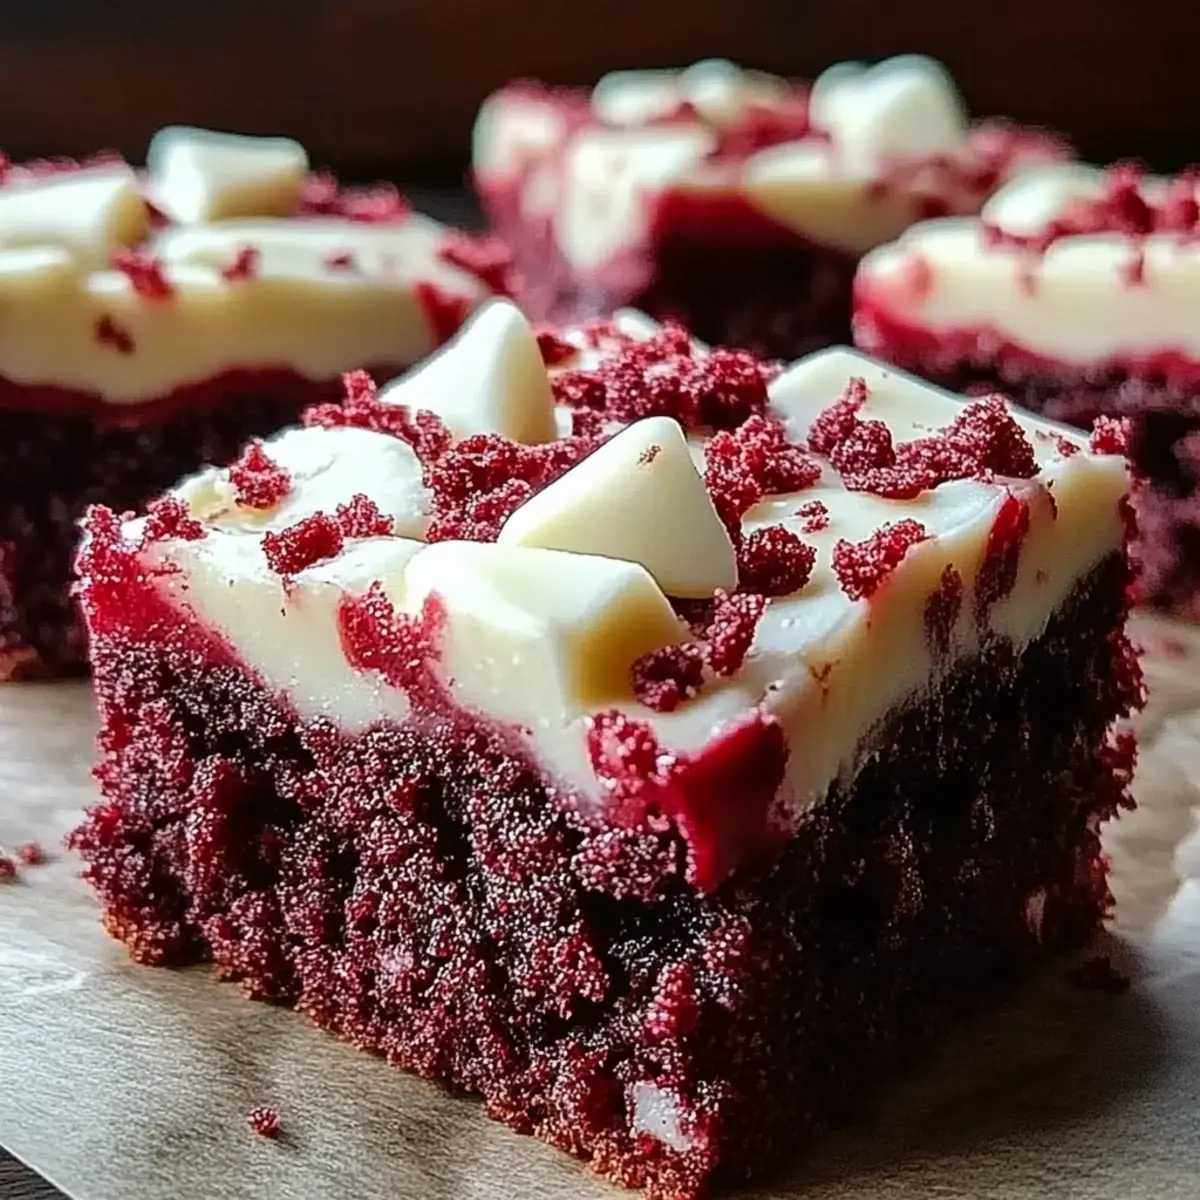
The aroma of freshly baked cookies always brings me back to my childhood kitchen, where my love for sweet treats first began. Today, I'm thrilled to share my recipe for Red Velvet Cookie Bars—a stunning blend of rich cocoa and creamy vanilla that is just as delicious as it is beautiful. Not only are these bars a crowd-pleaser, but they're also incredibly versatile, easily accommodating gluten-free or dairy-free diets without sacrificing flavor. Whether you're hosting a special gathering or simply indulging in a cozy night at home, these cookie bars bring a touch of elegance to any occasion. Ready to impress your taste buds and your guests? Let's dive into this delightful recipe!
Why are Red Velvet Cookie Bars a must-try?
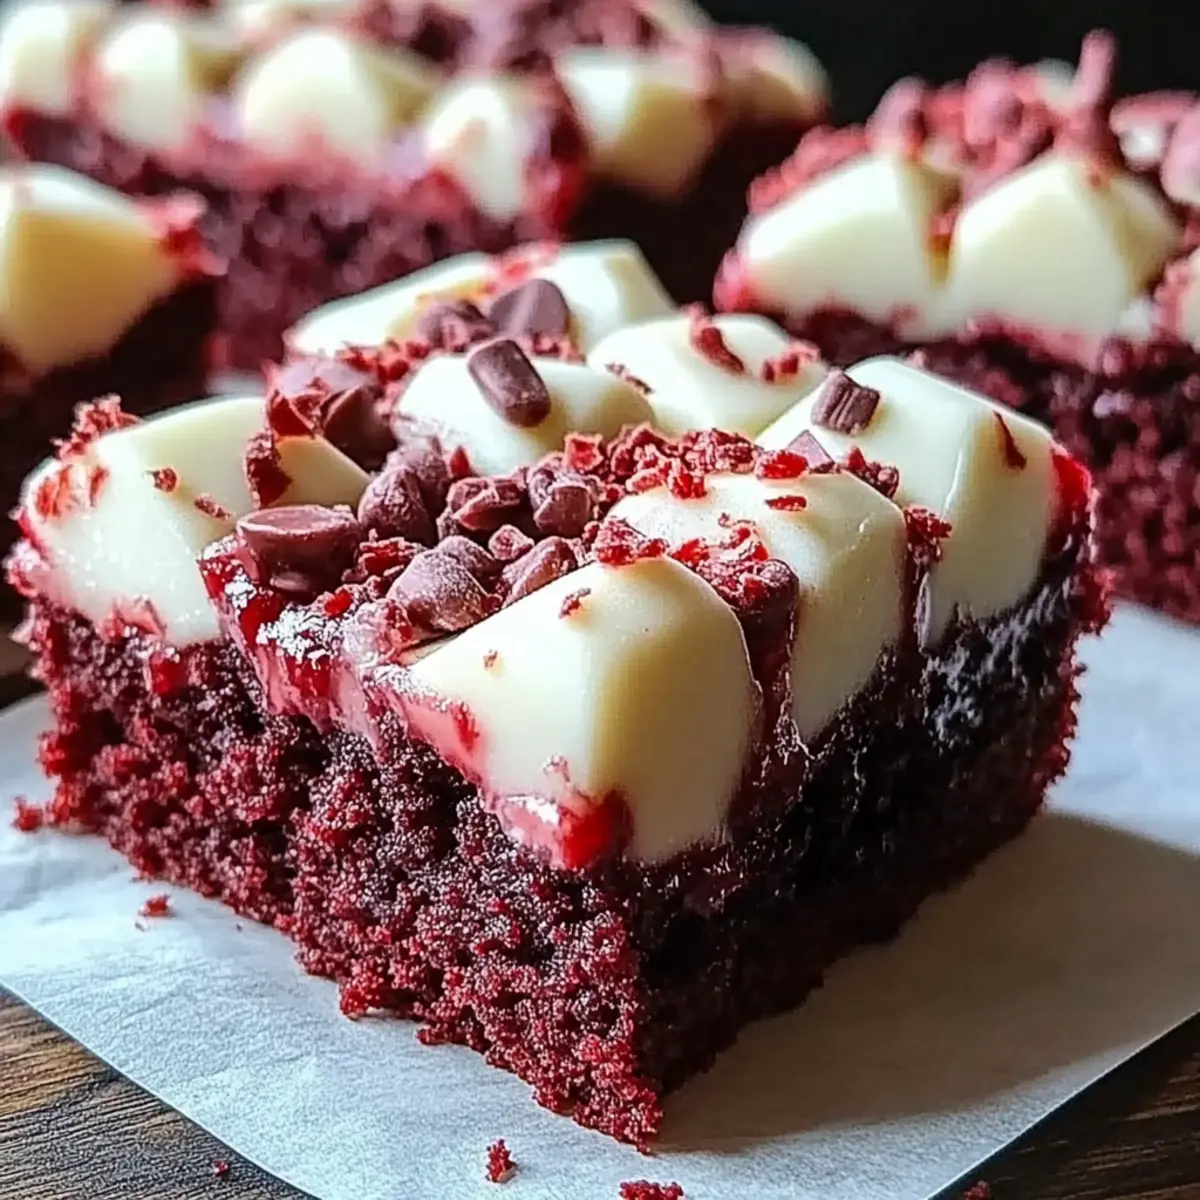
Indulgent, velvety goodness: These cookie bars deliver the rich, decadent flavor of classic red velvet cake in a convenient, chewy form.
Customizable for everyone: Whether you’re gluten-free or prefer a dairy-free option, these bars can easily cater to your dietary needs, making them a versatile treat.
Quick and easy: With just a few simple steps and minimal prep time, you’ll have these beauties baking in no time—perfect for those spontaneous dessert cravings!
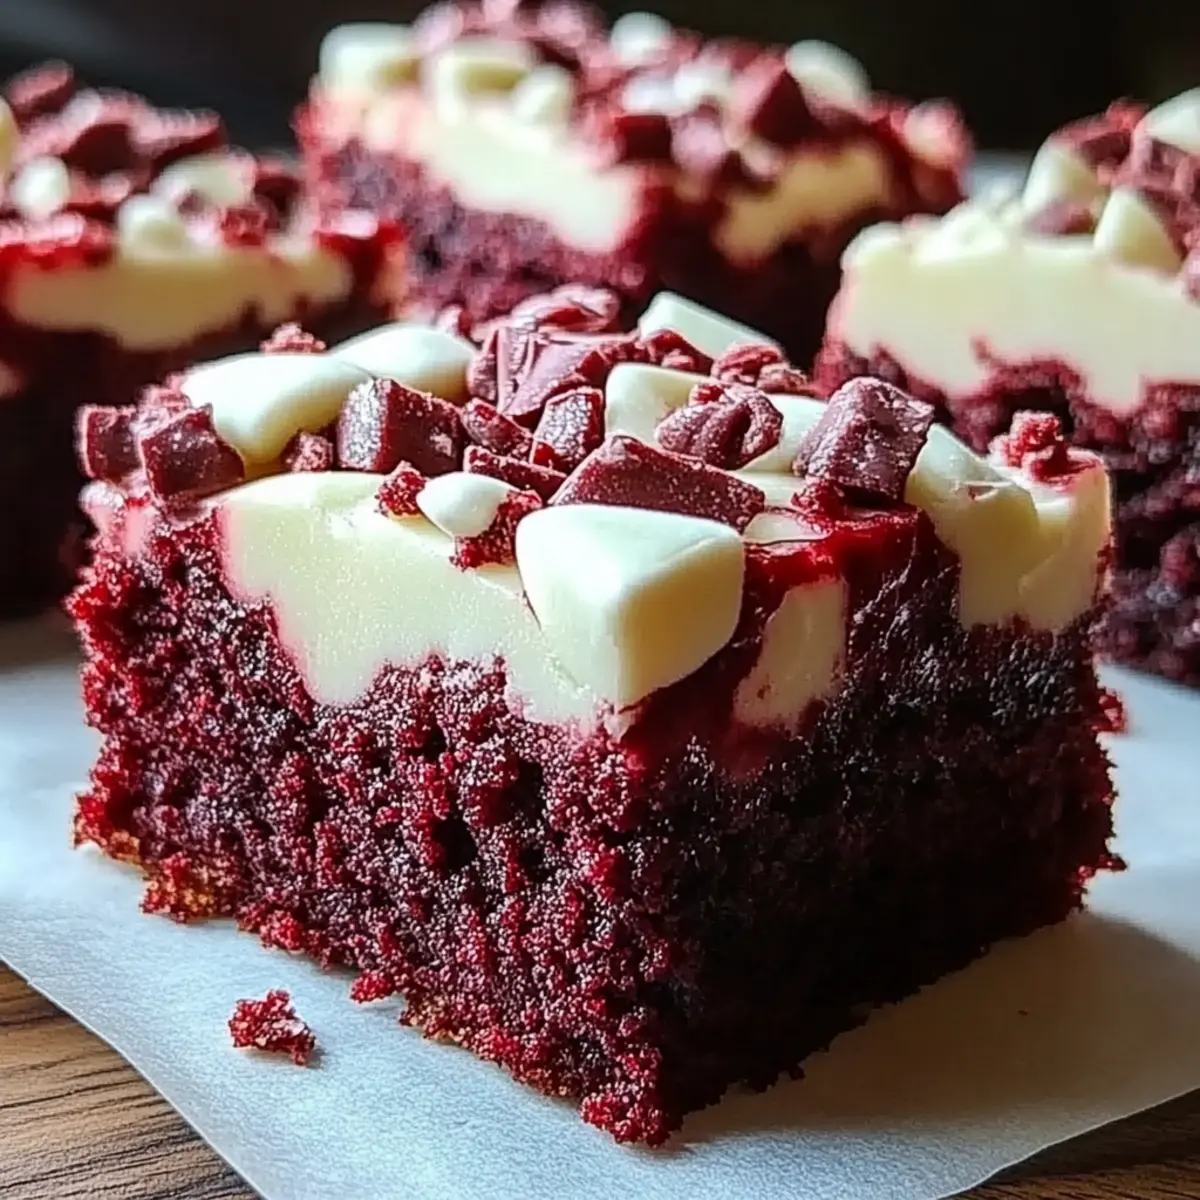
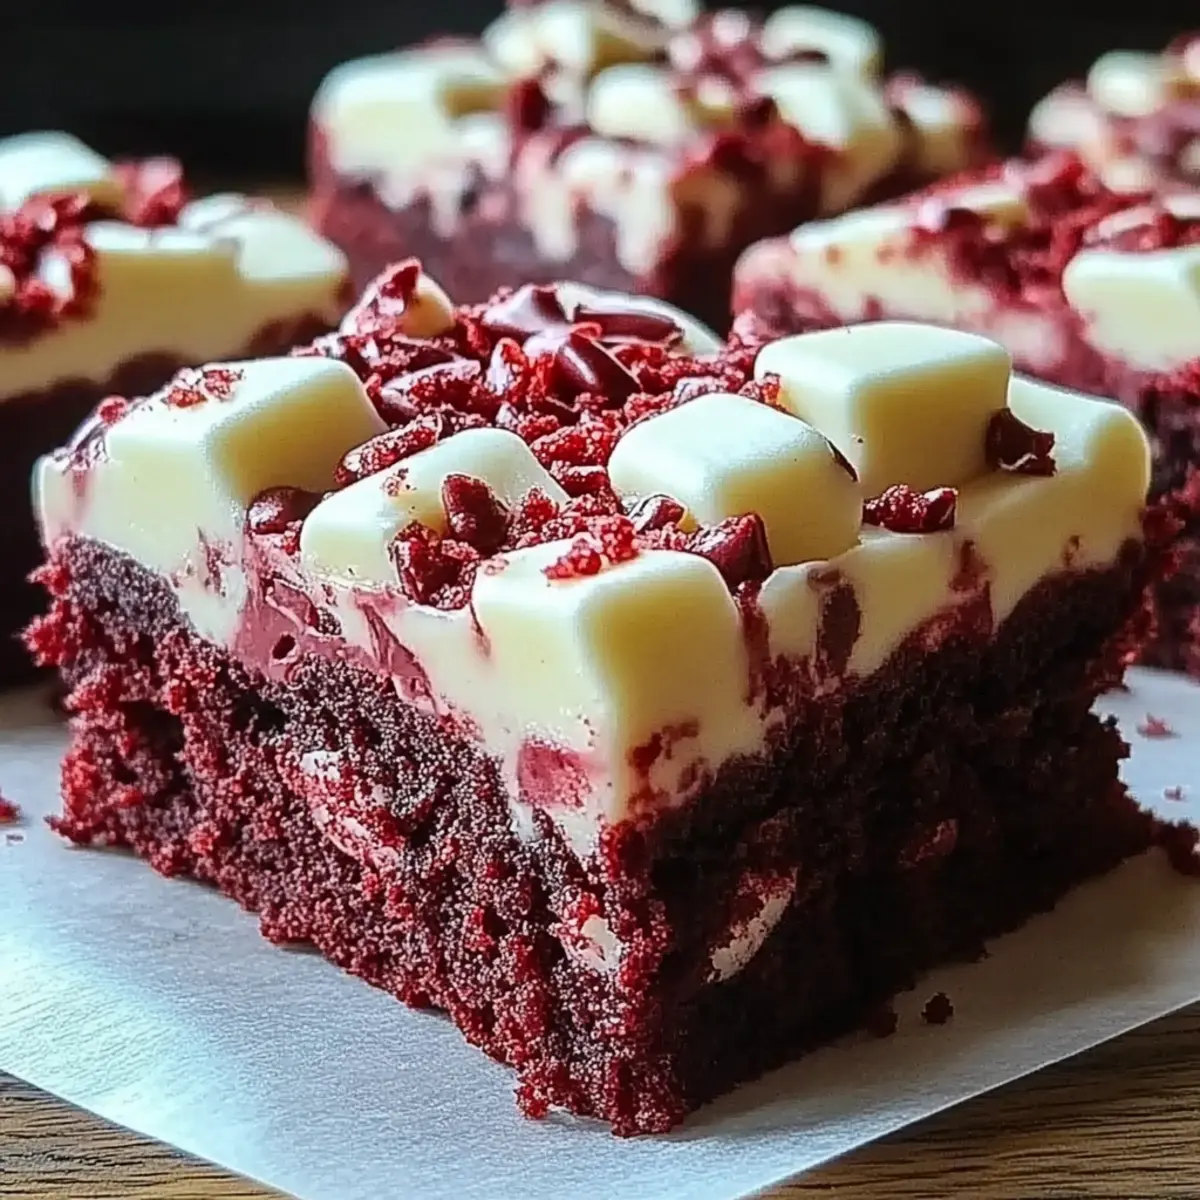
Impressive presentation: Their vibrant red hue and inviting aroma make these bars a stunning centerpiece for any gathering, sure to delight your guests. Plus, don’t forget to try them with a scoop of ice cream or a cup of coffee for the ultimate experience!
Red Velvet Cookie Bars Ingredients
• For anyone craving a delicious treat!
For the Batter
- All-Purpose Flour – Provides structure; can be substituted with gluten-free flour for those needing gluten-free options.
- Granulated Sugar – Adds sweetness and moisture; no substitutes necessary for that signature flavor.
- Brown Sugar – Offers richness and moisture; you can use regular white sugar if brown is not on hand.
- Unsalted Butter – Essential for moisture and flavor; make sure it's softened to room temperature, or swap for plant-based butter for a vegan alternative.
- Large Eggs – Binds the mixture beautifully; substitute with flaxseed meal mixed with water for an egg-free version.
- Cocoa Powder – Enhances the chocolate flavor; ensure it's unsweetened for the best result, or omit for a non-chocolate variation.
- Vanilla Extract – Infuses depth of flavor; no substitutions recommended for the best taste.
- Red Food Coloring – Vital for that eye-catching color; opt for gel coloring for more intensity.
- Baking Soda – Acts as a leavening agent; ensure freshness for proper rise.
- Salt – Balances sweetness; no substitutes suggested.
- White Chocolate Chips – Adds sweetness and a pleasant texture; swap for dark chocolate for a richer flavor in your Red Velvet Cookie Bars.
Step‑by‑Step Instructions for Red Velvet Cookie Bars
Step 1: Preheat the Oven
Begin by preheating your oven to 350°F (175°C). This ensures your Red Velvet Cookie Bars bake evenly and perfectly. While the oven heats, line a 9x13 inch baking pan with parchment paper or grease it lightly to prevent sticking later on.
Step 2: Cream the Butter and Sugars
In a large mixing bowl, combine the softened unsalted butter, granulated sugar, and brown sugar. Using an electric mixer, beat on medium speed until the mixture becomes light and fluffy—about 2-3 minutes. This step helps incorporate air into the fats, making your bars tender and delicious.
Step 3: Add Eggs and Flavoring
One at a time, add the large eggs to the butter mixture, mixing well after each addition. Then, stir in the vanilla extract and red food coloring, blending until evenly distributed. This is where your cookie bars start to take on that signature red velvet hue!
Step 4: Mix the Dry Ingredients
In a separate bowl, whisk together the all-purpose flour, cocoa powder, baking soda, and salt. Make sure the cocoa is unsweetened for that rich flavor! Gradually incorporate this dry mixture into the wet ingredients, folding gently until just combined to avoid overmixing, which could lead to tough bars.
Step 5: Fold in Chocolate Chips
Gently fold in the white chocolate chips, ensuring even distribution throughout the batter. This additional sweetness will elevate your Red Velvet Cookie Bars beautifully. Be careful not to over-mix at this stage; the batter should be stirred just until no flour pockets remain.
Step 6: Transfer Batter to the Pan
Carefully pour the batter into your prepared baking pan, using a spatula to smooth it into an even layer. This step is crucial for achieving uniform thickness and consistent baking. The batter should fill the pan generously, settling into every corner for that perfect bake.
Step 7: Bake to Perfection
Place the baking pan in the preheated oven and bake for 25 to 30 minutes. Check for doneness by inserting a toothpick into the center; it should come out clean or with a few moist crumbs. Keep an eye on the edges; they should pull away slightly from the pan for that golden-brown finish.
Step 8: Cool and Slice
Once baked, remove the pan from the oven and allow it to cool in the pan for at least 10-15 minutes. This cooling period helps the cookie bars set up properly. Then, transfer them to a wire rack to cool completely before slicing them into squares. This step ensures perfect presentation for your Red Velvet Cookie Bars!
Make Ahead Options
These Red Velvet Cookie Bars are a fantastic choice for meal prep, saving you valuable time during busy weeknights or when entertaining! You can prepare the batter up to 24 hours in advance; simply mix all the ingredients, then refrigerate it in an airtight container. When you’re ready to bake, just preheat your oven and transfer the batter to the prepared pan. If you prefer, you can also bake the bars ahead of time and store them. Once cooled, keep the cookie bars in an airtight container at room temperature for up to 4 days. This ensures they remain just as delicious and chewy when you’re ready to serve!
Red Velvet Cookie Bars Variations
Feel free to experiment with these red velvet cookie bars to create something uniquely yours!
- Gluten-Free: Use a 1:1 gluten-free flour blend to achieve a similar texture without gluten.
- Dairy-Free: Swap unsalted butter for plant-based butter and use dairy-free chocolate chips for a delicious vegan treat.
- Egg-Free: Replace each egg with 1 tablespoon of flaxseed meal mixed with 2.5 tablespoons of water for a smooth binding effect.
- Dark Chocolate Twist: Substitute white chocolate chips with dark chocolate chunks for a richer and more intense flavor profile.
- Nutty Addition: Fold in chopped walnuts or pecans to the batter for a satisfying crunch and added depth.
- Frosting Options: Elevate your bars with cream cheese frosting or chocolate ganache for a decadent finish that everyone will love.
- Spicy Kick: Add a pinch of cayenne pepper or a dash of cinnamon to the batter for a surprising hint of warmth.
- Coconut Flake Delight: Mix in unsweetened shredded coconut for a tropical twist that complements the sweetness beautifully.
Don’t hesitate to add your own flair; these variations promise to make every batch of red velvet cookie bars a delightful experience!
How to Store and Freeze Red Velvet Cookie Bars
- Room Temperature: Store completely cooled cookie bars in an airtight container for up to 4 days, keeping them fresh and delicious for snacking or dessert.
- Fridge: If you want to extend their shelf life, refrigerate the bars for up to a week; just ensure they are wrapped tightly to avoid drying out.
- Freezer: For long-term storage, freeze the cookie bars for up to 3 months. Wrap them in plastic wrap and then place in an airtight container to prevent freezer burn.
- Reheating: Thaw the frozen bars in the refrigerator overnight before reheating them in the microwave for 10-15 seconds to warm them up!
What to Serve with Red Velvet Cookie Bars
The delightful flavors and textures of these decadent bars can be beautifully complemented by a variety of dishes and drinks.
-
Creamy Vanilla Ice Cream: A classic pairing that adds a rich, cold contrast to the warm, chewy cookie bars, enhancing their sweet flavor. Drizzle with chocolate sauce for extra indulgence!
-
Fresh Berries: The tartness of raspberries or strawberries balances the sweetness of the cookie bars perfectly, providing a refreshing burst of flavor on your plate.
-
Whipped Cream: Light and airy, whipped cream adds a velvety topping that complements the bars while enhancing their luxurious feel, making every bite even more indulgent.
-
Coffee or Espresso: The bold flavors of coffee beautifully counterbalance the sweetness of the Red Velvet Cookie Bars, creating a harmonious pairing that will please dessert and coffee lovers alike.
-
Chocolate Ganache: A rich drizzle of chocolate ganache amplifies the chocolate notes in the bars and adds a luxurious touch, making them more decadent than ever.
-
Nutty Caramel Sauce: Drizzling warm caramel sauce sprinkled with crushed pecans or walnuts adds an unexpected crunch, enhancing both flavor and texture.
-
Chilled Almond Milk: Dairy-free and refreshing, almond milk’s subtle sweetness pairs well with the rich cookie bars for a cozy, comforting treat.
-
Homemade Cream Cheese Frosting: Spread a generous layer of this simple and tangy frosting atop the cookie bars, offering a delightful contrast to the sweetness and a classic red velvet experience.
Tips for the Best Red Velvet Cookie Bars
-
Proper Butter Softening: Ensure your unsalted butter is at room temperature for easy blending. Cold butter can lead to unevenly mixed batter.
-
Don’t Overmix: After adding the dry ingredients, stir gently to combine. Overmixing can create tough cookie bars instead of the desired soft texture.
-
Egg Substitution: For an egg-free version, mix 1 tablespoon of flaxseed meal with 2.5 tablespoons of water per egg needed. This is a great substitute for the Red Velvet Cookie Bars.
-
Check Baking Time: Every oven is different; start checking your bars a few minutes before the minimum baking time to prevent overbaking.
-
Frosting Options: For an added touch, top your cooled bars with cream cheese frosting or chocolate ganache for a richer flavor experience.
Red Velvet Cookie Bars Recipe FAQs
How do I choose the right consistency of red food coloring?
Absolutely! For the most vibrant results, I recommend using gel food coloring. It provides a richer, more intense color compared to liquid versions. When adding it to the batter, start with a small amount and gradually mix until you achieve your desired hue. This not only enhances the visual appeal but also keeps the batter from becoming too liquidy.
How should I store my Red Velvet Cookie Bars?
Store your completely cooled cookie bars in an airtight container at room temperature for up to 4 days. If you have leftovers and want to keep them fresher for longer, refrigerate them for up to a week. Just make sure they are well wrapped to prevent them from drying out!
Can I freeze Red Velvet Cookie Bars?
Definitely! For long-term storage, wrap the cookie bars in plastic wrap and place them in an airtight container or freezer-safe bag. They can be frozen for up to 3 months. When you're ready to enjoy them, simply thaw in the refrigerator overnight and then reheat them in the microwave for 10-15 seconds if you like them warm!
What if my cookie bars turn out too dry?
No worries! If you find that your bars have dried out, it may have been due to overbaking or not enough fat in the recipe. Make sure to keep an eye on your bars as they bake, checking for doneness a few minutes before the minimum baking time. If they do turn out dry, you can try serving them with cream cheese frosting, which adds moisture and flavor!
Are there egg substitutes for these cookie bars?
Very much so! For a great egg-free alternative, mix 1 tablespoon of flaxseed meal with 2.5 tablespoons of water per egg needed. Allow this mixture to sit for about 5 minutes until it becomes gelatinous, then add it to your batter. This substitute will help bind the ingredients together without sacrificing texture or flavor!
Indulgent Red Velvet Cookie Bars for a Sweet Celebration
Ingredients
Equipment
Method
- Preheat your oven to 350°F (175°C) and line a 9x13 inch baking pan with parchment paper or grease it lightly.
- In a large mixing bowl, combine the softened unsalted butter, granulated sugar, and brown sugar. Beat on medium speed until light and fluffy—about 2-3 minutes.
- Add the large eggs one at a time, mixing well after each addition. Stir in the vanilla extract and red food coloring until evenly distributed.
- In a separate bowl, whisk together the all-purpose flour, cocoa powder, baking soda, and salt. Gradually incorporate the dry mixture into the wet ingredients, folding gently until just combined.
- Fold in the white chocolate chips, ensuring even distribution throughout the batter. Avoid over-mixing.
- Pour the batter into the prepared baking pan, smoothing it into an even layer.
- Bake for 25 to 30 minutes, checking for doneness by inserting a toothpick into the center; it should come out clean or with a few moist crumbs.
- Once baked, allow the pan to cool for at least 10-15 minutes before transferring the cookie bars to a wire rack to cool completely before slicing.


Leave a Reply