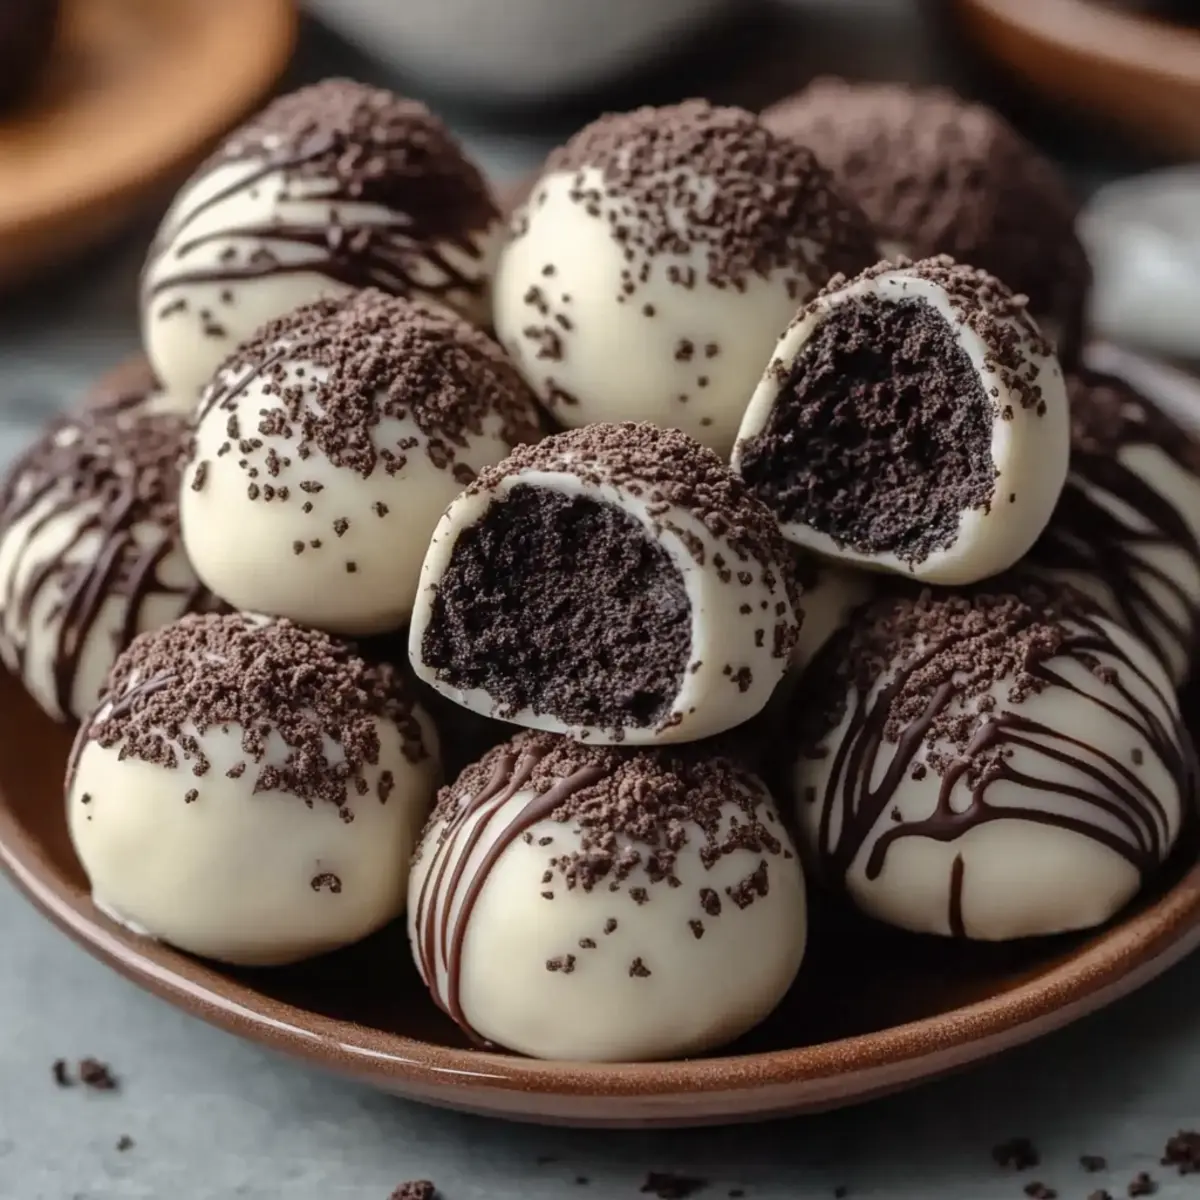
Standing in my kitchen, I discovered a delightful little secret: Easy No-Bake Oreo Balls. With just a handful of ingredients and zero oven time, these indulgent bites capture the essence of sweet nostalgia while fitting perfectly into our busy lives. Imagine creamy cream cheese mingling with crunchy Oreo crumbs, all enveloped in a smooth chocolate coating—sounds irresistible, right? These Oreo Balls are not only a quick treat to prepare but also guaranteed crowd-pleasers at any gathering. Whether you’re whipping them up for a last-minute dessert or simply satisfying a sweet craving, they promise a luscious experience without the fuss of baking. Curious about how to bring this deliciousness to life? Let's dive into the recipe that will elevate your dessert game!
Why are Oreo Balls a must-try?
Irresistible flavor combination: These Oreo Balls blend creamy cream cheese and crunchy Oreo goodness, ensuring every bite is a treat.
Super easy to make: With no baking required, you'll have delicious desserts ready in no time—perfect for busy schedules!
Versatile options: Try different Oreo flavors or experiment with chocolate types for a personalized touch.
Crowd pleaser: These bites are always a hit at parties, effortlessly charming your guests and satisfying their sweet cravings.
Make-ahead convenience: Store them easily in the fridge or freezer, so your dessert can be ready whenever you need a quick treat!
Oreo Balls Ingredients
For the Base
• Oreo cookies – The star of the show; feel free to swap standard chocolate Oreos for flavors like Double Stuf or even seasonal variations.
• Cream cheese – This creamy ingredient binds everything together; make sure it’s softened for a smooth mixture.
For the Coating
• Chocolate (semi-sweet, milk, or white) – Choose your favorite type for coating; it adds that sweet finish and glossy look to your Oreo Balls.
For Assembly
• Parchment paper – Essential for lining your baking sheet, preventing those delicious bites from sticking.
Optional Toppings
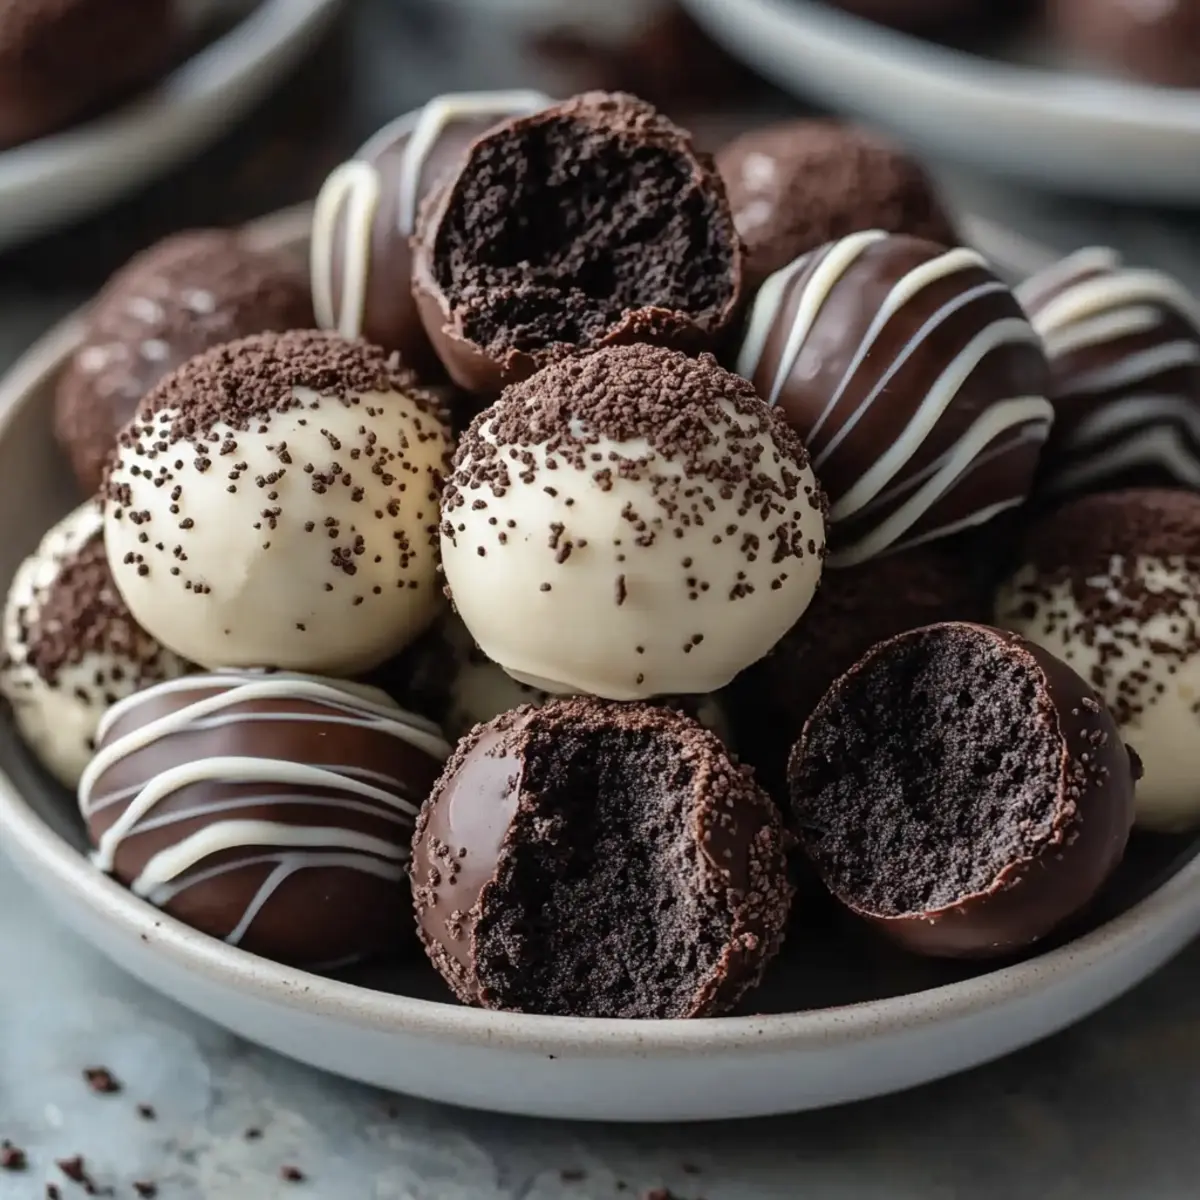
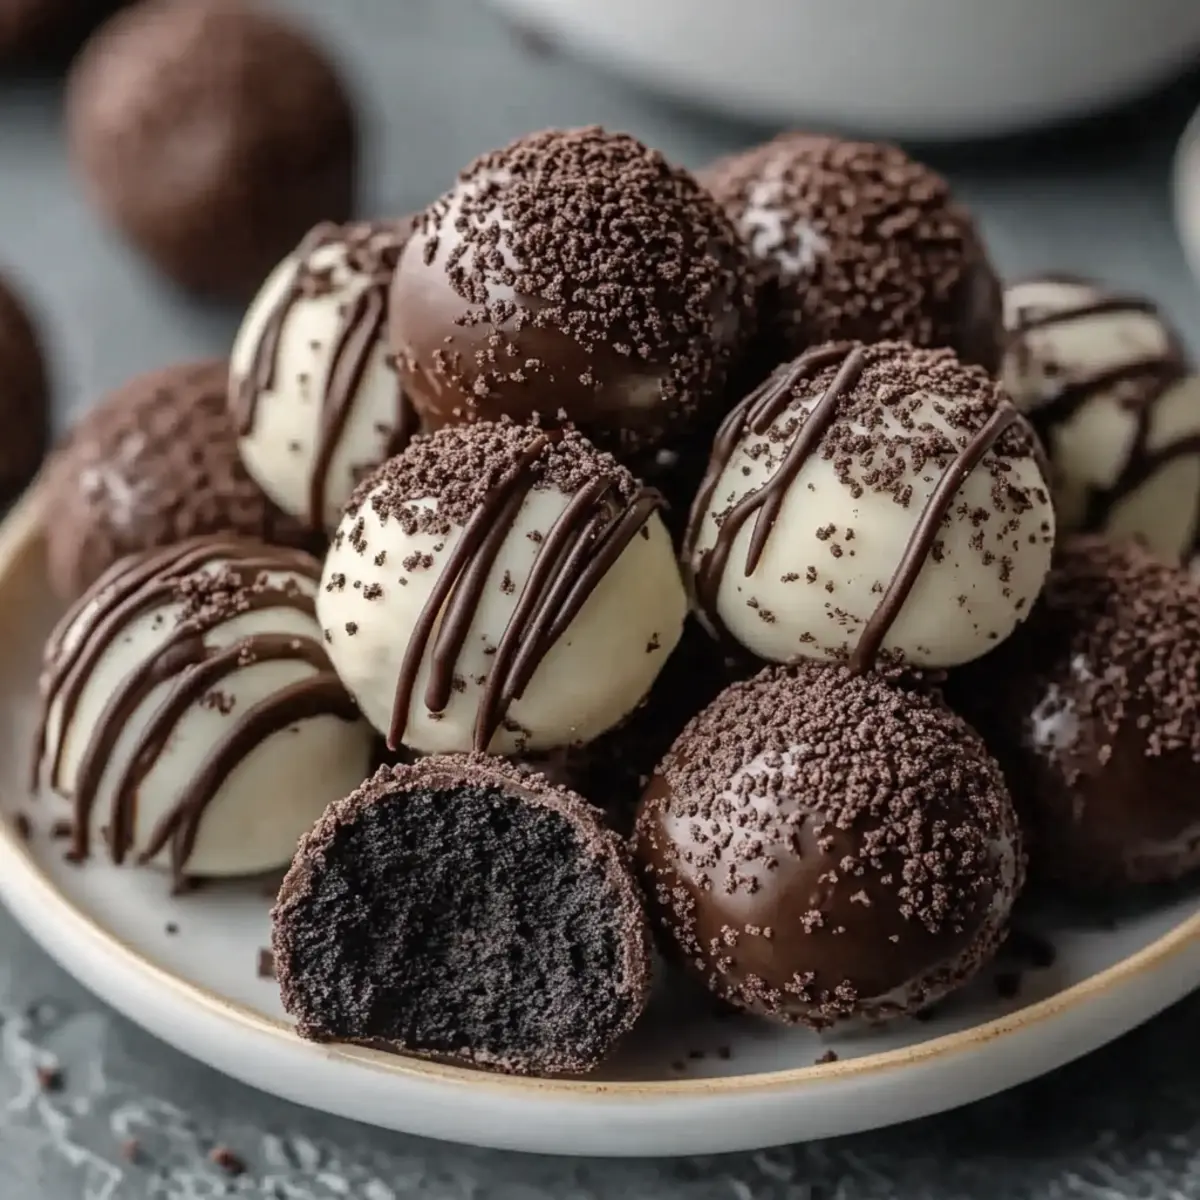
• Crushed Oreo cookies – Sprinkle these on top for an extra crunch and visual appeal.
• Festive sprinkles – Add a pop of color for special occasions, making your Oreo Balls even more delightful!
Step‑by‑Step Instructions for Irresistible No-Bake Oreo Balls
Step 1: Prepare Oreo Crumbs
Start by crushing 36 Oreo cookies into fine crumbs. You can use a food processor for a quick job or place the cookies in a zip-top bag and smash them with a rolling pin. Aim for a texture resembling sand, and once you have your crumbs, transfer them to a mixing bowl and set aside.
Step 2: Mix Base
Next, add 8 ounces of softened cream cheese to the bowl of Oreo crumbs. Using a spatula or your hands, mix the two ingredients until thoroughly combined, forming a cohesive dough that holds together well. This step typically takes 2-3 minutes and should result in a rich, creamy mixture with an inviting Oreo aroma.
Step 3: Shape Balls
Once your mixture is ready, use your hands to roll the dough into 1-inch balls. Place each ball neatly on a parchment-lined baking sheet, ensuring they don’t touch one another. You should have about 20-25 Oreo Balls, all perfectly shaped and ready for their chocolate coating, giving you a moment to admire your hard work!
Step 4: Chill
It's time to chill your formed Oreo Balls. Refrigerate them for at least 30 minutes or pop them in the freezer for about 15 minutes. This chilling time is crucial because it helps the balls firm up and hold their shape during the chocolate coating process, making them easier to handle.
Step 5: Melt Chocolate
While the Oreo Balls chill, prepare the chocolate coating. Melt 16 ounces of your choice of chocolate—semi-sweet, milk, or white—using a double boiler or a microwave. If using the microwave, heat in 30-second intervals, stirring in between, until the chocolate is smooth and glossy. This should take about 1-2 minutes in total.
Step 6: Coat Balls
Once the chocolate is melted, remove the chilled Oreo Balls from the fridge. Using a fork or a dipping tool, dip each ball into the melted chocolate, ensuring it's fully coated. Allow any excess chocolate to drip back into the bowl before placing the coated balls back onto the parchment-lined baking sheet.
Step 7: Set Coating
Let your coated Oreo Balls sit at room temperature for 15-20 minutes to allow the chocolate to set properly. If you’re in a hurry, you can chill them in the refrigerator for another 10-15 minutes. For a finishing touch, sprinkle crushed Oreo cookies or festive sprinkles on top while the chocolate is still wet for an extra pop of flavor and color.

What to Serve with Easy No-Bake Oreo Balls
Looking to create a memorable dessert spread? Here are some delightful pairings that will elevate your Oreo Balls experience.
-
Creamy Vanilla Ice Cream: The cold, creamy ice cream balances the rich chocolate of the Oreo Balls, creating a delicious contrast in temperatures.
-
Refreshing Fruit Salad: A vibrant mix of seasonal fruits adds a fresh pop of color and a much-needed lightness to the indulgent chocolate treats.
-
Rich Coffee: A cup of your favorite brew enhances the chocolate flavor, making every bite of the Oreo Balls even more satisfying while offering a caffeine kick.
-
Whipped Topping: Light and fluffy, whipped cream served alongside adds a luxurious texture and is perfect for dipping those decadent bites.
-
Chocolate Dipping Sauce: For an extra indulgent experience, serve some warm chocolate sauce on the side to dip your Oreo Balls in—what a dream!
-
Milk or Almond Milk: Refreshing and classic, serving your Oreo Balls with a glass of milk complements the sweetness and balances out the richness of the dessert.
-
Chocolate-Covered Pretzels: These salty and sweet snacks create a delightful contrast, adding crunch while balancing the dessert's sweetness perfectly.
-
Nutty Trail Mix: A crunchy medley of nuts and dried fruits can add texture and depth, making for a satisfying snack assortment alongside your dessert.
-
Sparkling Water with Citrus: Lightly flavored sparkling water gives a refreshing cleanse to the palate without overshadowing the dessert.
Make Ahead Options
These Easy No-Bake Oreo Balls are perfect for meal prep enthusiasts looking to save time during busy weeknights! You can prepare the Oreo cookie and cream cheese mixture up to 24 hours in advance, rolling the mixture into balls and refrigerating them until ready to coat. Just before serving, melt your chosen chocolate and dip each ball, allowing them to set at room temperature or in the fridge for quicker results. To maintain their quality, store the prepared Oreo Balls in an airtight container in the refrigerator for up to one week or freeze them for up to 2-3 months—they'll still taste just as delicious when you're ready to enjoy them!
Helpful Tricks for Oreo Balls
-
Cream Cheese Consistency: Always ensure your cream cheese is softened completely to avoid lumpy mixtures. This will give your Oreo Balls a smooth, creamy texture.
-
Chilling is Key: Don't skip the chilling step! Chilling the formed balls before dipping helps them maintain their shape, preventing them from falling apart in the chocolate coating.
-
Chocolate Melting Tips: When melting chocolate, use low power in short intervals to avoid scorching. Stir between sessions to ensure that the chocolate becomes perfectly smooth for coating your Oreo Balls.
-
Flavor Variations: Experiment with different Oreo flavors or chocolate coatings—milk, dark, or even white chocolate—to personalize your Oreo Balls and keep things exciting!
-
Topping Ideas: Get creative with toppings! Consider using crushed Oreos or festive sprinkles to add texture and visual appeal to your finished Oreo Balls. Just sprinkle these on while the chocolate is still wet.
Oreo Balls Variations and Substitutions
Feel free to get creative with your Oreo Balls and make them uniquely yours!
- Flavored Oreos: Use seasonal Oreos like Pumpkin Spice or Peppermint to add a festive touch.
- Dairy-Free: Substitute cream cheese with dairy-free options like cashew cream for a vegan twist.
- Nutty: Add chopped nuts like almonds or hazelnuts to the mixture for a delightful crunch.
- Chocolate Types: Experiment with dark, white, or even ruby chocolate for the coating to surprise your taste buds.
- Spiced-up: Mix in a teaspoon of cinnamon or espresso powder for a warm, aromatic flavor.
These variations not only enhance your dessert but also cater to a variety of dietary preferences. Remember, the goal is to enjoy the process and make these delights your own! And if you're feeling adventurous, why not pair these with a cool glass of milk or a warm cup of coffee?
How to Store and Freeze Oreo Balls
Room Temperature: Keep Oreo Balls in an airtight container at room temperature for up to 1-2 weeks for optimal freshness.
Fridge: Store in the fridge for about a week if you prefer a colder treat. Just ensure they’re in a sealed container to prevent drying out.
Freezer: For longer storage, freeze Oreo Balls in an airtight container for up to 2-3 months. Allow to thaw in the fridge before serving for the best texture.
Reheating: No need to reheat these chilled delights—enjoy them straight from the fridge or freezer for a cool, satisfying treat!
Easy No-Bake Oreo Balls Recipe FAQs
What type of Oreo cookies should I use?
Absolutely! You can use standard chocolate Oreos for that classic flavor, but don’t be afraid to experiment! Try Double Stuf for an extra creamy bite or seasonal flavors like Pumpkin Spice during fall. Your choice will really personalize the taste!
How should I store leftover Oreo Balls?
To keep your Oreo Balls fresh, store them in an airtight container at room temperature for 1-2 weeks. If you enjoy them chilled, pop them in the fridge for about a week. Just remember to seal them well to prevent drying out!
Can I freeze Oreo Balls?
Yes, indeed! You can freeze Oreo Balls for up to 2-3 months. Just place them in an airtight container, and when you’re ready to enjoy, let them thaw in the fridge. This way, you won’t compromise the delightful texture!
What if my chocolate coating is too thick?
If your chocolate coating turns out too thick, don't worry! You can add a teaspoon of vegetable oil or shortening to your melted chocolate. This will thin it out and make it easier to dip your Oreo Balls. Just stir it in until smooth, and you're good to go!
Are Oreo Balls safe for dogs?
Oreo Balls are not safe for dogs as they contain chocolate and cream cheese, both of which can be harmful to pets. Always keep them out of reach of your furry friends, and be sure to check labels for other ingredients that could pose an allergy risk.
Can I make Oreo Balls ahead of time?
Absolutely! These Easy No-Bake Oreo Balls are perfect for making ahead. Prepare and chill them, then store in an airtight container until you need them. They’re a great make-ahead option for parties and gatherings!
Indulgent Oreo Balls: Easy No-Bake Delight for Everyone
Ingredients
Equipment
Method
- Start by crushing 36 Oreo cookies into fine crumbs. You can use a food processor or place the cookies in a zip-top bag and smash them with a rolling pin. Transfer to a mixing bowl and set aside.
- Add 8 ounces of softened cream cheese to the Oreo crumbs. Mix until thoroughly combined, forming a cohesive dough that holds together.
- Roll the dough into 1-inch balls and place them on a parchment-lined baking sheet.
- Refrigerate them for at least 30 minutes or freeze for about 15 minutes to firm up.
- Melt 16 ounces of chocolate using a double boiler or microwave until smooth.
- Dip each chilled ball into the melted chocolate, allowing excess to drip back into the bowl. Place back onto the baking sheet.
- Let the coated Oreo Balls sit at room temperature for 15-20 minutes to set or chill for 10-15 minutes.


Leave a Reply