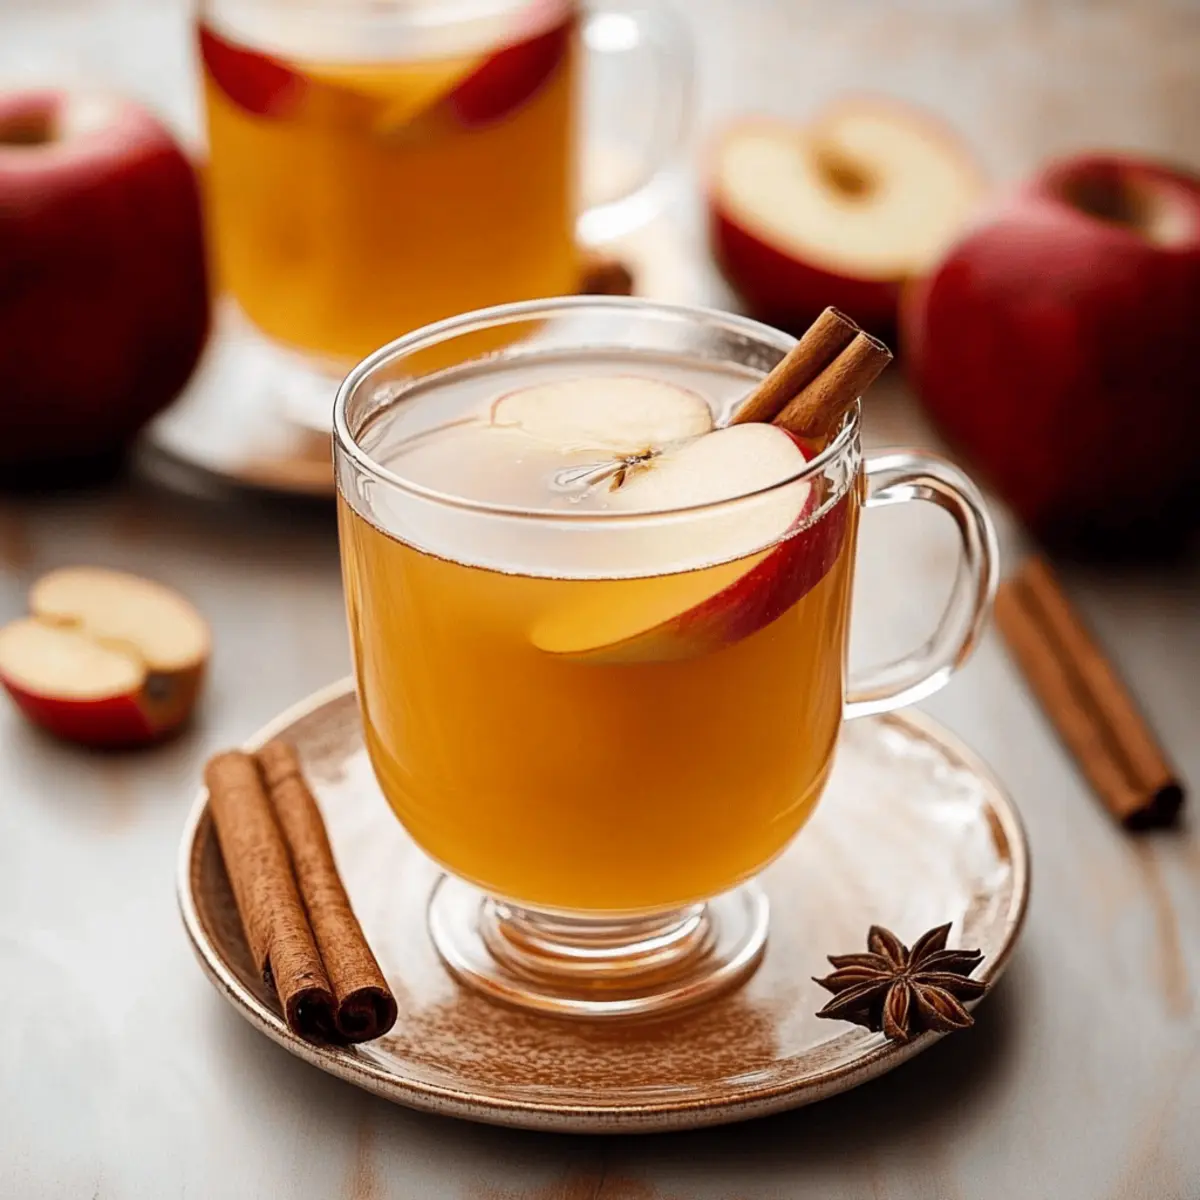
Dim lighting, the gentle crackle of a fire, and the scent of spice wafting through the air evoke memories of crisp autumn days. With my Easy Homemade Apple Cider, you can recreate that cozy atmosphere right in your own kitchen! This delightful warm drink is not only a fantastic way to celebrate the season, but it also boasts a simple slow cooker recipe that's perfect for busy home chefs or those new to the culinary world. With just a handful of fresh apples, aromatic spices, and the effortless magic of your slow cooker, you’ll have a comforting beverage ready to warm your soul. Imagine sipping this luscious cider while snuggled up on the couch, or serving it to friends at a festive gathering. How do you plan to customize your own batch of apple cider?

Why is homemade apple cider so special?
Cozy Experience: Crafting your own apple cider envelops your home with the warm aroma of autumn spices, instantly creating a cozy atmosphere.
Simple Ingredients: This recipe focuses on fresh, wholesome ingredients like apples and cinnamon, ensuring every sip is packed with vibrant flavor.
Effortless Cooking: With the slow cooker doing all the work, you can enjoy quality time with loved ones while your cider simmers to perfection.
Customization Options: Play around with flavors by adding extra spices or even a splash of orange juice – the possibilities are endless! Try customizing your drink to suit your taste or seasonal favorites.
Perfect for Gatherings: Serve this delightful drink at parties or family gatherings, making it a quintessential part of your fall festivities.
Apple Cider Ingredients
• The key to an exceptional homemade apple cider lies in selecting quality ingredients!
For the Cider
- Apples — Choose a mix of sweet (like Fuji or Gala) and tart (such as Granny Smith) varieties for complexity and depth of flavor.
- Orange — Adds brightness; peel and segment it to infuse your cider with citrusy goodness.
- Cinnamon Sticks — Opt for sticks over ground for a more intense flavor and a beautiful presentation.
- Ground Cloves — Just a pinch deepens the spice profile; if whole cloves are on hand, you can use them too.
- Granulated Sugar — Sweeten to taste, balancing the tartness of the apples; you can swap in maple syrup for a different sweetness.
- Water — Ensures the fruit has enough liquid for optimal flavor infusion; cover the fruit completely for the best results.
Enjoy the warmth and coziness of this apple cider as it fills your home with delightful aromas!
Step‑by‑Step Instructions for Easy Homemade Apple Cider
Step 1: Prepare Ingredients
Start by peeling and segmenting the orange, ensuring to remove any seeds. Rinse your apples thoroughly, then quarter them without removing the cores. This blend of sweet and tart apple varieties, combined with fresh orange, lays a flavorful foundation for your easy homemade apple cider.
Step 2: Combine in Slow Cooker
Transfer the orange segments and apple quarters into your slow cooker, arranging them evenly. Add in a few cinnamon sticks and a pinch of ground cloves for a delightful spice profile. Sprinkle the granulated sugar over the top, allowing it to meld with the fruits as they cook, creating a rich and fragrant base for your cider.
Step 3: Add Water
Pour in enough water to completely cover the fruit mixture, ensuring that all the apples and orange segments are submerged. This liquid is crucial for proper infusion. Secure the lid on your slow cooker, readying it for a gentle simmer that will extract the deep, warm flavors from the fruit and spices.
Step 4: Cook
Set your slow cooker to low and allow the mixture to cook for 6-7 hours, or opt for high for about 4 hours if you're short on time. You’ll know it’s ready when the apples are extremely soft and fragrant, filling your home with cozy autumn aromas that beckon your family to gather around.
Step 5: Mash the Mixture
Once your cooking time is complete, remove the slow cooker lid and grab a potato masher. Mash the apples and orange segments into the liquid, releasing their flavorful juices into your homemade apple cider. Return the lid and let it cook for an additional hour to deepen the flavors even further.
Step 6: Strain Cider
After the extra hour, carefully strain the mixture through a fine mesh sieve into a heat-safe container. Use a spatula to press down on the solids, extracting every bit of delicious juice. If a smoother texture is preferred, re-strain the cider to ensure your easy homemade apple cider is silky and delightful.
Step 7: Serve Warm
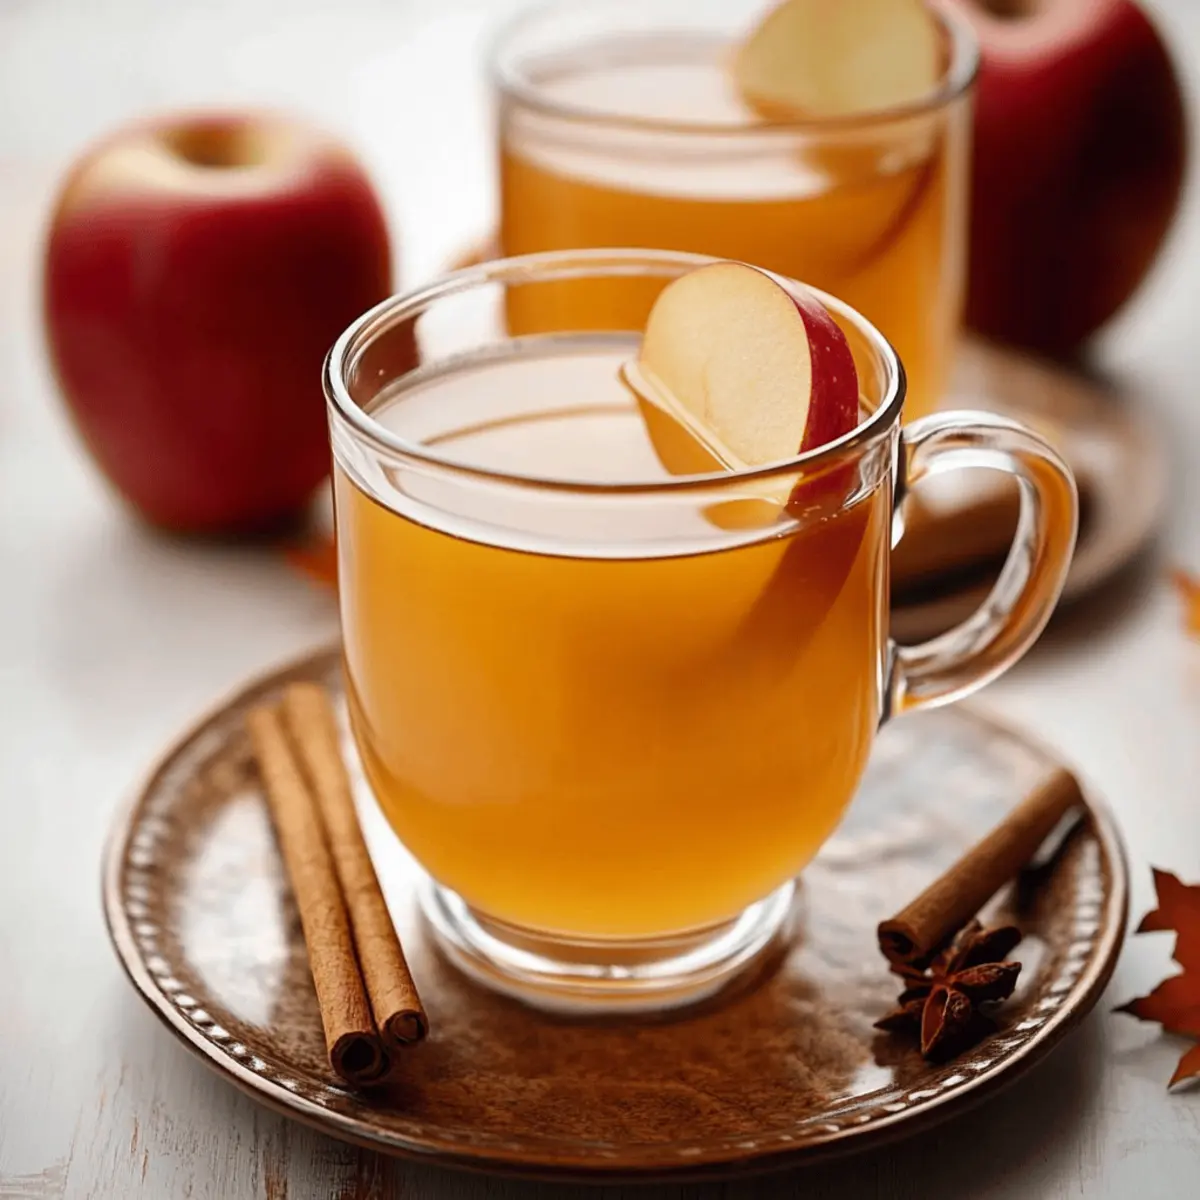
Pour your freshly strained apple cider into mugs and serve it warm, relishing the comforting aroma. You can elevate the presentation with optional garnishes like a cinnamon stick or a slice of fresh orange on top. This cozy beverage is perfect for a chilly fall day, inviting you to savor each delicious sip.
Apple Cider Variations & Substitutions
Feel free to explore and create your own twist on this delightful apple cider, making it uniquely yours!
- Maple Sweetener: Substitute maple syrup for granulated sugar for a rich, earthy sweetness.
- Citrus Fusion: Experiment with a blend of citrus fruits, like lemons and limes, for a refreshing zing.
- Spice it Up: Add star anise or nutmeg to enhance the warmth and complexity of the flavor.
- Dairy-Free Delight: For a creamy texture, try adding a splash of coconut milk or almond milk.
- Extra Fruity: Incorporate chopped pears or cranberries for a fruity twist that brightens the cider.
The beauty of homemade apple cider is its versatility. You can easily create a spiced apple chai by adding chai tea bags during the simmering process. This fusion brings together the warmth of chai spices and the comfort of apple cider, making it a perfect drink for any cozy fall gathering.
- Heat it Up: Add sliced jalapeño or a pinch of cayenne for a subtle kick that balances the sweetness.
- Herbal Touch: Infuse fresh herbs such as rosemary or thyme during cooking for an aromatic twist that elevates the drink.
By exploring these personalization options, you’ll craft a captivating version of apple cider that reflects your taste and the spirit of the season, just like a comforting embrace during chilly nights. Happy sipping!
What to Serve with Easy Homemade Apple Cider
Nothing complements the warmth of your homemade apple cider quite like these delightful pairings that embrace the flavors of fall!
-
Pumpkin Muffins: The soft, spiced goodness of pumpkin muffins is a perfect match, enhancing the cozy essence of cider.
-
Spiced Bread: A slice of warm spiced bread, filled with cinnamon and nutmeg, perfectly balances the sweetness of your cider. Savor the flavors together as they transport you to autumn afternoons.
-
Roasted Nuts: A mix of roasted almonds and pecans offers a crunchy contrast to the silky cider. Their rich, savory essence enhances the overall experience.
-
Cheese Board: Pair your cider with a cheese board featuring sharp cheddar and creamy brie. The contrasting textures make each sip and bite truly memorable.
-
Caramel Apples: For a sweet treat, serve caramel-dipped apple slices alongside. The combo echoes the cider's fruity base while delivering a festive sweetness.
-
Hot Chocolate: For those cool evenings, a warm mug of rich hot chocolate can be a delightful alternative that still complements the warmth of your cider. Indulge your seasonal cravings!
-
Autumn Salad: A salad with roasted butternut squash, chicory, and a maple vinaigrette brings freshness into play. This pairing balances sweetness and earthiness beautifully.
-
Herbal Tea: Sipping on a warm herbal tea like chamomile or ginger alongside your apple cider adds another layer of warmth to your fall gathering.
-
Ginger Cookies: Pairing with spicy ginger cookies offers a delightful zing that accentuates the spices in your cider, creating a harmonious flavor experience.
Enjoy exploring these pairing possibilities with your apple cider!
Tips for the Best Apple Cider
- Mix Varieties: Combine sweet and tart apples—like Fuji and Granny Smith—for a well-rounded flavor profile that enhances your apple cider.
- Infuse Flavor: Don’t rush the cooking process; a slow simmer on low heat allows the spices and fruits to meld beautifully throughout your apple cider.
- Adjust Sweetness: Taste and adjust the sweetness by adding granulated sugar or even maple syrup during or after cooking to find your perfect balance.
- Strain Thoroughly: For a silky-smooth finish, ensure you strain the mixture well. Press down on the solids to extract all the delicious juices.
- Serve Warm: Enjoy your apple cider warm, garnished with slices of orange or cinnamon sticks for an added touch of festivity and flavor.
Make Ahead Options
Get ahead of your busy week with this Easy Homemade Apple Cider! You can prepare the apple and orange mixture up to 24 hours in advance by peeling and segmenting the fruit, then storing it in the refrigerator. Just combine the apples, orange segments, cinnamon sticks, and sugar in an airtight container to maintain freshness. On the day you want to enjoy your cider, simply transfer the mixture to your slow cooker, add water, and cook it as directed. After mashing and straining, serve your warm apple cider immediately for a delightful, cozy experience that tastes just as delicious as if it were freshly made! This make-ahead tip saves you time while still delivering that comforting, homemade flavor.
How to Store and Freeze Apple Cider
Fridge: Store your homemade apple cider in a glass container with a tight lid for up to 5-7 days, ensuring it stays fresh and flavorful.
Freezer: For longer preservation, freeze apple cider in freezer-safe containers. It can be saved for up to 3 months; just remember to leave space for expansion.
Thawing: When ready to enjoy, thaw overnight in the fridge before reheating gently on the stove to prevent scorching.
Reheating: Warm up your apple cider on the stove over low heat, stirring occasionally to reintegrate flavors and aroma, making every sip as delightful as the first.

Easy Homemade Apple Cider Recipe FAQs
What types of apples work best for apple cider?
Absolutely! For the best flavor profile in your homemade apple cider, I recommend mixing sweet apples like Fuji or Gala with tart varieties such as Granny Smith. This combination ensures a well-balanced taste that enhances the complexity of your cider.
How should I store leftover apple cider?
For storage, pour your leftover apple cider into a glass container with a tight lid and refrigerate it. It will stay fresh for up to 5-7 days. Just remember to give it a good stir before serving, as flavors can settle!
Can I freeze homemade apple cider?
Very much! You can freeze your apple cider in freezer-safe containers for up to 3 months. Be sure to leave some space at the top of the container for expansion. When you’re ready to enjoy, simply thaw it overnight in the fridge and warm it gently on the stove.
What should I do if my apple cider is too sweet or too tart?
No worries! If you find your cider is too sweet, you can simply adjust by simmering it with a little more tart fruit or adding a splash of lemon juice. If it’s too tart, a bit of granulated sugar or maple syrup can help balance the flavors. Just remember to taste as you go to reach your desired flavor!
Is apple cider safe for pets or those with allergies?
Great question! While apple cider made from fresh apples is safe for most pets in moderation, be cautious with any added sugars or spices. Always check for individual allergies, particularly to cinnamon, as certain animals may react negatively. It's best to keep the cider for human enjoyment!
Indulgent Homemade Apple Cider to Cozy Up Your Fall
Ingredients
Equipment
Method
- Prepare Ingredients: Peel and segment the orange, remove seeds, and quarter the apples without removing cores.
- Combine in Slow Cooker: Transfer oranges and apples to the slow cooker, add cinnamon sticks, cloves, and sugar.
- Add Water: Cover the fruit mixture completely with water.
- Cook: Cook on low for 6-7 hours or high for 4 hours until apples are soft.
- Mash the Mixture: Mash the cooked mixture with a potato masher and cook for an additional hour.
- Strain Cider: Strain the mixture through a mesh sieve into a container.
- Serve Warm: Pour cider into mugs and serve warm with optional garnishes.


Leave a Reply