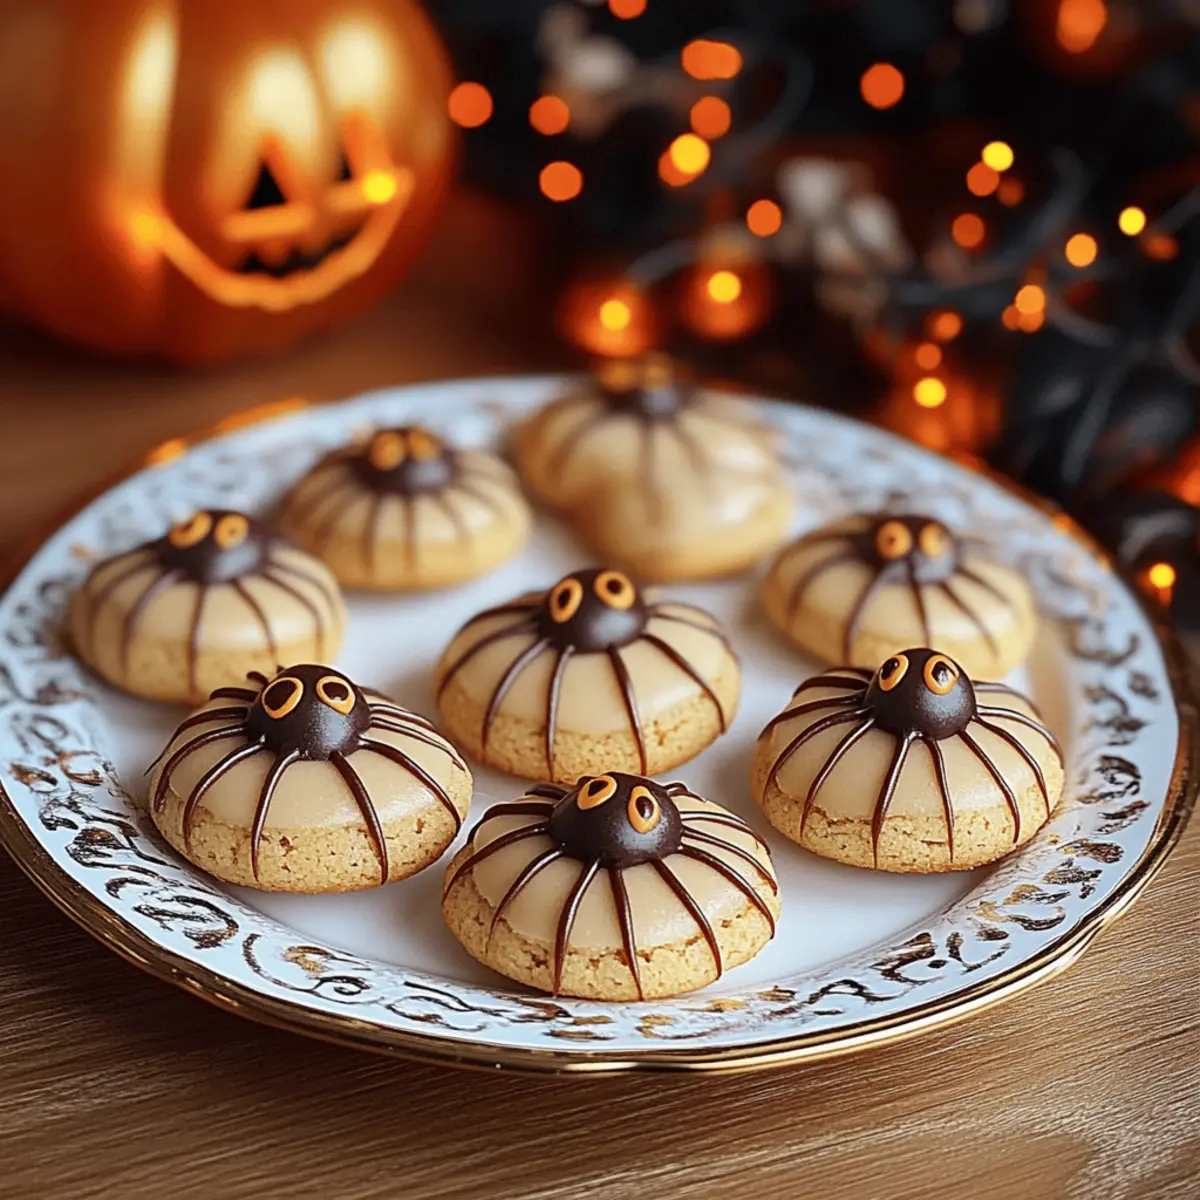
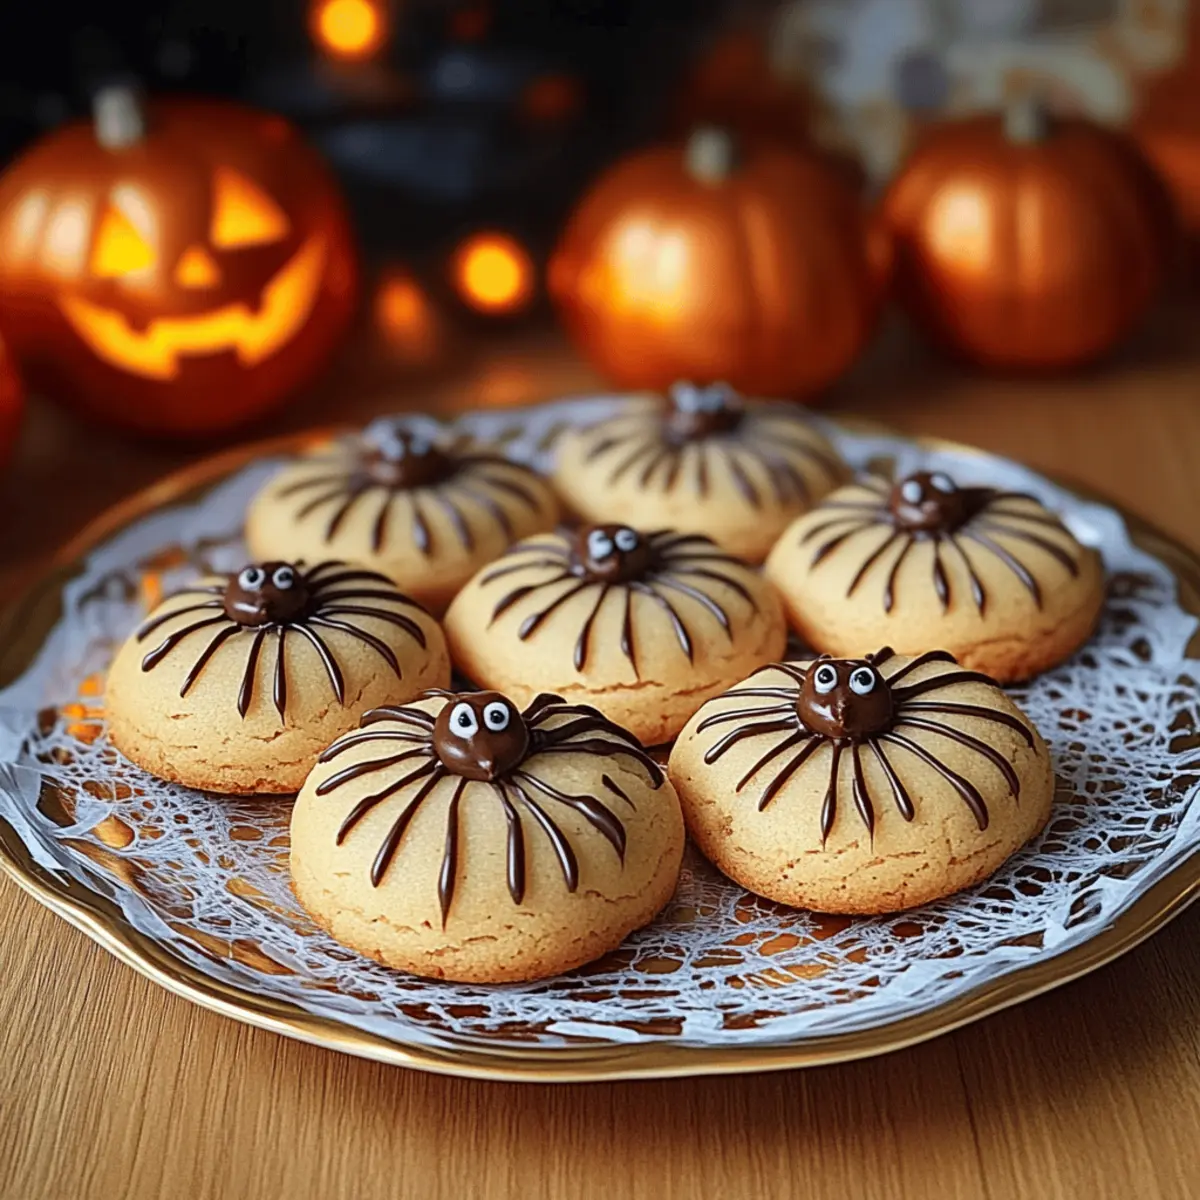
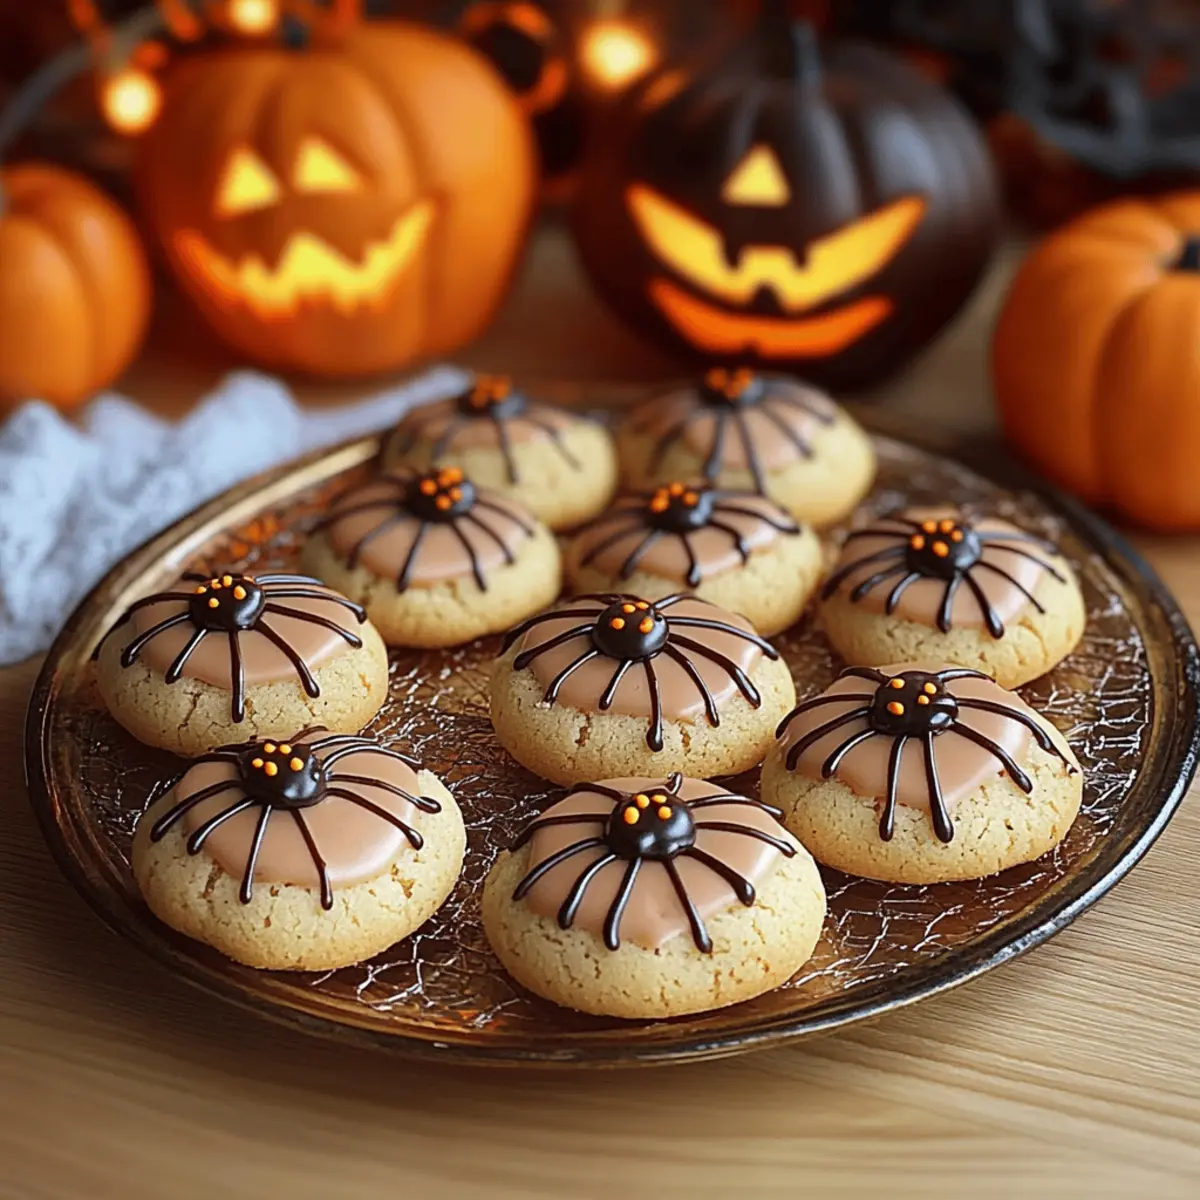
As the leaves turn and the air gets crisp, there's a magical feeling in the kitchen just waiting to be unleashed. Enter my Spooky Halloween Spider Cookies, a delightful blend of sweetness and spookiness that will charm your friends and family at any festive gathering. These easy-to-prepare Halloween treats feature a soft and buttery base adorned with chocolate legs and googly eyes, making them a perfect centerpiece for your Halloween table. With minimal ingredients and fun decorating steps, you'll be amazed at how quickly you can whip up a batch that delights both kids and adults alike. Whether you're hosting a party or simply want to add a little festive flair to your day, these cookies are not just a visual treat; they’re a cozy comfort that brings the spirit of Halloween right into your kitchen. Are you ready to conjure up these deliciously creepy cookies? Let's dive in!
Why Are These Spider Cookies Special?
Delightfully Spooky: These Halloween Spider Cookies are more than just treats; they’re conversation starters that add a playful touch to any gathering.
Easy to Prepare: With just a handful of ingredients, you can bake these festive cookies in no time! The straightforward process makes it a perfect recipe for novice bakers and busy parents.
Customizable Fun: Want to switch things up? Try using different candies for the spider bodies or experiment with icing colors for a unique touch—creativity is encouraged!
Festive Appeal: Decorated with chocolate legs and googly eyes, they are sure to impress at Halloween parties or when shared with friends and family. Pair them with a classic pumpkin spice latte for the ultimate seasonal experience!
Perfectly Soft Texture: The cookies come out soft and tender, creating a delightful contrast with the crunchy chocolate legs. This makes them a favored choice amongst cookie enthusiasts.
For more spooky fun, check out my Halloween-themed treats to spread the festive spirit!
Halloween Spider Cookies Ingredients
Dive into the deliciousness of Halloween Spider Cookies with these simple yet essential ingredients!
For the Cookie Base
- Butter – Use unsalted for better control over seasoning and a rich, moist texture.
- White Sugar – Adds sweetness and moisture; for a deeper flavor, swap it out for coconut sugar.
- Brown Sugar – Contributes to a chewy texture and enhances the cookie’s overall richness.
- Egg – Binds everything together while adding moisture; can be replaced with a flax egg for a vegan option.
- Vanilla Extract – Enhances the flavor; opt for pure vanilla extract for the best results.
- All-Purpose Flour – Builds structure in the cookies; gluten-free flour blends make a great substitute.
- Cornflour (Cornstarch) – Softens texture; an essential ingredient for achieving tender cookies, so don’t skip it!
- Baking Soda – Acts as a leavening agent that helps the cookies rise nicely.
- Salt – Balances the sweetness; sea salt offers a lovely flavor boost.
For the Decorations
- Maltesers – Serve as the spider bodies; swap with large chocolate candies if desired.
- Dark Chocolate – Used for piping chocolate legs; milk chocolate can be a sweet substitute.
- White Icing – Perfect for decorating googly eyes; gives your spiders a fun character.
Now that you have the ingredients down, it's time to create these delightfully spooky Halloween Spider Cookies! Enjoy the magic of baking this Halloween season!
Step‑by‑Step Instructions for Halloween Spider Cookies
Step 1: Melt the Butter
Begin by melting 1 cup of unsalted butter in a large mixing bowl, either in the microwave or over low heat on the stove until it’s completely smooth. Allow it to cool slightly before you whisk in the white sugar, brown sugar, egg, and vanilla extract until everything is lump-free and well combined. You should have a glossy mixture ready for the dry ingredients.
Step 2: Combine Dry Ingredients
Sift together 2 cups of all-purpose flour, ½ cup of cornflour, 1 teaspoon of baking soda, and ½ teaspoon of salt directly over your wet ingredients. Gently fold the dry ingredients into the wet mixture using a spatula or wooden spoon. Be careful not to over-mix; it should just come together, forming a soft but manageable dough for your Halloween Spider Cookies.
Step 3: Chill the Dough
If your dough feels too soft and sticky, wrap it in plastic wrap and refrigerate for about 30 minutes. While the dough chills, preheat your oven to 170°C (340°F) and line a baking tray with parchment paper. Chilling the dough ensures your cookies maintain their shape while baking, resulting in beautifully round cookie bases for your spooky decorations.
Step 4: Shape the Cookies
Once chilled, scoop out about 2 tablespoons of dough and roll it into a ball. Place the dough balls on the lined baking tray, ensuring they are spaced about 2 inches apart. Gently press down each ball to flatten it slightly, creating room for the spider decorations once they're baked. Your tray should be filled with lovely cookie rounds, ready to go in the oven!
Step 5: Bake for Perfect Softness
Slide the tray into the preheated oven and bake for 12-15 minutes. Look for the edges to turn golden brown while the centers remain soft and slightly puffy—this indicates that your Halloween Spider Cookies are perfectly baked. Keep a close eye towards the end of baking to prevent overcooking, as that can affect their delightful texture.
Step 6: Add the Spider Bodies
As soon as you pull the cookies out of the oven, gently press two Maltesers into the center of each warm cookie to create the spider's bodies. This will ensure they adhere well as the cookies cool. Let the cookies sit on the tray for about 10 minutes, allowing the Maltesers to set into the warm cookie base before transferring them to a wire rack to cool completely.
Step 7: Decorate with Chocolate Legs
While the cookies cool, melt 100g of dark chocolate in a microwave or over a double boiler. Once smooth, transfer the melted chocolate to a small ziplock bag, snip off a corner, and pipe eight spider legs on each cookie flanking the Malteser. Get creative with your spider designs and let your imagination run wild!
Step 8: Finish with Googly Eyes
To complete your Halloween Spider Cookies, use white icing to dot on two googly eyes above each Malteser spider body. Allow the decorations to set fully at room temperature. Once the icing hardens, your spooky cookies will be ready to frighten and delight anyone at your Halloween gathering!
Halloween Spider Cookies Variations
Feel free to unleash your creativity and customize these delightful treats to suit your tastes and dietary needs!
-
Cocoa Cookies: Add ¼ cup cocoa powder to the dough for a rich chocolate flavor that pairs beautifully with the candy decorations.
-
Dairy-Free: Substitute butter with a dairy-free alternative like coconut oil to make these spooky cookies suitable for vegan diets. You'll still enjoy that classic soft texture!
-
Nutty Surprise: Fold in ½ cup of finely chopped nuts or nut butter for an added crunch and depth of flavor. The pair of flavors would create a delightful surprise in every bite!
-
Spicy Twist: Incorporate 1 teaspoon of cinnamon or a pinch of cayenne pepper to the dough for a warm spice kick that complements the sweetness perfectly. Your guests will be intriguingly curious about that flavor!
-
Flour Alternatives: Swap all-purpose flour with almond or oat flour for gluten-free versions. Just remember to check the consistency; almond flour may need an extra egg for binding.
-
Extra Crunch: Drizzle caramel sauce over the cookies before they cool for a gooey, crispy finish that elevates the festive spirit. Such a sweet touch that will have everyone reaching for another!
-
Pumpkin Spice: Stir in ½ cup of pumpkin puree and a teaspoon of pumpkin pie spice for an autumnal twist that embraces the Halloween theme beautifully.
-
Decorative Icing: Use colorful icing to create themed designs—think orange and black! A bit of edible glitter can add a magical finish that captures everyone's attention.
For more delicious holiday ideas, you can explore my Halloween-themed treats or discover creative ways to decorate with easy cookie icing. Happy baking!
How to Store and Freeze Halloween Spider Cookies
Room Temperature: Store your cookies in an airtight container at room temperature for up to 5 days to keep them soft and delicious.
Fridge: If you prefer them cold, you can refrigerate the cookies in an airtight container, where they'll stay fresh for up to a week.
Freezer: For longer storage, freeze the un-decorated Halloween Spider Cookies in a single layer on a baking sheet, then transfer to a freezer bag for up to 3 months.
Reheating: When ready to enjoy, simply thaw at room temperature or warm them in the oven at 150°C (300°F) for about 5 minutes to refresh that soft texture.
Make Ahead Options
These Halloween Spider Cookies are perfect for meal prep, allowing you to enjoy festive treats without the last-minute rush! You can prepare the cookie dough up to 24 hours in advance—simply wrap it tightly in plastic wrap and refrigerate until you're ready to bake. For even longer storage, the unbaked dough can be frozen for up to 3 months; just thaw in the refrigerator overnight before baking. When you're ready to create your spooky cookies, bake them as instructed, then press the Maltesers into each warm cookie. Finish them with chocolate legs and googly eyes right before serving, ensuring your Halloween Spider Cookies remain just as delicious and delightful!
What to Serve with Halloween Spider Cookies
As you embrace the festive spirit of Halloween, consider adding these delightful accompaniments to elevate your cookie experience.
- Warm Apple Cider: The aromatic spices in warm apple cider perfectly complement the buttery sweetness of the cookies, making for a cozy treat.
- Pumpkin Spice Latte: This seasonal beverage pairs beautifully with the cookies, enhancing the Halloween vibe with a rich blend of flavors.
- Caramel Apples: Their crunchy texture and sweet, sticky caramel play nicely against the soft cookies, creating a delightful contrast.
- Festive Popcorn Mix: A crunchy, colorful mix of popcorn with candy corn and chocolate makes for a fun, shareable snack alongside the spiders.
- Chocolate Milk: A classic pairing that adds a nostalgic touch, its creamy richness mirrors the chocolate legs on the cookies.
- Halloween Fruit Platter: Fresh fruit like oranges and apples in spooky shapes brings a refreshing balance to the sweetness of your treats.
- Vanilla Ice Cream: A scoop of vanilla ice cream makes for a delicious indulgence when sprinkled with cookie crumbs for added texture.
- Ghostly Meringues: These light, airy treats add a whimsical touch and make your dessert table even more festive and fun.
- Spooky Punch: Serve a fun, fruity punch with floating gummy worms to keep the Halloween theme alive while sipping alongside your cookies!
Tips for the Best Halloween Spider Cookies
-
Chill the Dough: Make sure your cookie dough is properly chilled to prevent spreading during baking; it's essential for maintaining that perfect cookie shape.
-
Malteser Placement: Press the Maltesers into the warm cookies immediately after baking for better adhesion; waiting too long may cause them to slip off later.
-
Piping Chocolate: Use a small ziplock bag for piping the dark chocolate legs—it's an easy and mess-free way to create those cute spider legs!
-
Monitor Baking Time: Keep a close eye on your cookies; they should be soft in the center but golden around the edges. Overbaking leads to a dry texture.
-
Experiment with Variations: Feel free to swap candies or add food coloring to the icing. Personal touches make these Halloween Spider Cookies unique for each batch!
Halloween Spider Cookies Recipe FAQs
What should I look for when selecting ingredients?
Absolutely! When choosing butter, go for unsalted to maintain better control over the seasoning. For sugar, opting for pure white is great, but coconut sugar can offer a deeper flavor. Ensure eggs are fresh and opt for a vibrant vanilla extract for a richer taste, as pure extracts make a noticeable difference. If you're looking for non-dairy options, a flax egg (1 tablespoon of flaxseed meal mixed with 2.5 tablespoons of water) is a fantastic substitute!
How should I store Halloween Spider Cookies?
Very! Store your cookies in an airtight container at room temperature for up to 5 days. Make sure they are completely cooled before sealing to keep them soft and fresh. If you'd like to keep them longer, a fridge can extend their freshness to about a week if stored properly.
Can I freeze Halloween Spider Cookies?
You can! To freeze, shape your un-decorated cookies and place them in a single layer on a baking sheet until solid, then transfer them to a freezer-safe bag. They can be stored for up to 3 months. When ready to enjoy, simply thaw at room temperature or bake at 150°C (300°F) for 5-10 minutes to restore their delightful texture before decorating.
What if my cookies are too flat?
The most common cause of flat cookies is warm dough. If your dough feels soft, chilling it for about 30 minutes before baking will help the cookies hold their shape. Another tip is to measure your flour properly—too little can lead to spreading. I often weigh my flour to ensure accuracy, which really helps maintain that desirable thickness!
Are Halloween Spider Cookies safe for pets or those with allergies?
Definitely! However, these cookies contain chocolate and sugar, which can be harmful to pets, especially dogs. If you have allergies to gluten or dairy, be sure to substitute with a gluten-free flour blend and use a plant-based butter alternative to make them friendly for your dietary needs. Always check packaging for allergen warnings too.

Delicious Halloween Spider Cookies for Spooky Fun!
Ingredients
Equipment
Method
- Melt the butter in a large mixing bowl until smooth. Allow to cool, then whisk in white sugar, brown sugar, egg, and vanilla until lump-free.
- Sift together flour, cornflour, baking soda, and salt over wet ingredients. Fold gently, forming a soft dough.
- Wrap the dough in plastic wrap and refrigerate for about 30 minutes. Preheat oven to 170°C (340°F) and line a tray.
- Scoop about 2 tablespoons of dough, roll into balls, and place on the lined tray, spacing 2 inches apart. Flatten slightly.
- Bake for 12-15 minutes. Look for golden edges and soft centers. Avoid overcooking.
- Press two Maltesers into each warm cookie center as soon as they come out of the oven.
- Melt dark chocolate, pipe eight legs on each cookie, flanking the Maltesers.
- Decorate with white icing to create googly eyes above each Malteser.


Leave a Reply