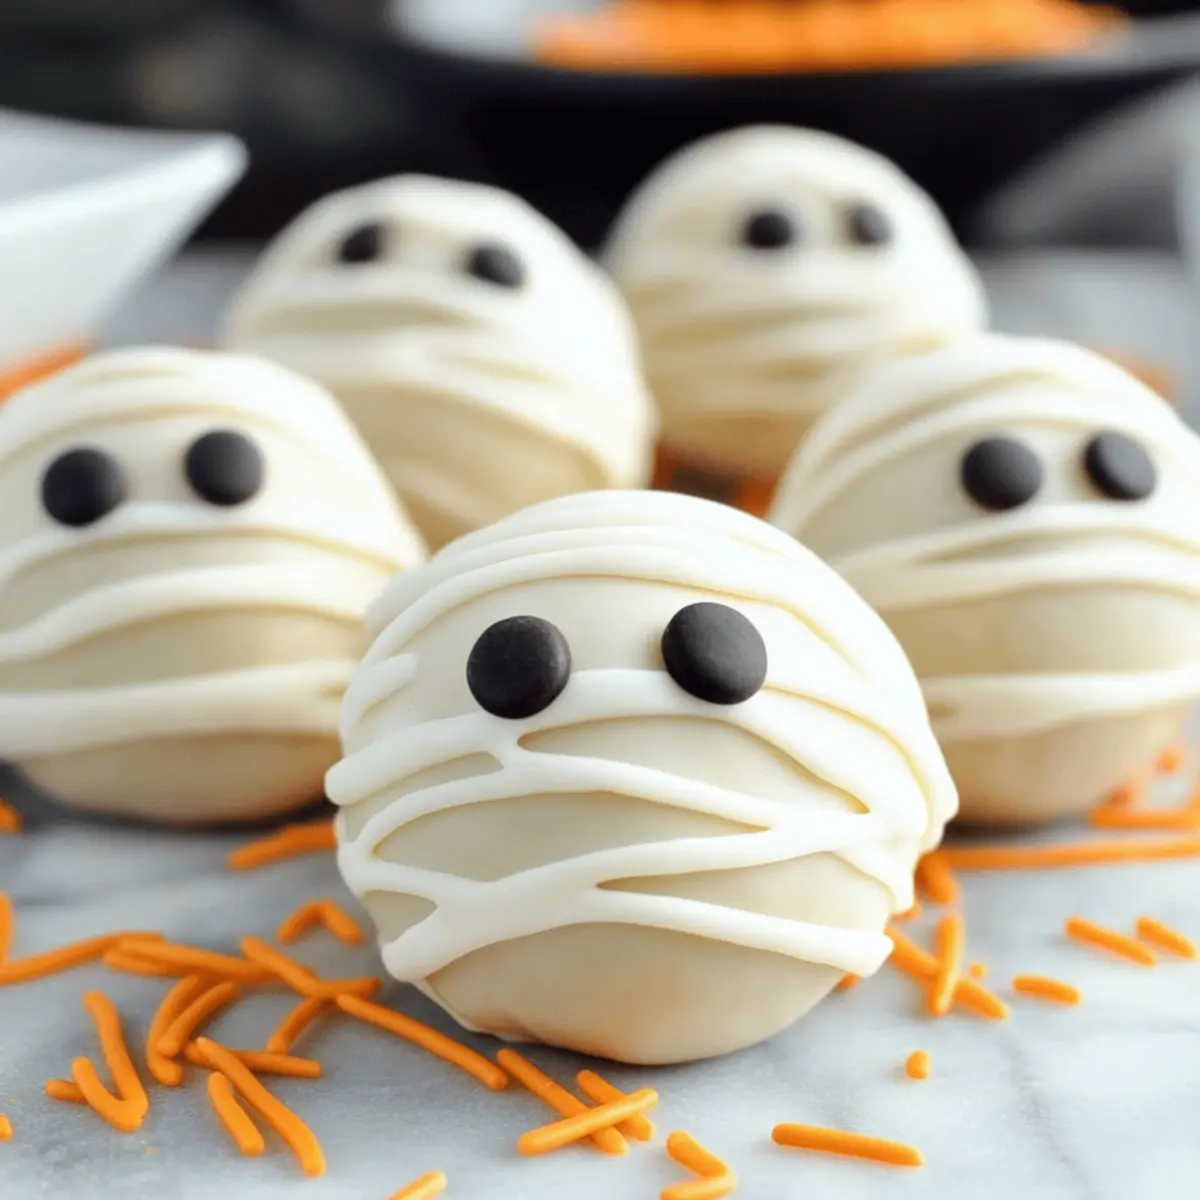
As I unwrapped the last of the candy from last Halloween, I felt a mix of delight and mild disappointment. While traditional sweets have their charm, nothing brings the fun quite like crafting homemade treats. Enter Mummy Cake Balls! These utterly adorable spooky bites are the perfect Halloween treat that blend moist cake, creamy filling, and a touch of whimsy, making them a hit for kids and adults alike. Not only are they quick to whip up, but they also come with endless possibilities for customization, from cake flavors to toppings. Imagine the smiles at your next Halloween gathering as everyone digs into these little mummies! Ready to unleash your inner artisan? Let’s dive into the fun of making these delightful treats!
Why Are Mummy Cake Balls a Must-Try?
Irresistible Cuties: These Mummy Cake Balls are not just delicious; they’re also incredibly adorable, making them a show-stopping treat at any Halloween gathering!
Customizable Fun: With simple ingredient swaps, you can easily tailor these cake balls to fit any taste or dietary preference, ensuring that everyone gets to enjoy them.
Quick to Whip Up: The process is super simple, so you can skip the long baking hours and dive straight into fun, hands-on activity that's perfect for both kids and adults.
Perfect for Any Occasion: While they shine at Halloween, these cute treats can make any celebration brighter; they truly offer year-round appeal!
Crowd-Pleasing Delight: Their charming appearance and rich flavor are sure to impress guests at parties, making you the star of any gathering. Plus, don’t forget to serve them alongside sliced fruits for a balanced treat offering!
Mummy Cake Balls Ingredients
Discover the key ingredients that make these Mummy Cake Balls a hauntingly delicious treat!
For the Cake Balls
- White Cake Mix – The base of the cake balls that provides a fluffy texture; try substituting with chocolate, red velvet, or pumpkin spice for fun variations.
- Cream Cheese – Adds richness and binds the cake crumbs perfectly; vegan cream cheese works great for a dairy-free alternative.
For the Coating
- Vanilla Almond Bark – This sweet outer coating adds an irresistible sheen and flavor; feel free to swap it with any candy coating or your favorite chocolate.
For the Decoration
- Candy Eyes – These whimsical eyes give the mummies their delightful personality; you can substitute with small chocolate chips or melted chocolate to create your own eyes.
- Edible Glitter or Black Sugar Crystals (optional) – These add extra sparkle and charm; you can skip this for a more classic style.
With these ingredients in hand, you'll be ready to create Mummy Cake Balls that not only look amazing but also taste fantastic!
Step‑by‑Step Instructions for Mummy Cake Balls
Step 1: Prepare the Cake Mix
Start by baking the white cake mix according to the package instructions, typically mixing the ingredients and pouring the batter into a greased cake pan. Bake in a preheated oven at 350°F (175°C) for about 30 minutes, or until a toothpick inserted in the center comes out clean. Once baked, allow the cake to cool completely on a wire rack.
Step 2: Crumble the Cake
Once the cake has cooled, transfer it to a large mixing bowl and crumble it into fine pieces using your hands. Take care to break up any large chunks so it resembles a coarse sand texture. This crumbling step is essential for creating the perfect base for your Mummy Cake Balls, ensuring a uniform mixture when combined with cream cheese.
Step 3: Mix in the Cream Cheese
Add the softened cream cheese to the crumbled cake in the bowl. Using an electric mixer on low speed, blend the mixture until it forms a dough-like consistency, about 2 to 3 minutes. Ensure that the cream cheese is fully incorporated, creating a cohesive, moist mixture ideal for shaping into cake balls.
Step 4: Shape the Cake Balls
Using your hands, scoop out about 2-tablespoons of the mixture and roll it into smooth balls, placing each one on a parchment-lined baking sheet. Ensure the balls are compact to hold their shape. Aim for uniform size to keep cooking times consistent. Once formed, this delightful mix becomes the base of your Mummy Cake Balls!
Step 5: Chill the Cake Balls
Place the baking sheet with the formed cake balls into the freezer for about 30 minutes. This chilling step helps firm up the cake balls, making them easier to dip into the melted coating later on. After chilling, they should be slightly hardened but still moist, setting the stage for a delightful coating.
Step 6: Melt the Coating
While the cake balls are chilling, melt the vanilla almond bark in a microwave-safe bowl. Heat in 30-second intervals, stirring between each session until completely melted and smooth. Aim for a consistency similar to a thick syrup. This sweet coating will form the outside layer of your Mummy Cake Balls, adding flavor and charm.
Step 7: Dip the Cake Balls
Take each chilled cake ball and dip it into the melted almond bark, using a fork to fully coat it. Allow any excess coating to drip off before placing the cake ball back on the parchment-lined sheet. This step brings your Mummy Cake Balls to life, with every bite featuring a delectable candy shell.
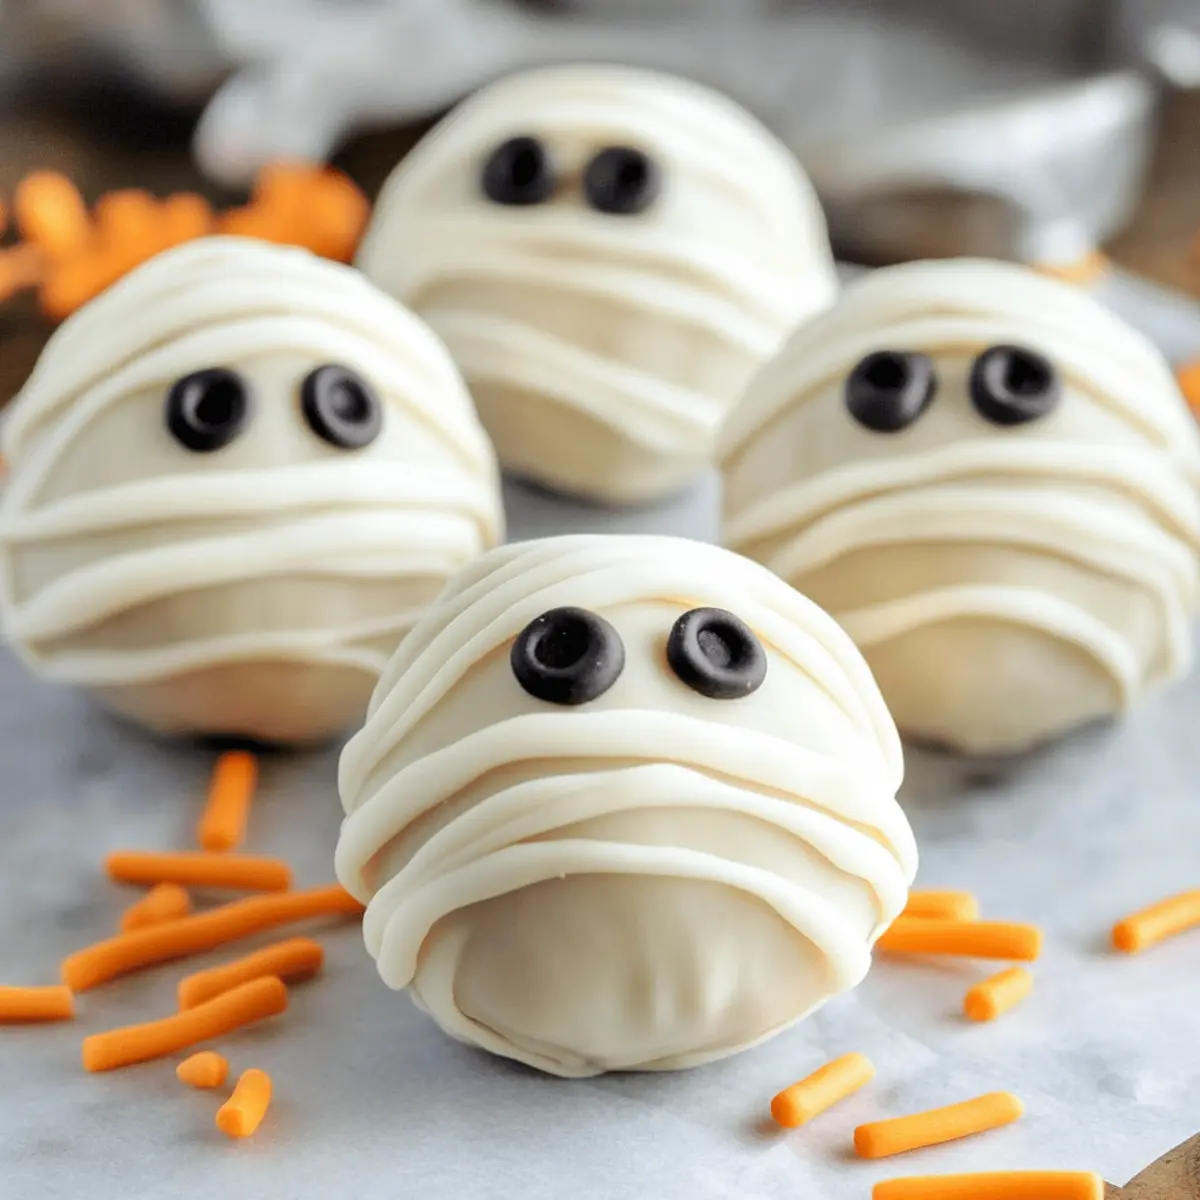
Step 8: Add Eyes and Wrappings
Immediately place candy eyes on top of each dipped cake ball before the coating sets. Then, use a fork to drizzle additional melted almond bark across the cake balls, mimicking mummy wrappings. This creative decoration step makes your Mummy Cake Balls truly stand out, illustrating their playful Halloween spirit.
Step 9: Let the Coating Set
Allow the coated Mummy Cake Balls to sit at room temperature until the candy coating has fully set, which usually takes about 15-20 minutes. Keep an eye on them; the coating will firm up nicely, providing a delightful crunch when bitten into. These treats are now ready to impress your friends and family!
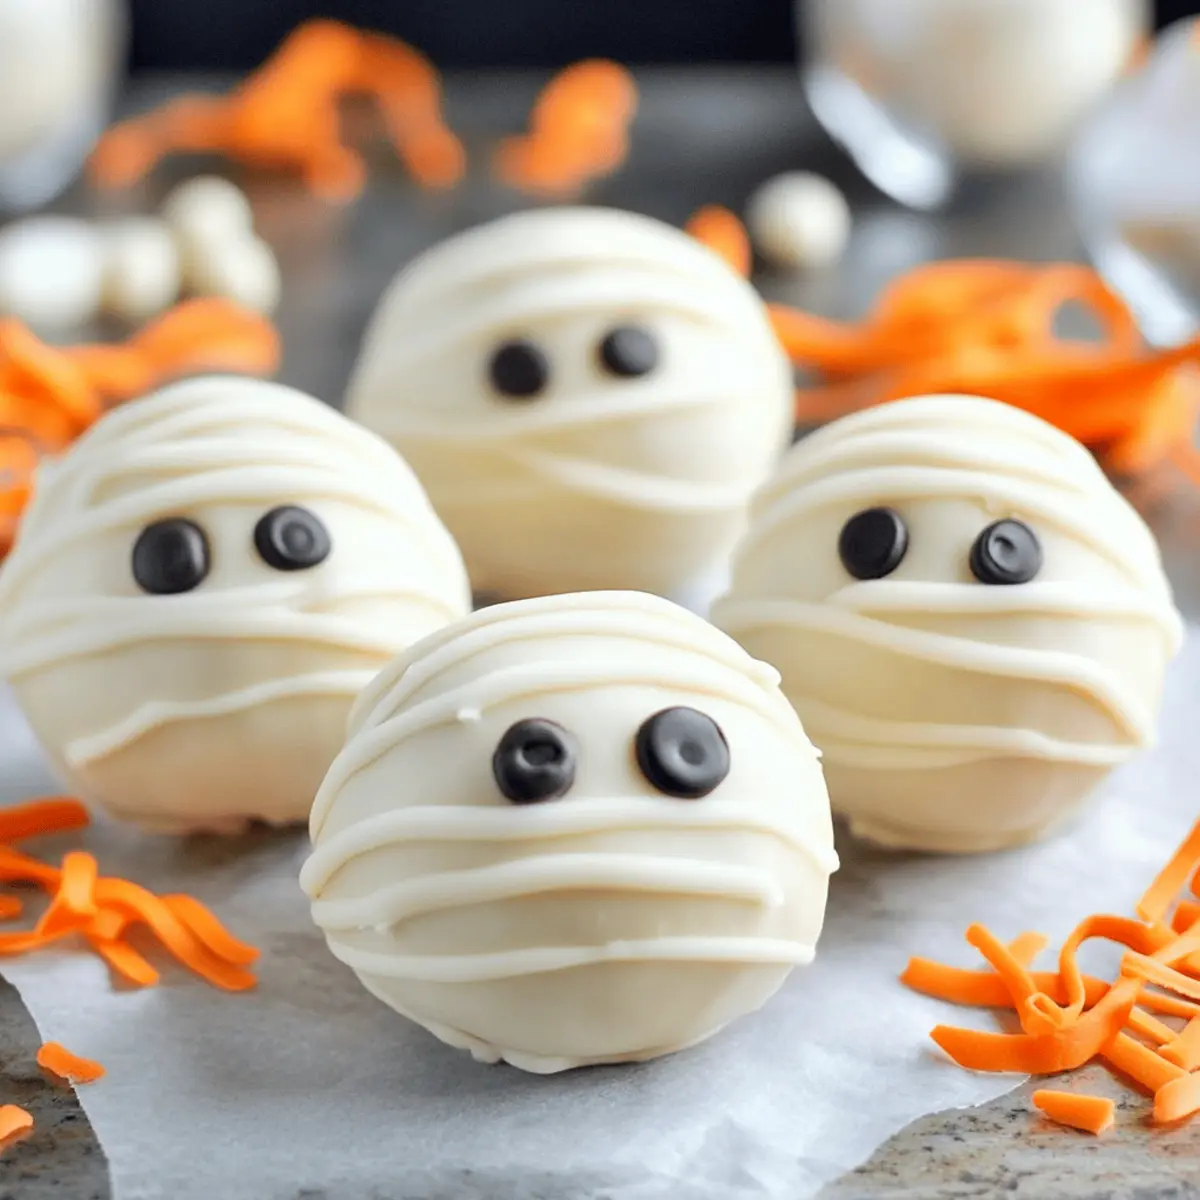
Step 10: Enjoy Your Mummy Cake Balls
Once the coating has set, arrange your spooky Mummy Cake Balls on a festive platter. They can be served immediately or stored in an airtight container in the refrigerator for up to 5 days. These cute,. delicious treats are perfect for any Halloween gathering, offering both flavor and frightful fun!
Expert Tips for Mummy Cake Balls
Cool Cake First: Ensure your cake is completely cooled before mixing with cream cheese; warm cake can lead to a sticky, difficult mixture.
Chill for Easy Dipping: Freezing the cake balls for about 30 minutes eases the dipping process, making for a clean coating without mess.
Check for Consistency: The dough-like mixture should be moist but firm; if it's too crumbly, consider adding a bit more cream cheese to bind it.
Decorate Creatively: Feel free to get artsy! Use colored chocolate melts or even sprinkles to personalize your Mummy Cake Balls for any occasion.
Adjust Flavorings: Try adding flavor extracts like almond or orange to the cake mixture for a unique twist—explore different variations beyond the classic!
Storage Tips for Mummy Cake Balls
Fridge: Keep Mummy Cake Balls in an airtight container for up to 4-5 days to maintain their moistness and flavor. Make sure they are completely cool before sealing to prevent condensation.
Freezer: For longer storage, freeze Mummy Cake Balls in a single layer on a baking sheet. Once frozen, transfer them to a resealable freezer bag for up to 3 months. This method preserves their delightful taste and texture.
Reheating: If you prefer to enjoy them warm, thaw in the fridge overnight and let them sit at room temperature for about 15 minutes before serving. Avoid reheating in the microwave to maintain the coating's integrity.
Make Ahead Options
These Mummy Cake Balls are perfect for busy home cooks looking to save time during the Halloween hustle! You can prepare the cake mixture and form the balls up to 24 hours in advance; simply store them in an airtight container in the refrigerator to keep them fresh. Alternatively, once shaped, they can be frozen for up to 3 months. Just remember to allow them to thaw in the refrigerator before dipping them in the melted coating. When you're ready to serve, melt the almond bark, dip each ball, and finish with candy eyes and mummy wrappings. This way, you'll have delicious, festive treats with minimal effort right when you need them!
Mummy Cake Balls: Customizations Galore!
Feel free to get creative and make these Mummy Cake Balls your own with exciting variations and substitutions!
- Flavor Shift: Swap the White Cake Mix for chocolate, vanilla bean, or even pumpkin spice to introduce new tastes and themes.
- Creamy Alternative: Choose Vegan Cream Cheese for a dairy-free take, ensuring everyone can indulge in these spooky delights.
- Coating Change: Instead of Vanilla Almond Bark, try using dark chocolate, white chocolate, or colorful candy melts for a visual twist.
- Eye Spy: If you don’t have Candy Eyes, small chocolate chips or piped melted chocolate can effortlessly create charming eyeballs.
- Glitzy Touch: Want a festive flair? Add some edible glitter or colorful sprinkles for an eye-catching sparkle that kids adore!
- Add Some Spice: Fold in spices like cinnamon or nutmeg into the cake mixture for a warm, seasonal flavor that delights the senses.
- Nuts About Texture: Incorporate crushed nuts or cookie crumbs into the cake balls for an added crunch that gives each bite a unique texture.
- Heat Things Up: Drizzle with a touch of hot fudge or sprinkle some chili powder on top for a surprising and warm kick!
By exploring these variations, you can transform your Mummy Cake Balls into a personalized treat that everyone will love. Plus, why not serve them with a side of delightful sliced fruits to balance out the sweetness? Enjoy the fun of experimenting and delight your taste buds!
What to Serve with Mummy Cake Balls
With Halloween festivities just around the corner, it's time to delight your guests with a full spread that complements these charming treats.
-
Crispy Apple Slices: The fresh crunch and slight tartness of apple slices provide a perfect contrast to the sweet, creamy cake balls.
-
Warm Spiced Cider: The cozy, spiced notes of warm cider perfectly balance the sweetness of Mummy Cake Balls, creating a comforting experience on chilly Halloween nights.
-
Pumpkin Soup: A savory bowl of creamy pumpkin soup adds a seasonal touch, contrasting beautifully with the sweetness of the treats for a balanced meal.
-
Cheddar Cheese Platter: The sharpness of aged cheddar creates a delightful juxtaposition against the sweet treats, enhancing the overall flavor experience.
-
Chocolate Milkshakes: Indulge with thick chocolate milkshakes that echo the chocolate flavors in your cake balls, providing a nostalgic and fun touch.
-
Mummy-Themed Snacks: Think cheese stick “mummies” or mini pizzas with “bandages” of cheese, playing along with the festive theme while providing savory bites to balance sweetness.
-
Vanilla Ice Cream: Serve with a scoop of vanilla ice cream to deliver a rich and creamy accompaniment that complements the Ball’s delightful texture.
-
Fluffy Popcorn: A bowl of lightly salted popcorn adds a fun crunch and serves as a perfect finger food for casual gatherings, combining beautifully with sweets.
-
Gingerbread Cookies: Roofed with spicy notes, gingerbread cookies bring warmth and seasonal cheer while aligning with the playful spirit of Halloween festivities.
Mummy Cake Balls Recipe FAQs
How do I choose the right cake mix for Mummy Cake Balls?
Absolutely! The fun part about Mummy Cake Balls is that you can truly customize them to your liking. For a fluffy texture, I recommend the classic white cake mix, but don't hesitate to experiment with chocolate, red velvet, or even pumpkin spice mixes. Each will give a different twist to these spooky treats!
How should I store Mummy Cake Balls?
To keep your Mummy Cake Balls delicious and fresh, store them in an airtight container in the refrigerator for about 4-5 days. It's important to let them cool completely before sealing them to prevent moisture from building up inside the container, which could make them soggy.
Can I freeze Mummy Cake Balls, and if so, how?
Yes! Freezing Mummy Cake Balls is a fantastic way to enjoy these treats later. Start by placing the formed, uncoated cake balls in a single layer on a baking sheet and freeze them for about 30 minutes. Once they're firm, transfer them to a resealable freezer bag. You can freeze them for up to 3 months. When you're ready to enjoy, just thaw them in the fridge overnight before dipping and decorating.
What if my cake mixture seems too dry or crumbly?
If you find that your cake mixture is too dry or crumbly, don’t worry! Simply add a bit more softened cream cheese to the mixture. Start with one tablespoon at a time, mixing well until you reach a moist, dough-like consistency that holds together well when forming the cake balls.
Are Mummy Cake Balls suitable for dietary restrictions?
Very! If you're accommodating specific dietary needs, you can easily swap out ingredients. For example, use a vegan cake mix and vegan cream cheese for a dairy-free treat. Additionally, if anyone has allergies, consider using ingredient alternatives like dairy-free chocolate or simply omitting the candy eyes for a nut-free version.
How do I ensure my coating sets perfectly on the cake balls?
To get that perfect coating every time, make sure that your Mummy Cake Balls are chilled before dipping in the melted almond bark. After coating, set them on parchment paper and allow adequate time (about 15-20 minutes at room temperature) for the coating to harden. Keep them in a cool spot to prevent any melting issues!
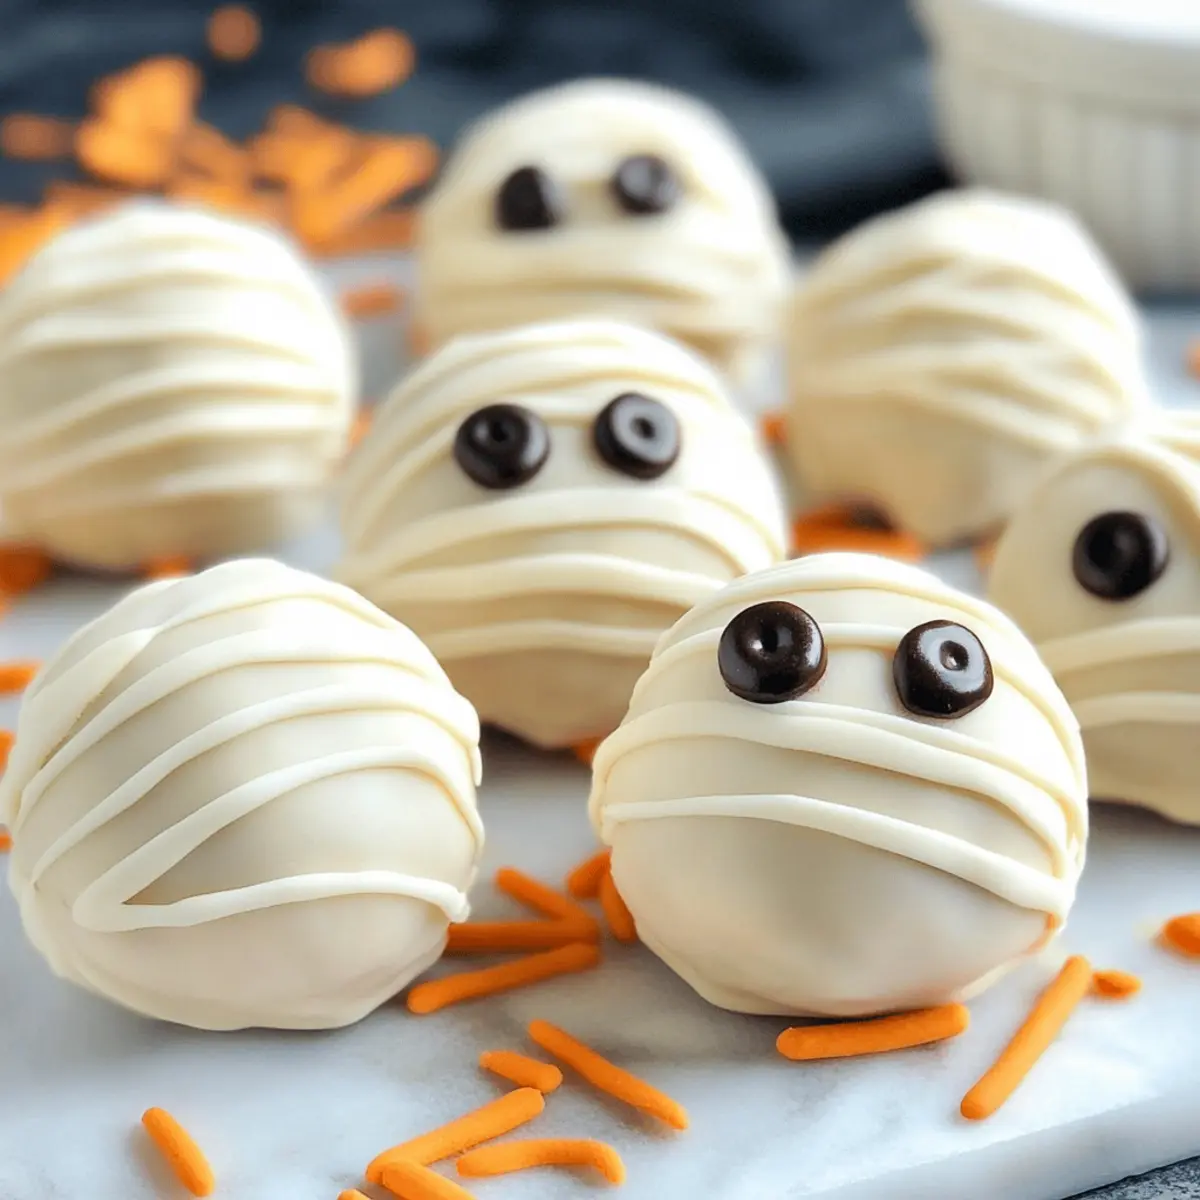
Mummy Cake Balls: Fun and Easy Halloween Treats to Impress
Ingredients
Equipment
Method
- Prepare the Cake Mix: Bake the white cake mix according to package instructions at 350°F for about 30 minutes. Allow cooling completely.
- Crumble the Cake: Once cooled, crumble it into fine pieces in a large mixing bowl.
- Mix in the Cream Cheese: Blend in softened cream cheese until a dough-like consistency is achieved.
- Shape the Cake Balls: Scoop out 2-tablespoons and roll into balls, placing on a parchment-lined sheet.
- Chill the Cake Balls: Freeze for about 30 minutes to firm them up.
- Melt the Coating: Melt vanilla almond bark in a microwave-safe bowl until smooth.
- Dip the Cake Balls: Dip each ball into the melted almond bark and let excess drip off.
- Add Eyes and Wrappings: Place candy eyes on top and drizzle melted almond bark to mimic mummy wrappings.
- Let the Coating Set: Allow to sit at room temperature until the coating sets, about 15-20 minutes.
- Enjoy Your Mummy Cake Balls: Serve on a platter or store in an airtight container for up to 5 days.
Leave a Reply